


Wall Thickness in 3D Printing: All You Need to Know
In additive manufacturing, avoiding print failures is paramount, no matter what technology is being used. And for both those starting out and experienced users, there are various traps that they can fall into which make their part not turn out as desired. One of these extremely important but often overlooked considerations for 3D printing is wall thickness.
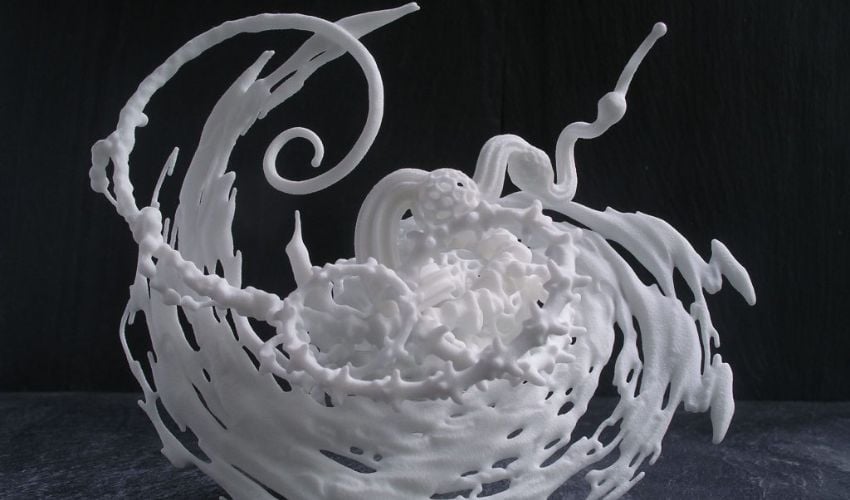
Not to be confused with infill or layer height, wall thickness refers to the measure of the thickness of the outer wall or shell of a 3D printed part, excluding the top and bottom. Unlike internal structures which can vary in solidity (usually defined by a percentage and a pattern), walls are always solid and play a critical role in ensuring stability and strength of a part. But what is the minimum wall thickness? How can users know if their settings are correct? Why does it matter? We took a closer look at these questions and more in the following guide.
Wall thickness refers to the outside shell of the part (photo credits: Materialise)
Why Is Wall Thickness Important in 3D Printing?
Now you may say to yourself, with so many different parameters to keep track of when 3D printing, what makes wall thickness so important? Well, it is crucial to ensuring not just aesthetic qualities, but also strength and durability. If a wall is too thin or too thick, then the part may not work as intended. Indeed, some say it may even be more important than infill for quality of the final 3D printed part.
There are many factors that it can affect as well. For example, as with many of these 3D printer parameter optimizations, one of the main advantages to having the correct wall thickness when 3D printing is that it will help prevent warping. This is because it can help to reduce internal stress. Indeed, generally, it is safe to say that the danger of having walls too thin is that parts will be fragile and thus more likely to break, crack or deform either during or after printing.
Walls that are too thin can also be negatively affected by post-processing. Especially if support structures have been used or processes like vapor smoothing are necessary, thin walls will not survive. In this case, it is extremely important to ensure that you are holding to the minimum requirements for the material.
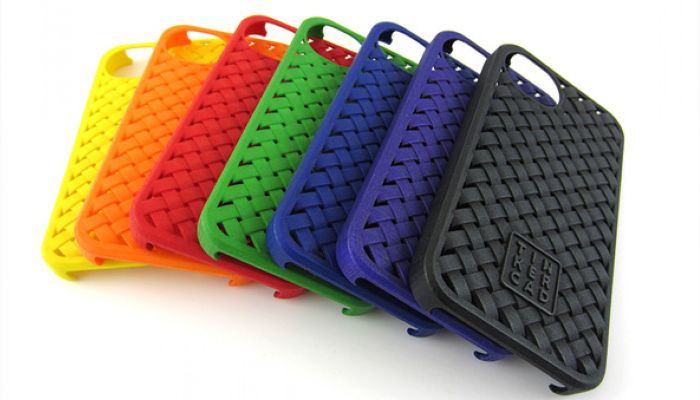
Wall thickness refers to the outer shell of a 3D printed part, not to be confused with infill in the interior (photo credits: 3Dnatives)
Walls that are too thick can also cause problems. Notably, if you have extremely thick walls, you are wasting material and money, and the print will take longer to complete. But it can have other impacts as well.
For example, walls that are thick enough are critical to reducing internal stress but with some materials (metals for example) too much material can also cause more internal stress. This can lead to cracking as well in plastic parts. Too thick walls can also cause issues with heat dissipation in the part. Furthermore, the thicker the walls, the higher the material shrinkage of the print, which also results in warping.
How to Determine Wall Thickness
As mentioned above, wall thickness refers to the thickness of the shell of a 3D printed part, with too thin and too thick walls both causing issues. It is a factor in all 3D printing processes, but we want to focus specifically on FDM 3D printing. Though it should be kept in mind that thickness is tied to material rather than process.
That means that even with certain rules of thumb, there will still be minimum and maximum requirements that users must keep in mind. For example, a material like PLA has a minimum wall thickness of 0.8 mm (though in certain cases that could be lower), but the ideal is closer to 1.5 mm. The range for many other hard materials is similar. Meanwhile, rubber-like materials like TPU must have a higher wall thickness, around 2.0 mm, though if you want your part to be flexible then users don’t want walls that are too thick as it will make the part bulky.
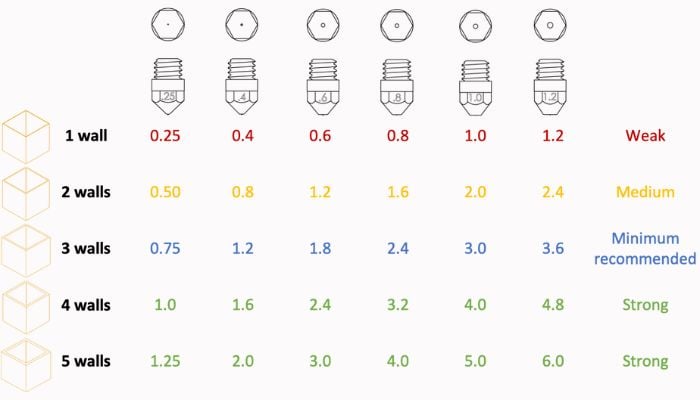
Still, there are a few tricks you can use, especially for determining wall thickness when using FDM 3D printing. These notably relate to the nozzle. A common determinant for wall thickness is a multiple of your nozzle diameter.
In FDM and FGF 3D printing, the nozzle diameter will help determine the wall thickness (photo credits: Pollen AM)
As most nozzles for FDM printing around 0.4 mm, it stands that many recommend a wall thickness of at least 0.8 mm or about twice the nozzle. If you want a stronger part as well, you can thus increase the multiple to three or four times, or about 1.2 mm to 1.6 mm. But be warned, it is often warned to not go thicker than that, with the “magic range” going between 0.8–1.6 mm for many common plastic materials.
An additional consideration? Try and keep multiples to whole numbers of the nozzle. That means users can determine wall thickness by 2x, 3x, 4x, etc. But if you try and have a wall thickness that is 1.5x the nozzle, it can cause overlapping in the layers of the outer walls and slow down your 3D printing.
Helpful Tools for Wall Thickness in 3D Printing
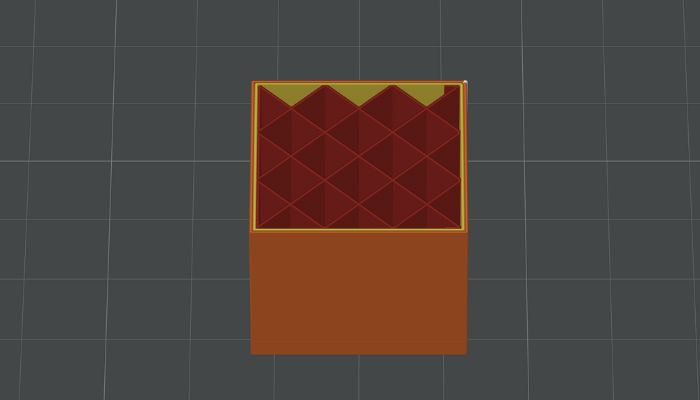
Though of course, ensuring consistent and proper wall thickness does not have to be done alone. Not all 3D modeling software will keep wall thickness in consideration, so it is something that users need to keep in mind from the beginning of their design. Here, slicers can once again come to the rescue. 3D printing slicers will often have functions to ensure that there are no walls that are too thin in the design. This can be essential for finding these issues before printing.
Furthermore, despite these recommendations, the walls can sometimes be thinner than the double of the nozzle diameter, which is also where slicers come in. For fine details or letters, the “detect fine features” parameter found in modern slicers allows users to print walls as thin as the nozzle diameter. Vase mode is another parameter enabling to print walls the width of the printer’s nozzle diameter as this feature (i.e. vase mode) enables the printer to print vase like objects in a single continuous extrusion to produce watertight prints.
Additionally, wall thickness can be played with, depending as well on factors like support structures. If your part has many support structures, especially in areas that may be particularly fragile, it may be possible to have thinner walls (though do not forget that removal of these structures would be difficult on too-thin walls as well) as these other factors contribute to the strength of the part. Also, printers with a higher resolution will be able to create parts with thinner walls, though again minimum requirements should always be kept in mind.
What settings do you use for wall thickness? Would you say too thin or too thick walls are a bigger problem? Let us know in a comment below or on our Linkedin, Facebook, and Twitter pages! Don’t forget to sign up for our free weekly Newsletter here, the latest 3D printing news straight to your inbox! You can also find all our videos on our YouTube channel.
*Cover Photo Credits: Materialise


