


How Warping Occurs in 3D Printing and What You Can Do About It
If you’re involved in 3D printing, you’ve probably encountered other challenges besides ghosting and stringing. Especially if you are using an FDM 3D printer, you may have encountered warping. Warping is an upward curvature in the additively manufactured object that occurs primarily in the first layers that adhere to the print bed. Here, the curvature of the individual layers can be so strong that even during the printing process, the upwardly curving part of the model detaches from the print bed and thus the entire 3D printing process fails. But why does this unpleasant phenomenon occur during 3D printing and how could this be prevented for your future printing? We took a closer look!
To first answer the question of ‘why’, warping is at its heart connected to temperature. As such, it can happen on any part but especially those made with high temperature materials. Extremely large or long parts made with said materials may also be particularly at risk due to the fact that temperature control may be more difficult. This is due to the fact that the plastic used tends to shrink after cooling. If, for example, you use ABS at a printing temperature of more than 200 °C and then let it cool down to a usual room temperature, you can expect a reduction of almost 1.5 % – or even more, depending on the size of the part! And since the curvature effect starts with the first layers, it will continue throughout the entire printing process until the part is finally almost completely deformed.
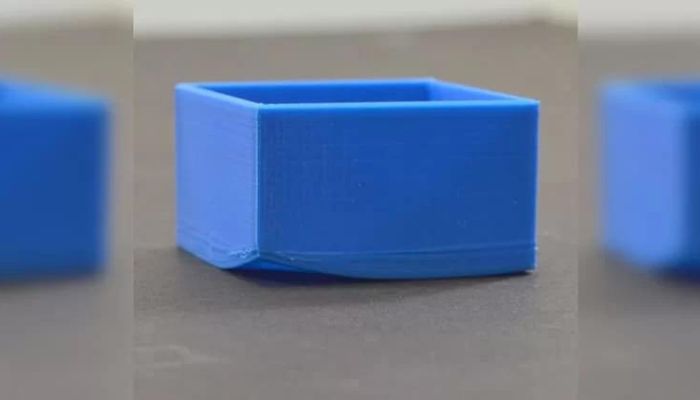
Photo Credits: Two Trees
Physically explained, when the material is heated, thermoplastics become liquid, but at the same time they expand. When they subsequently cool down again (to room temperature, for example), they also contract again, which means that movement occurs. And it is precisely during this movement in the already extruded plastic that the reason for warping during 3D printing is to be found! The already cooler layer contracts and at the same time takes the still heated layers with it, which in the end results in the material warping.
How Can You Prevent Warping?
As with so many challenges you encounter in the course of 3D printing, the correct temperature setting is key. However, the temperature in this case does not only refer to that of the heated filament, but also that of other components: some 3D printers come with a heated printing chamber, which allows for better adhesion so that your 3D printed part has less chance of coming loose and curling. It’s also a good idea to keep an eye on the room temperature here. As we mentioned earlier, extreme cooling to room temperature is a factor that can lead to 3D printing warping. Therefore, try to keep windows and doors closed to avoid a direct draught of air hitting your 3D printed model.
To avoid warping in your next FDM 3D print, you should also consider the print speed. We have already seen with ghosting as well as with stringing that a solution to avoid these problems can be a lower print speed. This is also the case with warping. Moreover, the temperature of the extruder nozzle should be adapted accordingly.
Speaking of adjustments, there are few different options that enable users to check that their nozzle is working properly and that the plate adhesion is good. Notably through the creation of a raft, brim or skirt. But what are the differences between these three options?
A raft involves placing several successive layers of material on your tray before starting the actual printing. The part will be printed on this raft which will then have to be removed at the end. Since the raft is placed under the part itself, the part will be much less prone to warping. A brim meanwhile is very similar to this first option, at least in the idea. It involves creating a layer around the printed object, it is in fact a kind of expansion of the initial layer of the 3D printed part. This brim is therefore much thinner and will have less influence on the adhesion of the final object to the plate. However, it can be a great option because it uses less material than a raft and thus prints faster. Finally, the third option is the skirt. With this, the model is essentially surround by a 3D printed outline (though unlike a brim it is not touching the part itself). This allows you to properly calibrate your nozzle and prime the extruder, ensuring it is working correctly. It is up to you to choose the height of the skirt and the distance between it and the part to be printed.

A comparison of the design of a raft, skirt and brim (photo credits: Simplify3D)
Adherence to the Print Bed
If after exploring the previous ways to eliminate the warping effect of your 3D printing you were still unsuccessful in eliminating warping your parts, here are some additional tips. As you can see, adhesion to the 3D printer’s build plate is crucial. Don’t hesitate to use an adhesive to ensure that your print doesn’t warp during the first few layers. For example, you can use specially designed PVA glue sticks, which you apply in a thin, even layer to the printing plate. Alternatively, some users swear by using hairspray. In any case, we recommend that you perform a 3D printing test before using these products, to make sure that you won’t damage your build plate when trying to take the part off of it. Additionally, always make sure your tray is well cleaned and free of any residue from your previous print, as a dirty tray can also cause material deformation
Finally, don’t hesitate to check the parameters of your build plate. A badly leveled one can also lead to warping. If you are still experiencing problems, it may be time to test another filament. Otherwise, in the most serious cases, we advise you to contact the 3D printer manufacturer.
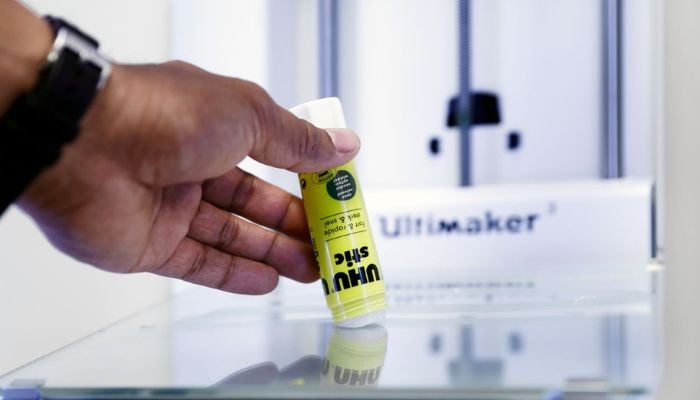
You can consider using glue (Photo credit: Makerbot)
Have you already experienced warping while 3D printing? Let us know in a comment below or on our LinkedIn, Facebook, and Twitter pages! Don’t forget to sign up for our free weekly Newsletter here for the latest 3D printing news straight to your inbox! You can also find all our videos on our YouTube channel.
*Cover Photo Credits: Makerbot


– Thoughts from a private individual who follows you closely –
Thanks for the article, it is a good approach for the domestic user.
ABS is possibly the best example of warping.
As already mentioned, aspects such as material quality and print speed are important, but when talking about ABS ‘temperature control’ is crucial.
You need to control the temperature of your heated bed and – of course – the one of your printing environment, i.e. you must have a heated chamber.
So we start talking about printers with at least 750/800 W…
This last point inevitably leads to the conclusion that the architecture of most of our common printers is simply not suitable for printing warp-sensitive materials such as ABS.
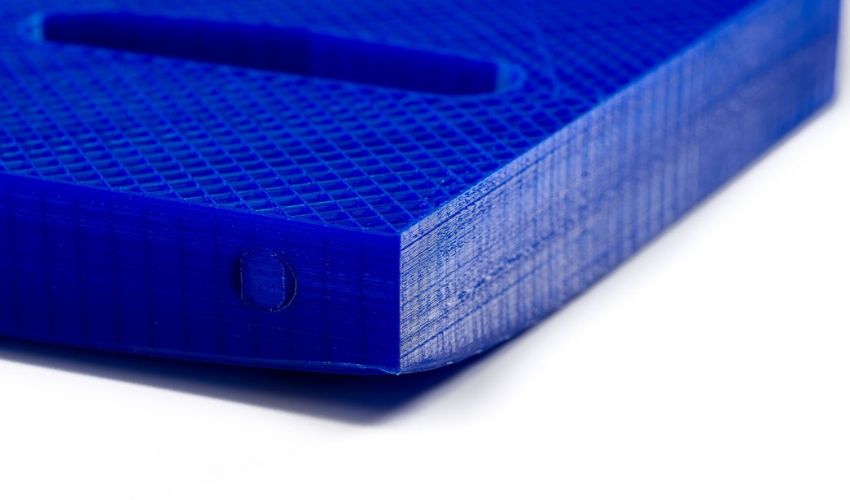
Printing larger ABS parts on a ‘bridge printer’ is literally impossible. You may finish some decent ‘flatprints’ if your layers remain within the heat radiation area given by the bed itself. But outside this zone, the uneven shrinkage of the upper layers relative to the lower layers will start bowing the print until it lifts off the bed. It is common to see corners lifting (like the picture).
You quote 1.5% shrinkage. There are larger contractions …
Calculate 1.5% shrinkage on a 200 mm long print … or on a 400 mm piece along the diagonal of a 300×300 bed … that’s several mm!
Sometimes even a flex sheet can be bowed by a well sticked ABS-print! So do not underestimate the stresses of the printed materials.
Let me share my experience:
if the parts are large, the brim – no matter how generous it was dimensioned – will not help either. The ABS part will break free to lift off the bed (or plate).
Something that has not been mentioned but is very useful are the ‘Mouse Ears’ or ‘Brim Ears’. These round biscuits (let’s say 1 or 2 mm thick) placed in sensitive areas underneath the printed parts will help.
‘Sensitive areas’ are long sections and corners.
PRO: increasing adherence
CON: requires additional finishing / removing surplus material with cutting pliers
A good alternative to glue stick is ‘ABS milk’ or ‘ABS slurry’. But this is another story, more for tinkerers …
Enjoy!
Visi