Lab 3Dnatives : Test de l’imprimante 3D UP Box de chez Tiertime
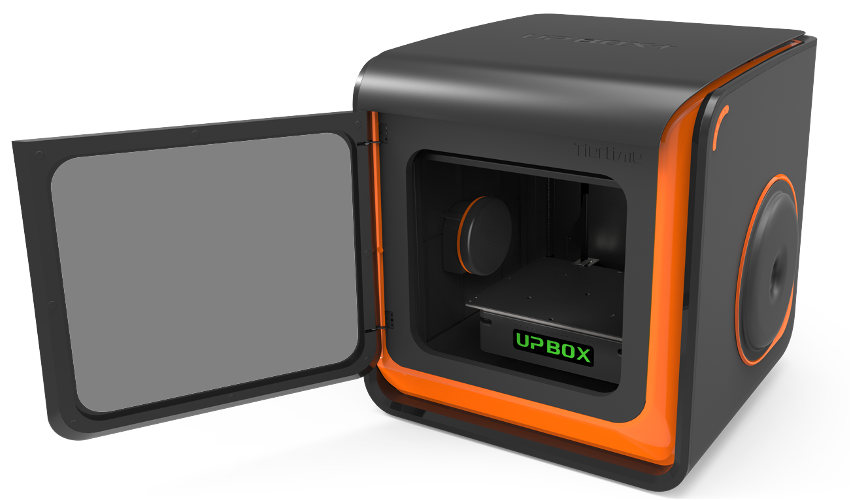
Unveiled for the first time last September, the Up! Box is perhaps one of the most anticipated desktop 3D printers at the moment. While the previous models of the brand have been widely acclaimed by the community and the trade press, what about this little last announced 30% faster and 50% more accurate than her big sister the Up! Plus 2 ? 3Dnatives went to investigate!
Before starting to get to the heart of the matter, a big thank you to the company A4 Technology , thanks to which 3Dnatives had the opportunity to test one of the very first models available in France.
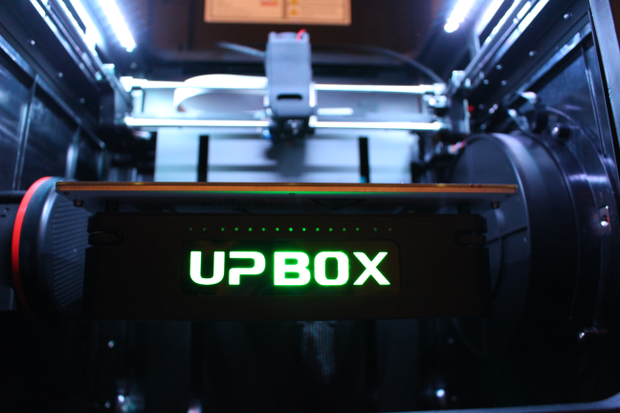
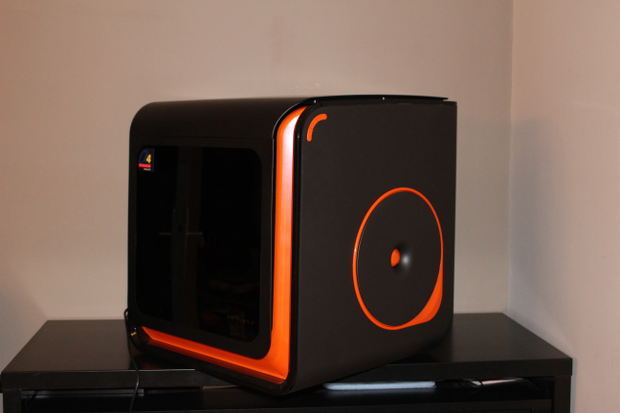
The Up! Box displays a decidedly modern style
1. Unpacking
At first glance, the box of the UP Box gives a glimpse of the fairly large size of the machine. The printer is perfectly protected and accompanied by the necessary equipment for long printing sessions. It is thus delivered with 3 printing trays of a size of 20.5 x 25.5cm, a power cable with transformer, a USB cable, a 500g ABS coil, a spatula, a cutting pliers, a pair of gloves, various keys (hex and pipe), screws and a spare nozzle. Our card also contained a guide translated by the French distributor.
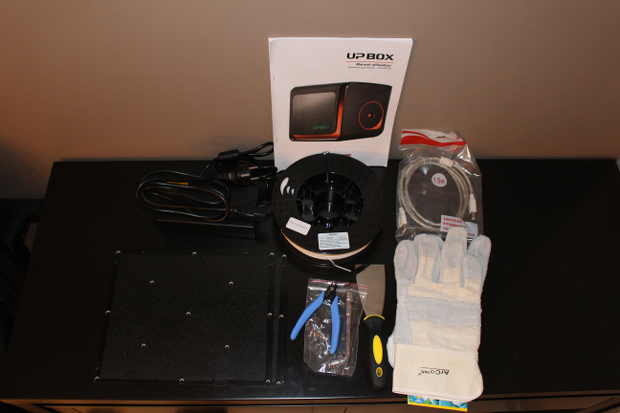
The various accessories delivered with the Up! Box
With its imposing dimensions of 48.5 x 49.5 x 52 cm, its orange and black colors and its rounded shapes, Tiertime has resolutely turned towards a style of machines much more modern and totally opposed to what we had accustomed.
Front view, the Up! Box shows a logo straight out of the K200 series changing color at the rate of printing steps. The upper part is equipped with a hatch facilitating the loading of the filament while the coil will fit on the right side of the machine, and where we will also find 3 buttons.
Before turning on the Up! Box, we notice the presence of several black ABS printed parts within the bowels of the machine, proof of its quality of printing. A small round case, located on the left inside of the machine, also appears. This is the air filtration system that will change every 6 months or 300 hours of printing. No more smell of ABS and microparticles!
Finally, one negative point on the horizon: the lack of SD card readers, because even if you can safely disconnect the USB cable when printing, an SD card can be quite useful in the long run.
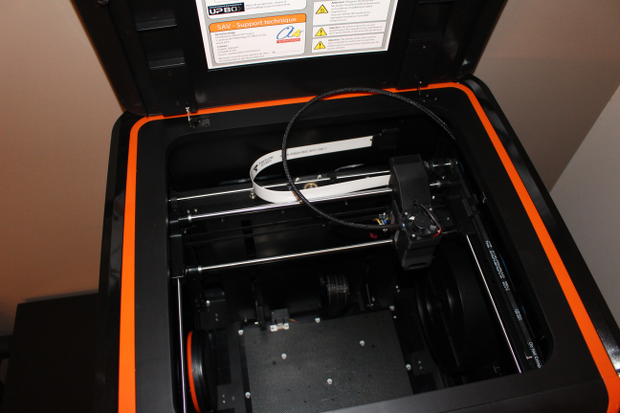
Opening of the Up! Box by the top cover
2. Installation
Under the top cover of the Up! Box, A4 Technology has taken care to display a very good summary of the various functions and corresponding displays of the machine. Before you start, do not hesitate to take a look.
First step, the establishment of one of the 4 trays martyr on the hot plate, because yes the Up! Box prints in ABS or PLA. The grid will come easily clipped through a fastening system.
In a second step, you will have to install the coil of filament, which slips under the black magnetic mask on the right of the Up! Box. For information, the formats are not proprietary, so you can use without worry the coils of your choice in diameter 1.75 mm. Two small clicks are enough to load the filament, which is inserted to the left of the extruder, really very close to the upper fan. A protective grid would have been welcome at the risk of accidentally breaking some blades …
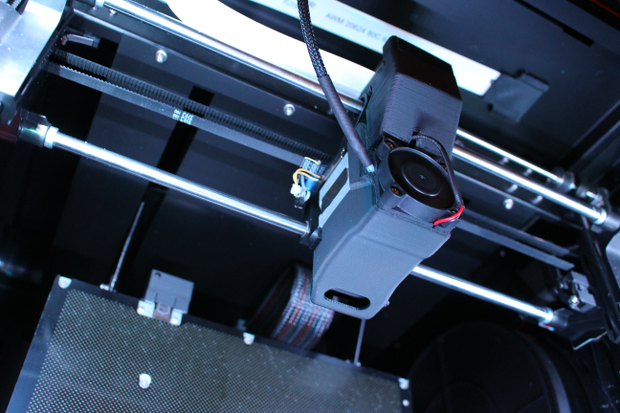
Zoom on the printer extruder
3. Software
The UP! is the proprietary software that comes with Tiertime brand printers . In addition to being very simple and compatible with Windows and Mac, it is available in French. You can download the latest versions HERE .
Once installed, we switch to automatic parallelism adjustment from the software. A small servo motor located next to the extruder comes to place the sensor and take the 9 measurements in less than 2 minutes to ensure a tray ready for use. Adjusting the height of the nozzle is also done in 2 clicks. Note for the most demanding that these steps can be done in manual mode to fine-tune the settings as you wish.
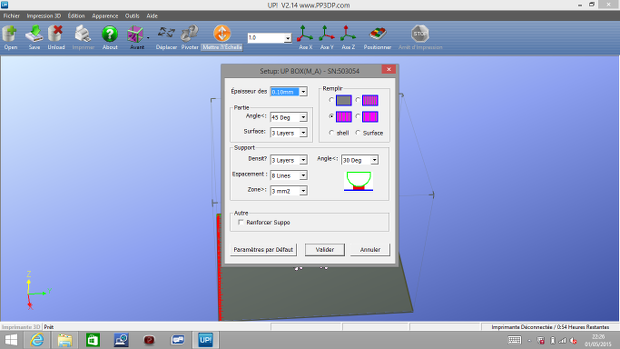
The software Up! works with all 3D printers from Tiertime
As a whole, the app will allow you to manage, visualize and position your model. It includes all necessary parameters such as: raft / media generation, filling, layer and wall thickness, support angle of media, space between media lines, quality (speed), the duration of maintaining the post-printing temperature but also the automatic correction of the file (in case of holes, double-skin …) or the possibility of setting a pause during the impression at the height of your choice (to change the filament for example).
Once the 3D file has been sliced by the software, the printing time or the quantity of material used will also be displayed. The 3 control buttons on the right of the Up! Box will allow you to pause or cancel printing on the fly. You can also start the pre-heating of the tray, or change the filament using the central button.
The only criticism against the software will be aesthetic. We are still far from the licked graphics of Cura, MakerBot Desktop or Zortrax, but the main thing is!
https://www.youtube.com/watch?v=iigebeGFWXI
4. Printing
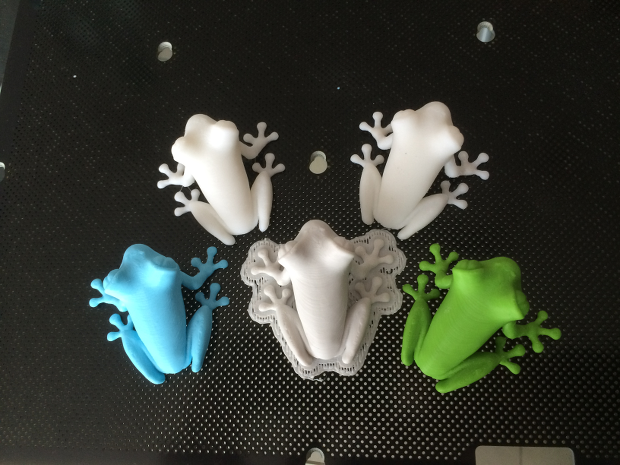
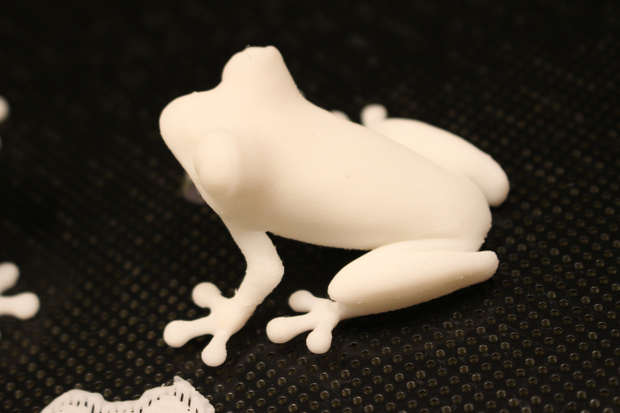
No problem to note on the progress of the printing. Below some examples of pieces made on the Up! Box. You will first find our famous TreeFrog designed by MorenaP in 100 and 200 microns. The 2 white frogs at the top are in ABS and the 3 others in PLA.
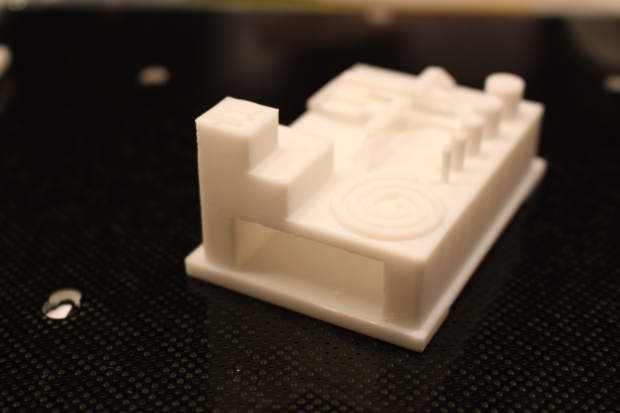
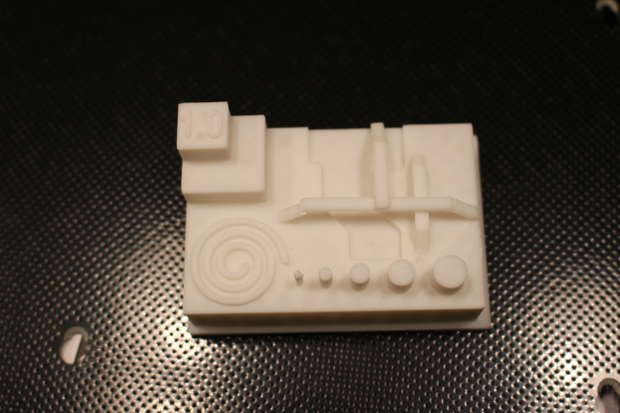
And our now unavoidable object of torture that tests in the entrenchments management of offsets or the accuracy of the printer. Note that the supports can be removed very easily. We let you judge the quality of the result.
[rwp-review id = « 0 »]
Find all of our 3D printer tests in the 3Dnatives Lab
To stay informed subscribe to our RSS feed or Facebook Twitter Google+ or LinkedIn pages


