


Lab 3Dnatives: UP Mini 2 3D Printer Test
TierTime has been in the 3D printer market with both industrial and desktop 3D printers since 2003. In May 2012, the Beijing-based company unveiled the UP Mini desktop printer, later named the ‘Best Overall Experience 3D Printer’ by Make Magazine. TierTime has released 5 3D printers in total now: the UP Box+, the UP Box, the UP Plus 2, the UP Mini, and the newer UP Mini 2, which we have tested. The UP Mini is a low cost 3D printer, aimed at consumers rather than industrial businesses.
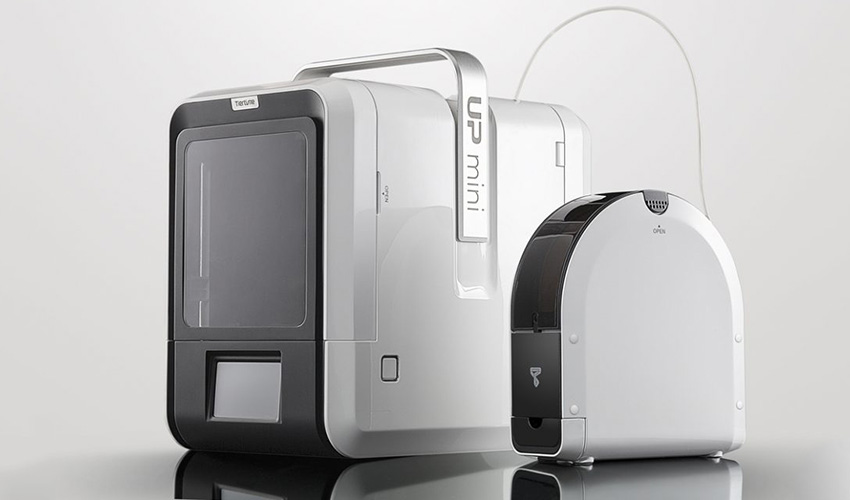
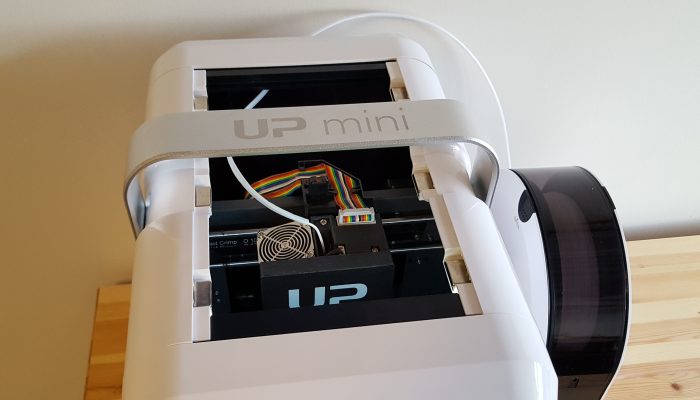
The UP Mini 2 looks from the outside like it could be an Apple product: the printer and filament box are all white. However, we want to know how it performs technically instead. More 3D printer tests we have done can be found here.
Unpacking the UP Mini 2
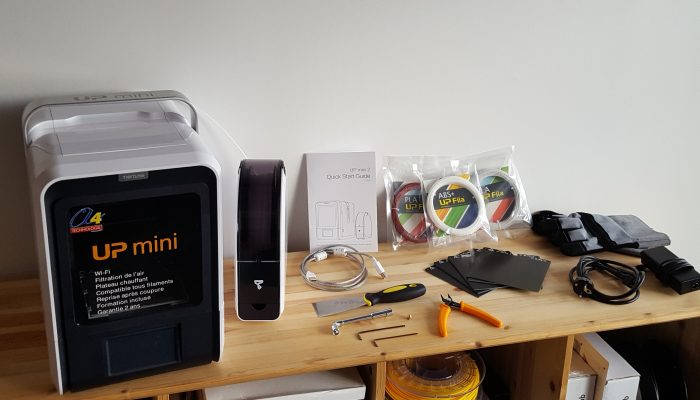
The box came with three different filaments: a burgundy PLA filament, a white PLA filament, and a white ABS + filament. In addition, the UP Mini comes with 2 instruction manuals for the correct installation of the printhead, as well as free video training and technical assistance.
Dimensions and accessories
Inside the box there was also a smaller box containing countless accessories: protective gloves, silk cutters, a spatula, 5 different pressure plates, spare nozzles, a filament guide tube, a few screws, a hex wrench, and various pressure plates for different materials. In addition to the well-packed printer, the UP Mini 2 filament container comes with 500g ABS filament included.
The UP Mini 2 is compact, measuring 255 x 365 x 385 mm. However, it is larger than the UP Mini which measured 240 x 340 x 355 mm. The front and back of the printer have doors that open to the side. This is rather confusing, as we could not find a reason for the back door to exist: it serves no extra role in printing. However, it could be useful in a possible repair. Being able to close the doors is especially useful when printing with ABS.
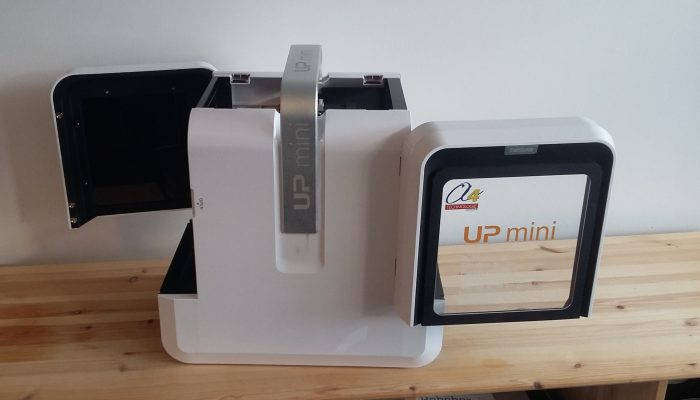
There are windows built into the doors, so you can easily see inside. This is made easier by an integrated LED light. This is a definite improvement on the previous model which was much harder to see inside of.
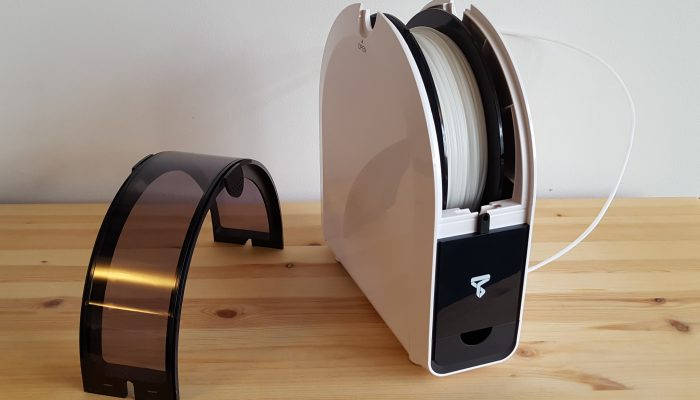
In addition, there are two plated that can be lifted out after opening the doors of the UP Mini 2. These plates each have magnets so they can be easily replaced. On the top there is also a practical carrying handle, making for simple transport. The filament storage container protects the filament from dirt and temperature fluctuations.
View from the top of the printhead of the UP Mini 2.
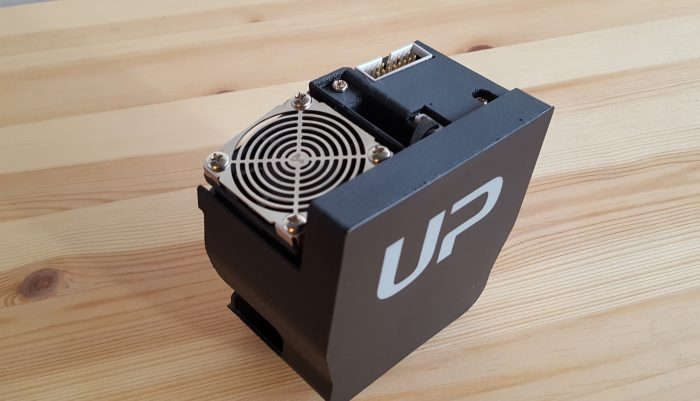
The printhead with a 0.35 mm nozzle
Setting up the UP Mini 2
Setting up the UP Mini 2 is extremely easy, as only the printhead need to be connected according to the user manual. The only complicating part is the carrying handle, which is slightly in the way when inserting the printhead.
The initialisation and calibration of the 3D printer is very simple, requiring only a single touch of the touchscreen. The UP Mini also has an automatic nozzle height detection, making handling easier. The filament must be threaded through the guide tube and back through the back of the UP Mini 2 into the printhead prior to printing. Then, using the touchscreen, select the material function and choose which filament you have loaded.
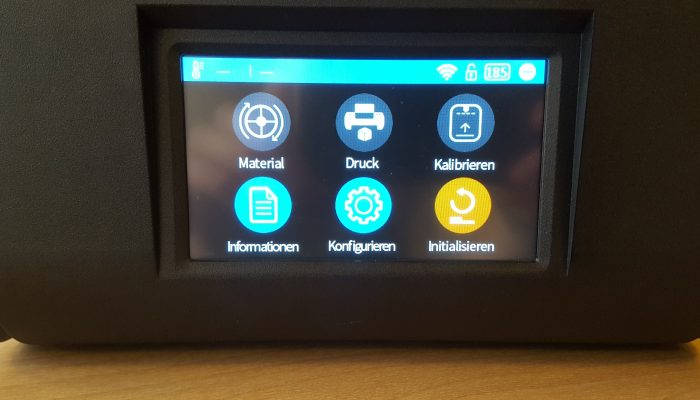
Navigation on the 4 “display with the touch screen is very easy.
The Software
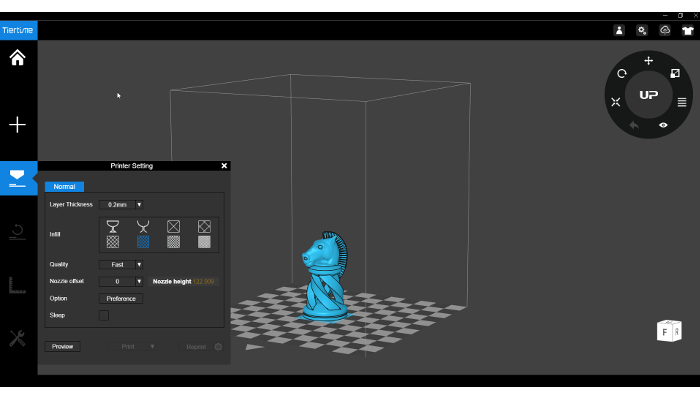
Previously, UP printers have had weak software that wasn’t user-friendly. However, the latest version has a completely revised version of UPStudio and is much improved. The UPStudio software is not included in the delivery, but it can be downloaded for free on the TierTime website. Once downloaded, the object to be printed can be loaded as a .stl file.
The software offers a layer thickness between 0.15 and 0.35 mm. It automatically informs you about the nozzle height and can split objects into layers in seconds. However, we found that sending files to the 3D printer took time. The printer can be controlled via USB cable, WiFi or via a mobile app called UP Studio Mobile App for iOS, (not on Android). The USB cable can be removed during printing because the UP Mini 2 has internal memory that stores the last 10 print files.
The software convinces with its easy handling.
The First Print
The UP Mini 2 is extremely quiet when printing. In addition, it is equipped with a HEPA air filter to keep odors and emissions to a minimum. This type of filter has not been found in too many 3D printers yet. The print results with ABS, ABS+ and PLA are excellent, as you can see in the following pictures.
PLA printing uses Smart Support technology, which automatically makes the software create support structures that are easy to remove. We printed in our review with ABS, ABS + and PLA. However, according to the manufacturer, PETG, PA, PC, PE, CPE, PP should also be processable. For cleaning and changing, the print bed can be easily removed and heated if necessary, so that the print result is very good.
For our test we printed different objects that differ in their complexity:
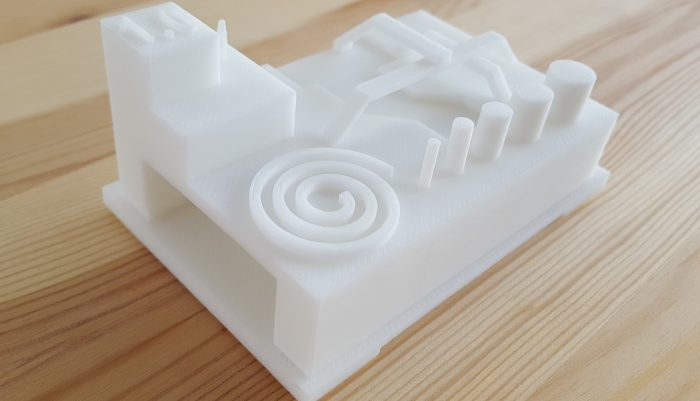
Makerbot’s ‘Torture Test’, made of ABS

Creative Tools’ ‘3DBenchy’, made of ABS
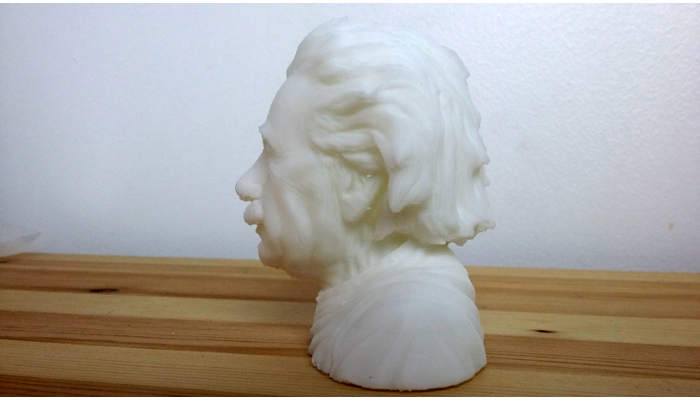
Albert Einstein made of ABS printed with support.
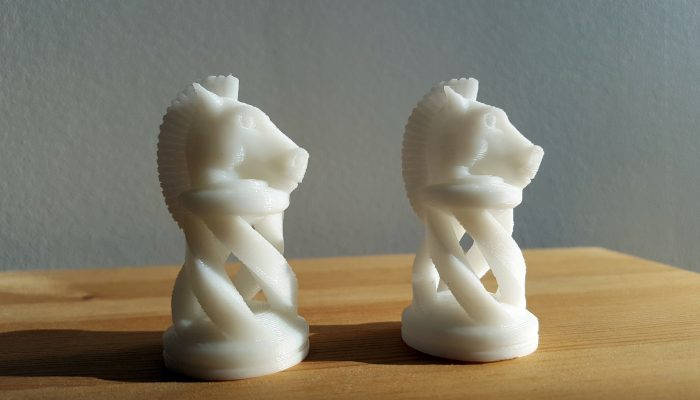
Spiral chess piece by JaaYoo, in PLA with no support.
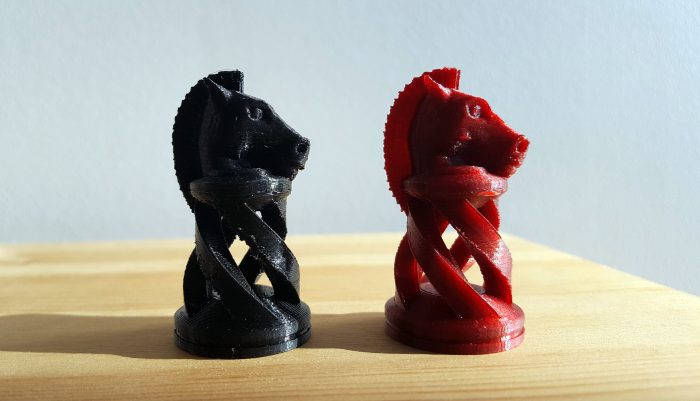
Spiral chess piece by JaaYoo in ABS+ (left) and ABS (right).
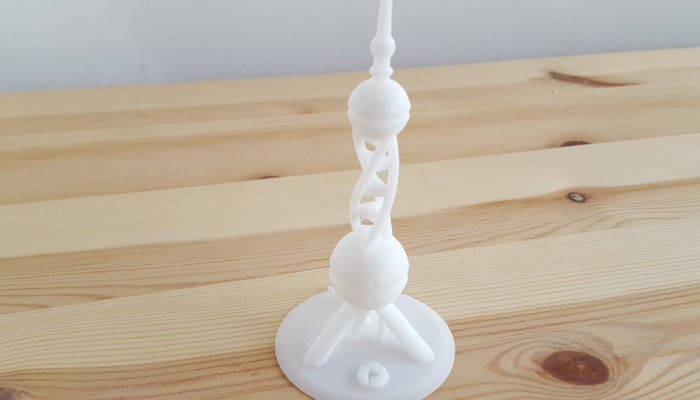
PolyPearl Tower Torture Test by Polymaker 3D, printed in ABS.
What do you think of the UP Mini 2? Let us know in a comment below or on our Facebook and Twitter pages! Don’t forget to sign up for our free Newsletter, all the latest news in 3D printing straight to your inbox!


