


Lab 3Dnatives: Robo C2 3D Printer Test
Robo 3D are an American manufacturer based in California who first came to the world’s attention in 2013 with the launch of their Robo C1 3D printer on Kickstarter. At the end of 2016, Robo 3D launched another Kickstarter campaign for the release of their Robo C2 and R2 machines. This campaign was hugely successful, raising $382,027 from their original $100,000 goal.
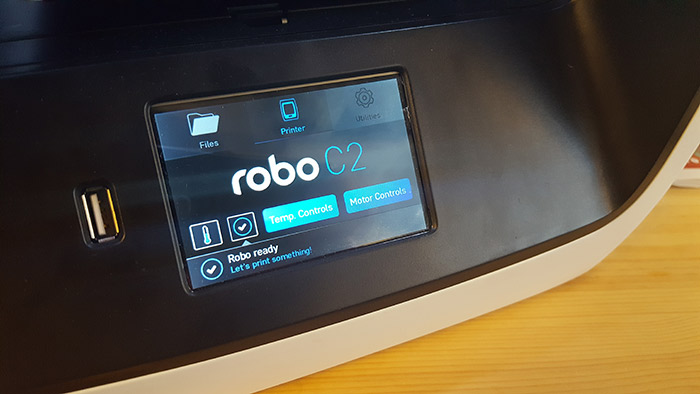
At Lab 3Dnatives we were interested in trying the Robo C2, the plug & play entry-level model that retails at €959. This printer has received a complete makeover compared to the original, and looks sleek with its curved white shell. The printer also has a 3.5 inch full color touchscreen. The C2’s specifications are a print volume of 127 x 127 x 152.4mm and a minimum layer height of 20 microns. Its max speed is 16 mm3/s.
With a price under €1,000, we were interested in the Robo C2’s level of performance. Has the user experience been sacrificed for quality? More generally, for whom has this machine been designed for? We found out in our 3Dnatives lab test.
1. Unpacking the Robo C2
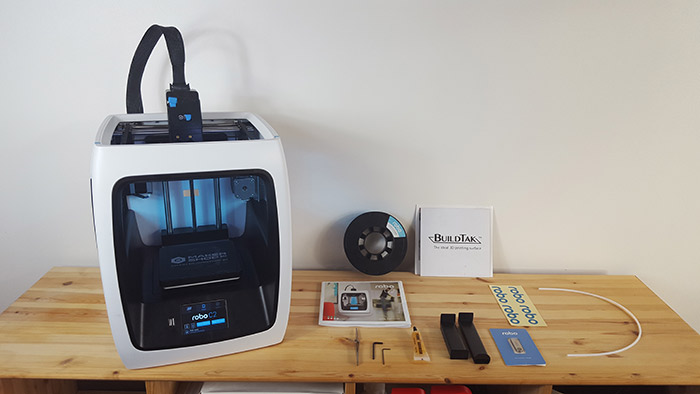
The Robo C2’s packaging includes two blocks of polystyrene linked by a clip-on strap, also found in Ultimaker printers. This makes it easy to remove the printer from the cardboard stand-alone. As mentioned in the introduction, the Robo C2 is relatively compact with its dimensions of 331 x 305 x 464 mm and a weight of less than 10kg. This weight puts it in the safe category as the UP Mini 2 , a MakerBot Mini + or a 2 GB Ultimaker.
The machine comes with several accessories, though the brand seems to have gone back to basics. These include two spool supports, a USB key, 750g PLA coil, anti-vibration pads, a lubricant for the two axes, two allen keys, and a clamp for post-treatment. Before starting the machine, you need to remove the cover under the printing plate, and the protective pads on the extruder.
2. Installing the Robo C2 3D Printer
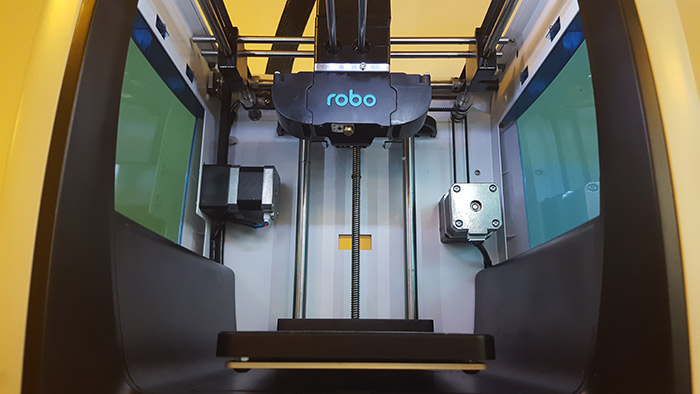
Once unpacked (don’t forget to remove the fixings on the axes), you will need to plug into the spool holder, add the coil holder and fix the printer tray with 4 magnets placed under it. The latter is unfortunately not heated and will limit you to the printing of PLA filaments.
All that remains is to turn on the machine via an ON / OFF button on the back. Various operations are necessary before you can print your first model, detailed below. The interface is in English by default.
Firstly, connect the printer with your WiFi, unless you want to use the USB stick to transfer your files. Secondly, it is necessary to run a semi-automatic calibration step of the Z axis. You will need to pass a card between the nozzle and the tray to ensure the correct distance. A more comprehensive calibration option covering several other points is also available.
Finally, you need to load the filament. The printer makes that easy, and has an end-of-filament detector which is widely appreciated.
3. Cura for Robo Software
The Robo C2 uses .gcode files to print. Although many other software programs are compatible, Robo 3D recommend using Cura for Robo for Windows or Classic Cura for Mac. With Cura, you can import your 3D files and set them before sending them to the printer via a USB stick. The Robo C2 can store several 3D models, which is useful if you often print the same piece.
Another feature offered by the Robo C2 is the ability to manage prints from iPhones or iPads with the Robo apps. The app is not currently available on Android devices however. The app allows you to manage the printer’s engines, set up files, and print remotely. Once started, the app allows the live control of the print, and the R2 has a camera to show the progress of the print through the app.
4. First impressions
We have displayed a series of prints by the Robo C2 below. When printing the “torture test”, no particular concerns were revealed. We used blue and red PLA provided by the brand in the prints. The results were on the whole very clean, apart from the slight warping of filaments. By using Cura’s best settings and recalibrating the machine regularly, these results improve. During daily use, we noticed the machine integrates without worry into a working environment or living room as it is very quiet.
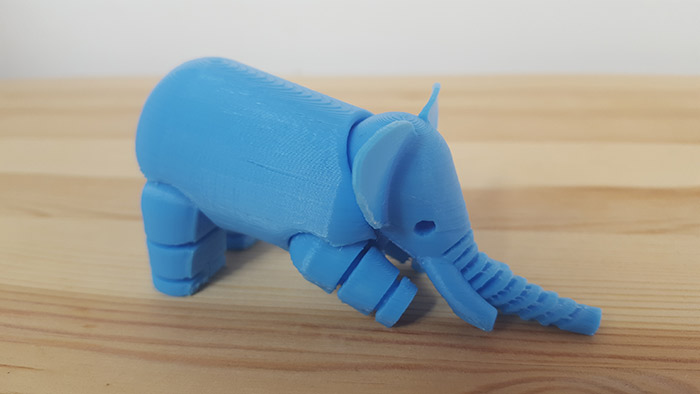
Elephant in 200 micron layers without supports.
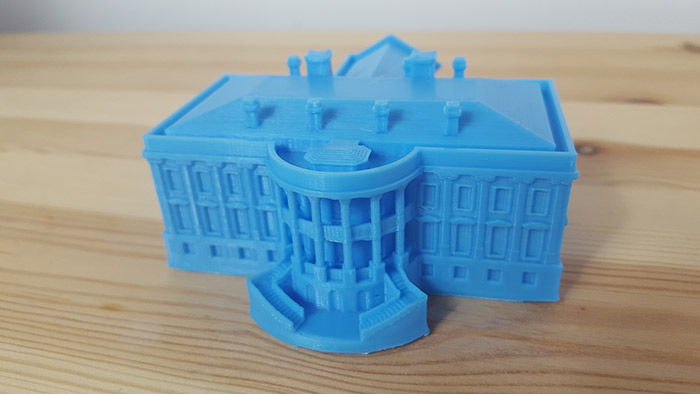
The White House by Makerbot in 150 microns.
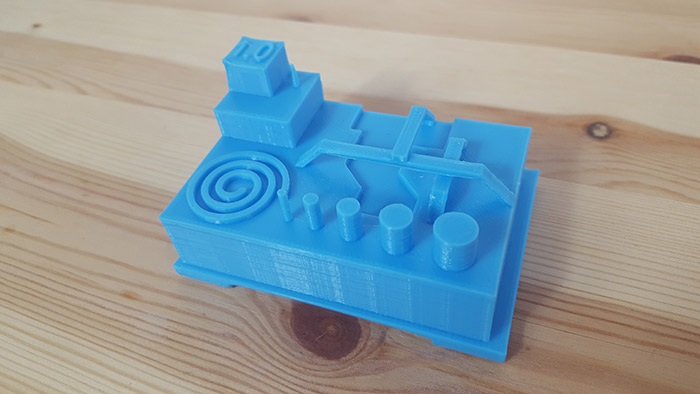
The “torture test” by Makerbot in 200 microns without supports.
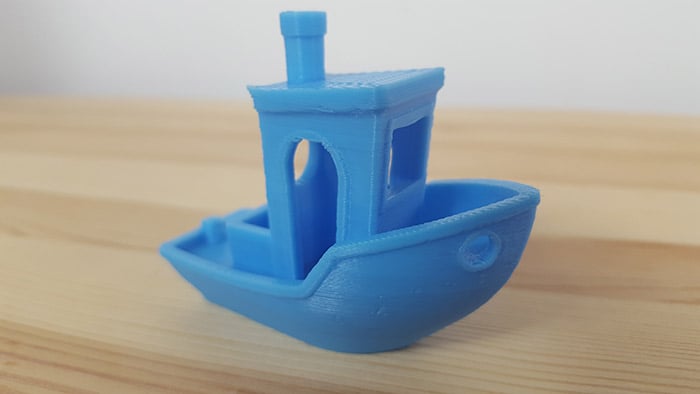
3DBenchy by Creative Tools in 150 microns.
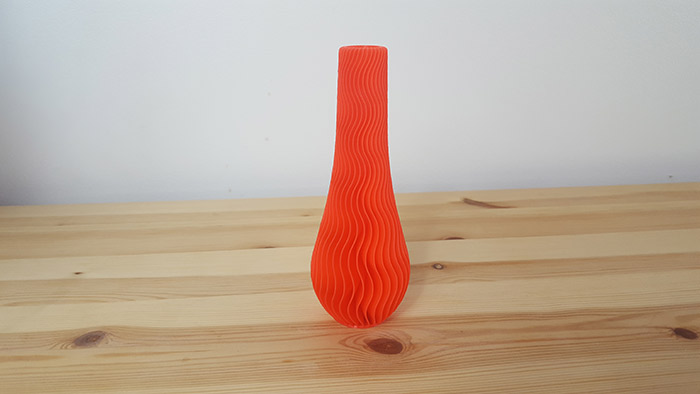
SPIRAL Vase by YSoft_be3D in 150 microns without supports.
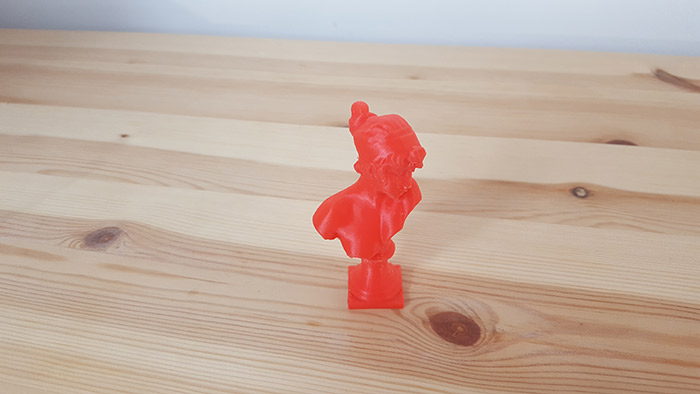
Bust of Sappho by LukeChilson in 150 microns with brackets.
How important do you think metal printing is to 3D printing? Let us know in a comment below or on our Facebook and Twitter pages! Sign up for our free weekly Newsletter here, the latest 3D printing news straight to your inbox!
Conclusion
- What's in the box 9/10
- Software 8/10
- Print Quality 8/10
- Getting started 9.5/10
Positive points:
– Prices
– Features
– Getting started
Negative points:
– Production volume
– No heating plate
With a simplified grip at its peak and an affordable price, the Robo C2 has everything for beginners in 3D printing or users looking for a machine easy to get started and maintain. Its color touchscreen, clear and convenient menu, quick calibration, WiFi connection or mobile app have enough to make pale the latest 3D printer models on the market, all at less than €1000. We can obviously regret a limited volume of manufacture or the lack of a heating plate, two limits that the American manufacturer wanted to meet with the Robo R2, an improved version of the Robo C2.
To conclude, the Robo C2 is presented as a real Plug & Play 3D printer, offering a minimum of necessary settings and the latest market standards. It is no coincidence that several general retailers have decided to commercialize the model, paving the way for new users.


