


3Dnatives Lab: Testing the Formlabs’ Fuse 1 SLS 3D Printer
Recognized as a leading player in the field of resin 3D printers, Formlabs announced a few months ago that it was taking its first steps into the industrial world of SLS 3D printing with the Fuse 1. This machine represents a market expansion for the Boston-based manufacturer, and with this opportunity, Formlabs enters the court of the few manufacturers that offer several 3D printing processes.
Formlabs was founded back in 2011 and has since then specialized in SLA-based 3D printers with its Form 1, Form 2, and more recently its Form 3 machines. While SLA, or Stereolithography, uses a UV laser to solidify a photopolymer resin, SLS, or Selective Laser Sintering, uses a laser to sinter a polymer powder with traditional industrial SLS solutions costing up to $250K. The main advantage of the Fuse 1 3D printer is its price, with a starting price of only $31,845 or €25,955 for the complete setup, making it one of the few desktop SLS printers available on the market.
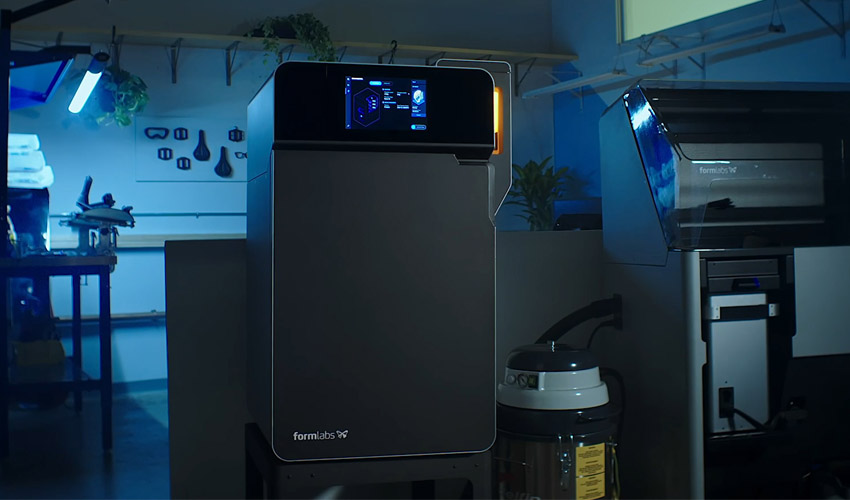
The Fuse 1 is the first SLS 3D printer of Formlabs
The 3Dnatives Lab had the opportunity to be one of the few to test this unique 3D printer with the help of 3DZ, a reseller of the Formlabs Fuse 1, who welcomed us and trained us on the 3D printer during a complete test. So, what makes the Fuse 1 special? How easy is it to run a desktop SLS 3D printer? What materials and quality can we expect? Read on for 3Dnatives’ full review of the new Fuse 1 from Formlabs.
1. Unboxing the Fuse 1 from Formlabs
The Fuse 1 and its additional equipment are shipped on a pallet which includes all the packaging, foam, and wrapping needed for secure transport. The pallet contains various elements including the 3D printer of course, but also the stand, a removable build chamber, and the powder cartridge. Even though the Fuse 1 is a compact 3D SLS printer, its dimensions of 27 x 25.4 x 41.9 in (685 x 645 x 1065 mm) and weight of 251.3 lbs (114 kg) makes it quite an imposing machine in comparison to a classic desktop FDM or SLA 3D printer. In the meantime, when looking at more regular industrial SLS machines, the Fuse 1 does appear as a more compact and desktop version, or what we could consider an office-friendly SLS 3D printer.
From an aesthetic point of view, the printer looks very neat, with its grey metal panels, a very large 10.1″, full-color LCD touchscreen, and a hopper, basically a powder tank that can store up to 9kg (19.8 lbs) of powder, at the top right of the printer and which includes the iconic Formlabs orange window panel to let the user check the level of powder. The removable build chamber finds its place inside the 3D printer and offers a maximum printing volume of 6.5 x 6.5 x 11.8″ (165 x 165 x 300 mm). Even though this build volume appears to be smaller compared to more industrial grade machines, it is relatively bigger than other desktop SLS 3D printer available in the market.
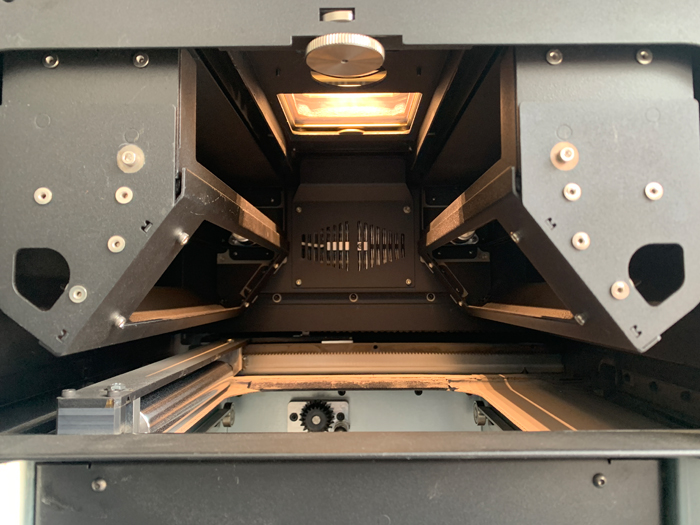
A look inside the build chamber of the Fuse 1
Above the build chamber, the heating system emits infrared radiation and controls the temperature inside the 3D printer, keeping it slightly under the sintering temperature. There are also mirrors that are used to reflect the 10W laser during the sintering process. Formlabs is so confident in its own technology that the company decided to include few 3D printed components, made out of the Fuse 1, on the printer itself. The IR sensor and handle, the door handle, or the interlock magnet cover are some of the parts made out of the Fuse 1.
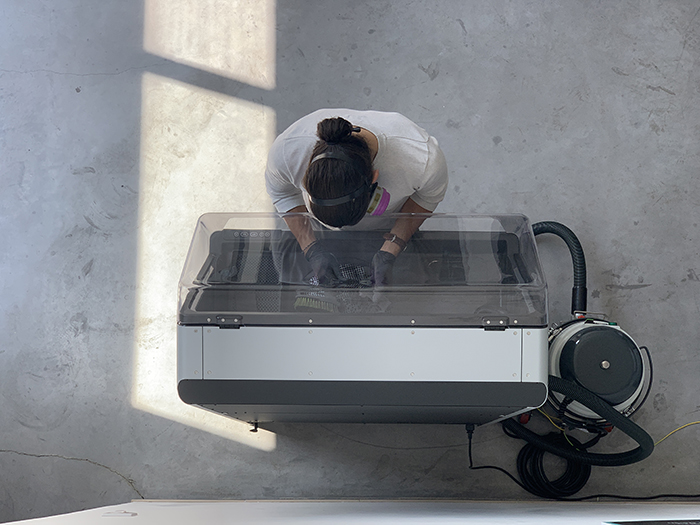
Finally, in order to extract the printed parts, clean them, recover the unfused powder and recycle it, the Fuse 1 comes with a cleaning station named the Fuse Sift. Basically, when you are done printing on the Fuse 1, the removable build chamber is moved to the Fuse Sift for the final cleaning, a step that is needed for any SLS machine on the market. More specifically, the Fuse Sift includes a cleaning tray combined with a vacuum that collects the unfused powder. To help clean the parts, the Fuse Sift comes with tools such as a large brush, 2 small brushes, pipe cleaners, dental picks, and two types of vacuum nozzles.
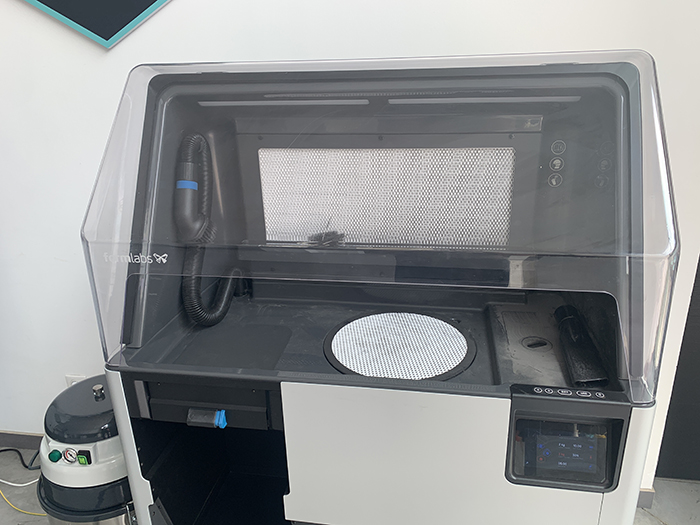
The Fuse Sift works as the post-processing station in order to remove the unfused powder and clean the 3D printed parts
2. Setting up the Fuse 1
Again, the Fuse 1 has been built as a desktop machine, and Formlabs has put a great effort to make the installation of the machine much easier than any industrial system out there. Even though you will need to be at least 2 to get it out and position it, only about 60 minutes are required to set up everything and start printing. In contrast to other SLS solutions, the Fuse 1 is powered by a regular AC socket, and owing to its small build chamber, the temperature control is easily maintained, avoiding the need for any specialized air handling equipment.
The installation basically consists of plugging the power cables into the Fuse 1, connecting the Wi-Fi antenna, and turning on the printer. As a second step, the user is invited to connect the printer to the internet through Wi-Fi or Ethernet in order to register the machine online. An extra step, consisting of leveling the machine by playing with each printer’s feet might also be needed.

At the top right of the Fuse 1, up to 9kg of nylon material can be added to the hopper
On the other hand, for the Fuse Sift, you will need to assemble or connect a few components such as the sifter mesh, the surface grate, the tool shelf, the powder catch tray and the vacuum as well as the power cables. Once this is done, the Fuse Sift simply needs to be turned on.
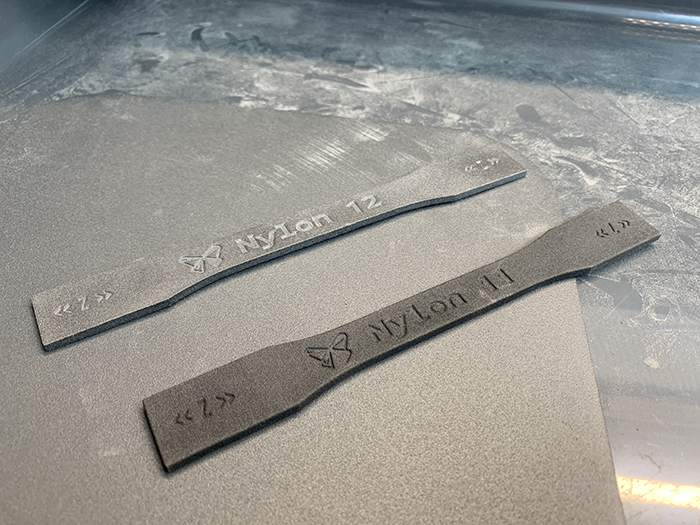
Regarding material compatibility, we were supplied with Nylon PA12 only, which is one of the two materials available on the Fuse 1 with Nylon PA11. While PA12 is supposed to offer high detail and great dimensional accuracy, PA11 is a ductile, strong, and flexible material.
In order to install the material into the printer, Formlabs includes an ID card with each new batch of powder you order. This ID card contains “powder credits” which authorize, track the amount of remaining powder and warn the user in case of low quantity. The second step is to fill the material cartridge with powder using the Fuse Sift and following the screen guidelines. It can then simply be moved and placed over the hopper in order to pour the powder, Formlabs recommends adding at least 6 kg (13.2 lb) of material into the tank.
Before launching a print, the removable build chamber need to be inserted inside the printer while the screen control of the Fuse 1 direct the user through a check-list to make sure the printer is ready to operate in the best conditions. Typically, it asks to verify that the build chamber is empty, that there is the required level of powder, and that some critical components, such as the mirrors are fully cleaned. Once the checklist is done, the print can start.
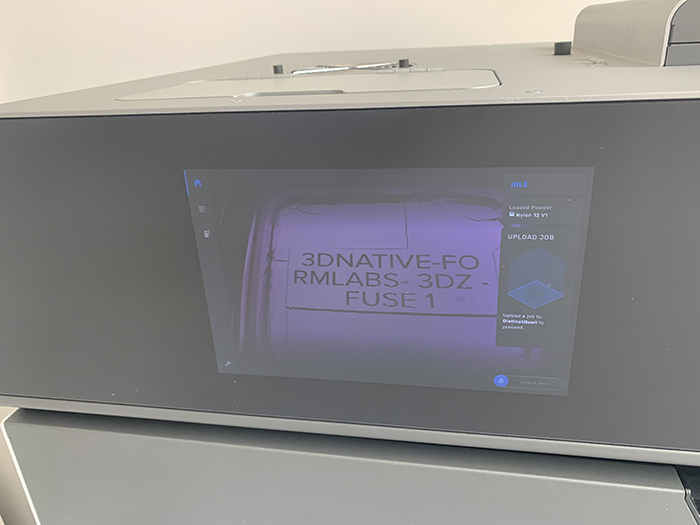
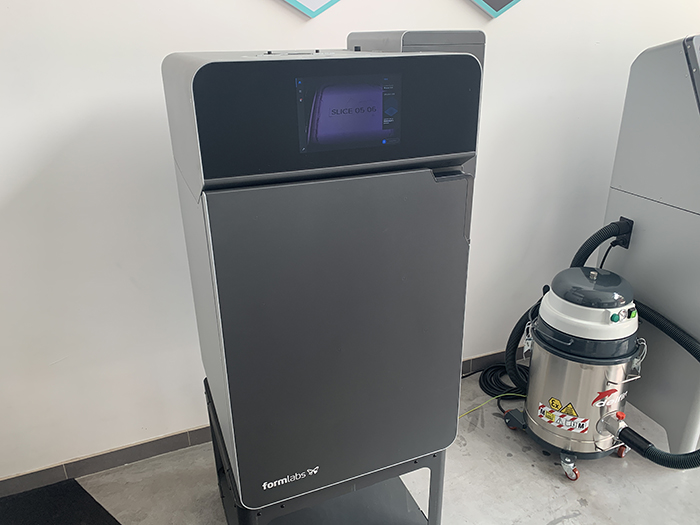
The Fuse 1 displays a 10.1″, full-color LCD touchscreen. A camera inside the printer offers a live check of the print
3. PreForm Software
In terms of software, Formlabs had the fantastic idea to keep its well-known PreForm slicer that runs on all of its SLA Form 3D printers. It is exactly the same software except that it includes some specificities related to the Fuse 1. Indeed, printing with an SLS 3D printer requires specific design and printing specifications such as minimum wall thickness, minimum distance between two parts of a model to avoid thermal warping effects, minimum hole diameter or the need for a drainage hole to remove non-fused powder etc…to help with this, Formlabs came up with some extensive and useful design guidelines that are available on their website here. Those guidelines are critical to understand when designing a part to be printed on the Fuse 1 as it may lead to failed prints. While some slicers can automatically alert you on some design requirements, the PreForm won’t give you any notifications if the wall is too thin or if a drainage hole is missing. Once the file is ready on PreForm, it can simply be sent from the computer to the 3D printer through Ethernet, Wi-Fi or USB cable.
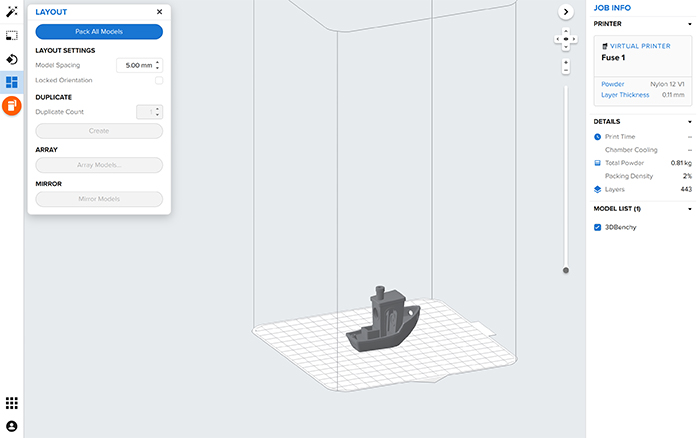
For the Fuse 1, Formlabs works on a SLS version of its reknown slicer PreForm
Also, one of the great thing about SLS is the ability to print without supports, as the printed part is supported by the unsintered powder. This greatly simplifies the slicing process and makes it possible to stack multiple models on top of each other inside the build chamber to maximize build capacity. This nesting capability, combined with the fact that SLS prints have better isotropy compared to FDM or SLA, makes this technology really interesting.
4. First Prints
As mentioned earlier, we focused our tests on PA12 only, starting our prints with a classic 3DBenchy from Creative Tools. Once printed and post-processed, the result clearly show a much higher quality in comparison to any desktop FDM or SLA 3D printer with layers that are simply not visible to the human eye. Even the text at the bottom of the print is clearly readable which is often not the case (or at least poorly) with FDM.
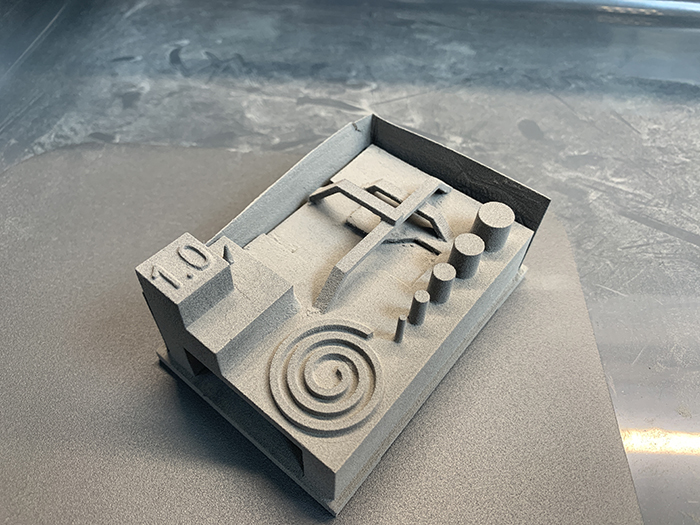
We also decided to print a torture test to check various tolerances, overhangs or its ability to print round parts. While this model is normally made for FDM 3D printers, we decided to put it to the test anyway. The only visible defect from the result concerns the wall thickness, which is too thin compared to the 0.6mm requirement advised by Formlabs in their guidelines. As a consequence, the wall couldn’t hold straight properly and few cracks appeared on it. Apart from that, the bridges, cylinders and the text were built nicely.
The third and last part we tested is a lattice cube model from APFI, which generally requires supports for overhangs and often suffers from stringing when made on a FDM/FFF 3D printer. The result obtained with the Fuse 1 is exactly what was expected without any defect.
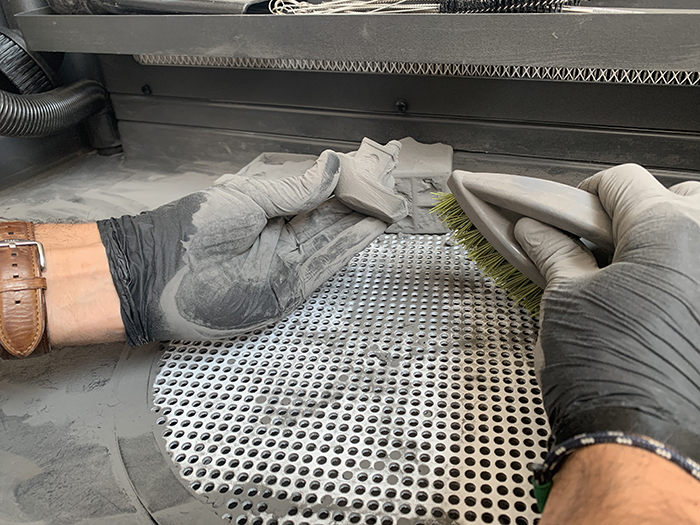
The post-processing on the Fuse Sift can be quite time-consuming but is necessary in order to clean the final parts
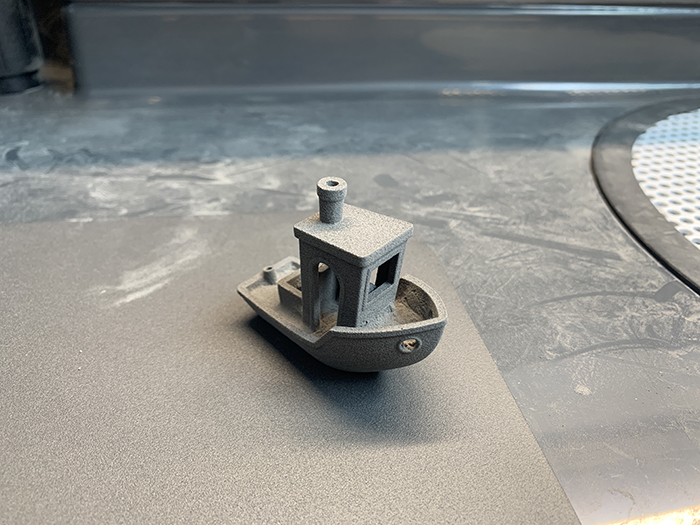
#3DBenchy by CreativeTools printed in PA12
The text at the bottom of the #3DBENCHY is clean and layers are invisible
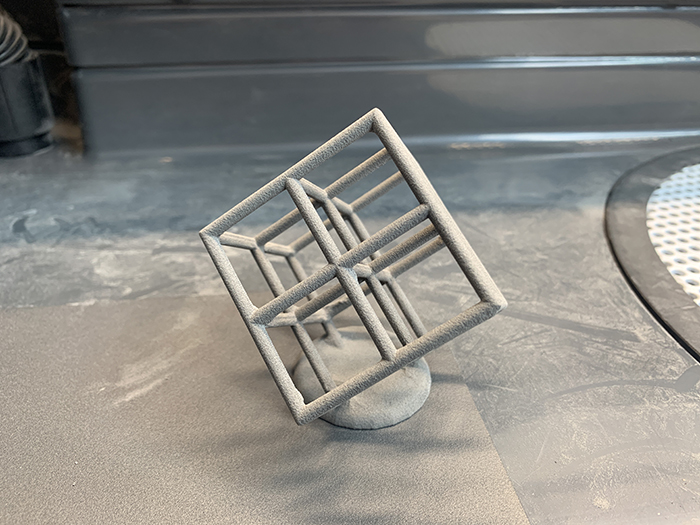
Lattice Cube 3D Printer Torture Test by Lazerlord
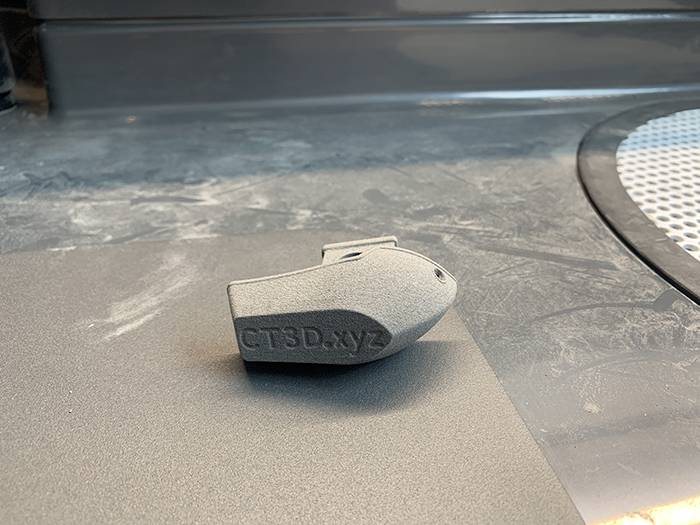
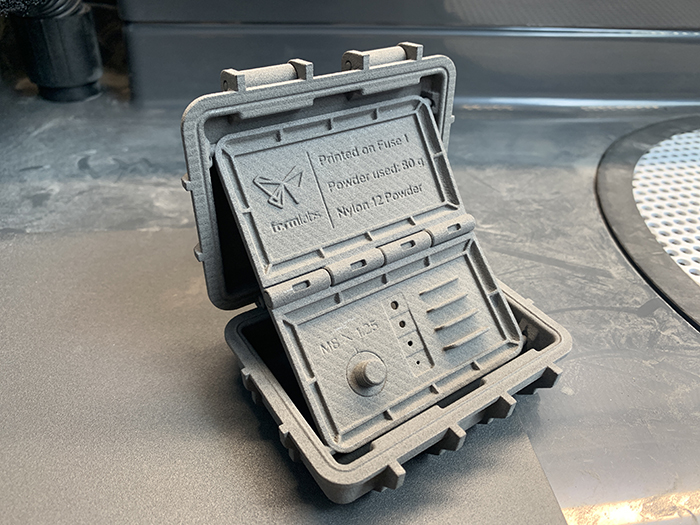
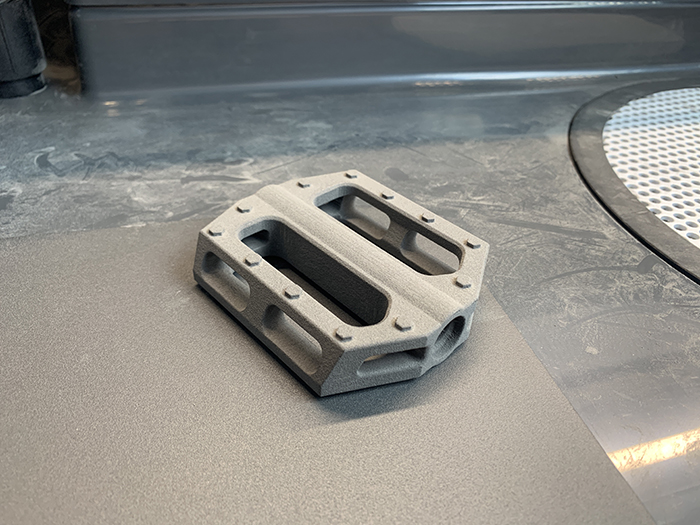
Formlabs also provided us with some 3D printed parts showcasing not only the quality but also the various types of applications that can be made using the Fuse 1, such as a bike pedal, a foldable suitcase (Formlabs’ own torture test) or some tensile test specimens made out of PA12 and PA11.
Finally, we would be remiss if we didn’t talk about the post-processing steps needed with the Fuse 1. Once the print is finished and the temperature of the build chamber has decreased enough, the user will need to move the build chamber to the Fuse Sift. This station allows the user to extract the full print volume, known as the powder cake, including the fused parts but also the unsintered powder. This process is in a way comparable to the post-processing steps of an SLA part. While it can be time-consuming it is a necessary job in order to fully clean the final parts. The Fuse Sift also recycles the unfused powder in order to mix it with fresh powder for the next print job. The material refresh rate is around 30% on the Fuse 1, meaning the user will be able to create a new mix using 70% of the used unfused powder and 30% of fresh powder.
One of the great advantage of SLS printing is the possibility to recycle the unsintered powder
Find all of our 3D printer tests in the 3Dnatives Lab
Conclusion
- 3D Printer Features and Accessories 9.5/10
- Software 9.5/10
- 3D Printing Quality 10/10
- Ease of Use 9.5/10
Pros :
– Office-friendly 3D printer
– Easy to print experience
– Price
Cons :
– Range of available materials
– Maximum printing volume
– Lacking integration of design guidelines into PreForm
While we had limited experience with printing in SLS, we were able to quickly set up the Fuse 1, printing our first parts without any long or complex training in less than a few hours. As Formlabs previously achieved with stereoligraphy, the manufacturer really rethought the whole SLS technology to make it an easy process from slicing the model on PreForm, to printing on the Fuse 1 and post-processing parts in the Sift. Even though, it is quite far from printing with a regular desktop FDM 3D printer, the overall Fuse 1 experience is really enjoyable and accessible to almost anyone.
With a starting price of $31,845 or €25,955 for the complete setup, we do believe the Fuse 1 is a great way to get into SLS 3D printing. On future versions, we would like to see more thermoplastics available, an increased build volume but also some improved guidelines or even notifications regarding design requirements that are directly included in the PreForm software. To conclude, the Fuse 1 will fit small service bureaus, design studios or engineers looking for high quality 3D printed parts at a fraction of the cost of regular industrial SLS machines.


