


Retraction and Displacements in FDM 3D Printing: All You Need to Know
Modeling is an important step in additive manufacturing. Once you have decided on a design, you need to make sure that everything works correctly by configuring and adjusting the printing parameters. These configurations will be carried out in the slicer that is compatible with the machine in question, enabling users to reduce certain printing errors to a minimum. Popular solutions on the market include Cura and PrusaSlicer. When using FDM 3D printing, one of the most important points to consider is the movement of the head in the print zone. To further explore this, we took a closer look at the types of displacement that are possible in 3D printing, as well the role of retraction in particular.
What Is Retraction in 3D Printing?
To begin, we first need to talk about retraction. This is a mechanism adopted by the 3D printer when its head has to move between two parts of the part to be printed. Retraction essentially pulls the filament back to prevent the material from flowing during the movements and displacements performed by the vacuum extruder during the 3D printing process, thus reducing the pressure inside the nozzle. If retraction is not applied, the extruded material may remain suspended between the 3D printed parts.
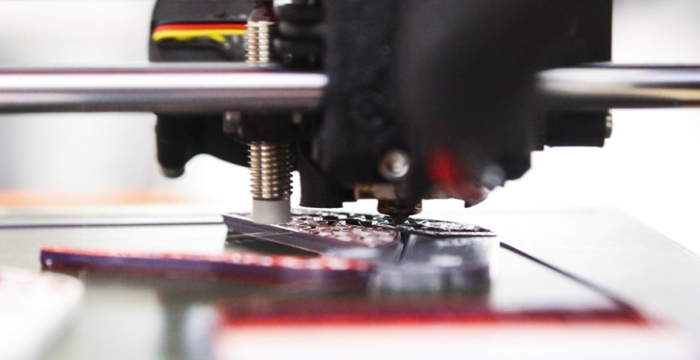
The extruder is capable of retracting a portion of filament to prevent it from flowing between printhead movements.
The parameters configuring this related to the retraction distance itself, which varies according to the material and the type of extrusion system chosen, especially when referring to the use of a Bowden or direct drive extruder. If we use the Bowden extruder, the movements will be cleaner because the filament will pass through a tube called a Bowden and the extruder will be mounted directly on the printer chassis. On the other hand, if we opt for the direct drive extruder, retraction will be better and the result more precise, as the filament will be pushed directly towards the nozzle.
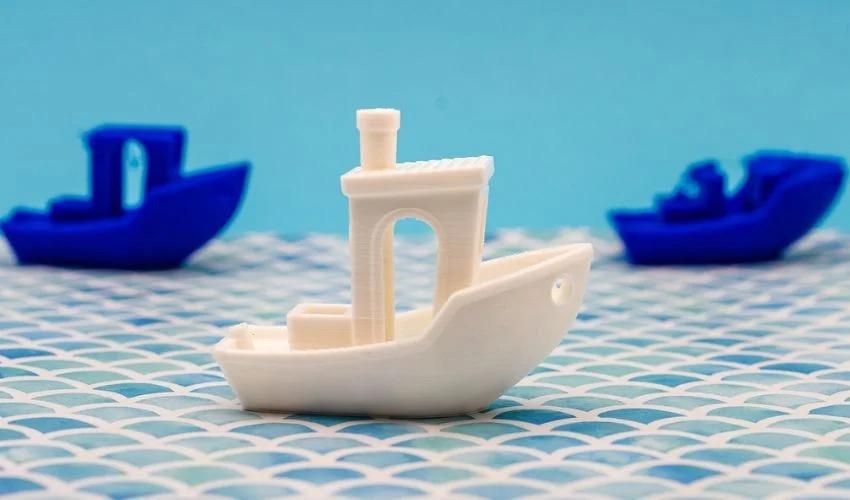
With flexible materials, on the other hand, it is necessary to disable the feed to avoid losing control of the print due to the delay in movement. Users must also consider the speed at which the extruder motor will retract the filament. If high speeds are used, the filament may be damaged and unusable to continue the process. However, fluid leakage is minimized. At the same time, if low speeds are used, the likelihood of leakage is greater, but the material remains safe and the print time is shorter. By using retraction, we can also avoid “stringing“, which is the thin strands of plastic between 3D printed parts, giving a better result.
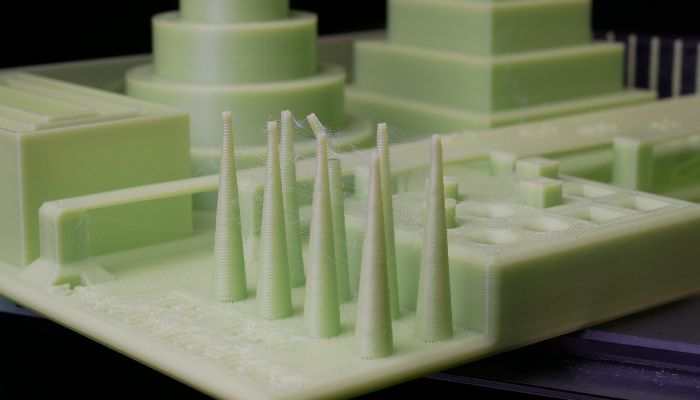
Stringing in 3D printing (photo credits: 3Dnatives)
Two useful settings that we have for the retraction process, and that feed into our analysis of the displacement types, are the retraction extra prime amount and the retraction minimum travel. The former is the additional amount of material that is extruded after retraction to compensate for the material that exits after a displacement movement. This is quite interesting for flexible filaments that require additional pressure for 3D printing. The second value determines the minimum distance the print head must travel before feeding is initiated. The values should not be too high, as short distances gain time by not performing the retraction, and it is important not to lose control and grip over the material to be printed.
Types of Displacements in FDM 3D Printing
As far as displacement types are concerned, we’ve outlined the three essential ones to consider. These will need to be adjusted and configured according to the design conditions and the result we want to achieve with our 3D printed part.
Combing Mode
Combing mode is a setting that allows you to specify how the print head moves between printed areas of the part. Combing controls the movement of the nozzle from the end point of one layer to the start point of the next in the 3D printed part to reduce the need for retraction, allowing the filament to flow into the print where it is less visible. Of course, there are situations where it is not possible to move the 3D print to the start point of the next layer, so some retraction is required, and by enabling this mode, the slicer will automatically choose not to retract when possible. In this configuration, we focus on solving and predicting possible problems on the inside of the piece and if a problem occurs on the outside, it is solved by means of retraction.
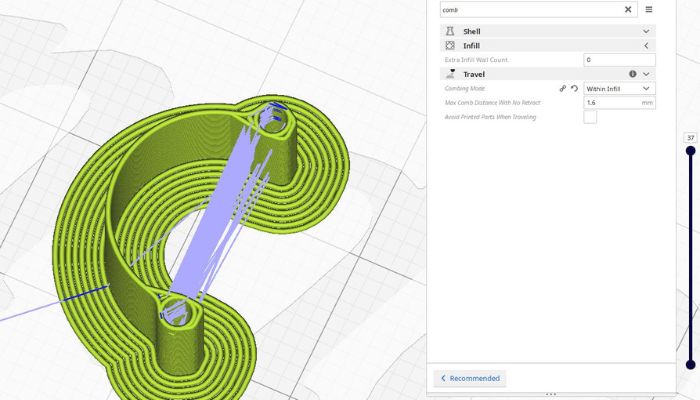
Photo Credits: UltiMaker
Depending on the preferred option, users will get different results in terms of print quality and print time. In each software, the names of the options vary, but usually in the “All” mode, the 3D printer head moves over the part to be printed, resulting in longer printing times. However, as mentioned above, the need for retraction is reduced. With the “Off” option, the movement of the 3D printer head over the already printed parts of the model is prevented as much as possible. For example, there is also the “Within Infill” option, which means that as much as possible the head will not move over the top and bottom layers of the part, but only over the part when it prints the infill. Or the “Not in Skin” option, which ensures that the nozzle never combs the outer layers to print models that require a smooth top surface and where some threading on the walls is acceptable.
If you are using a dual extrusion printer, it is recommended to use the “Within Infill” option to prevent inks or materials from being contaminated on the first and last layer. When using flexible material, it is recommended to use the “All” option to reduce the number of pullbacks required and ensure good print quality. Reducing the number of retractions is important to prevent the material from tearing or tangling during printing.
Avoid Printed Parts While Traveling
If you activate the “Avoid Printed Parts While Traveling” option, the printhead moves around the already printed parts instead of passing over them. This prevents the nozzle from coming into contact with already printed parts, which can lead to surface defects or unwanted material mixing. However, this option can only be used if you have previously enabled the Combing Mode setting. In general, using both settings can help improve print quality and reduce problems on the surface of the part. It can also prevent possible unwanted movements that can lead to possible defects such as warping, stringing, or deformation of the parts.
Z-Hopping
Z-hopping is a technique used in conjunction with retraction during 3D printing to reduce or remove material that may remain between the part and the nozzle. By enabling different types of Z-hopping, we can achieve much cleaner and more accurate prints. When Z-skipping is enabled in a 3D printing process, the print surface is lowered with each retraction. This means that the distance between the part and the nozzle increases as the print head moves away from the part, preventing material residue on the outside.
There are several types of Z-jumps that can be activated during 3D printing. For example, the Z-jump after the purge tower creates a gap between the purge tower and the part, preventing material residue on the outside of the part. The Z-jump during layer change is performed when the head moves to produce the next layer, reducing the possibility of damage to the printed layer and possible filaments between the tower and the part.
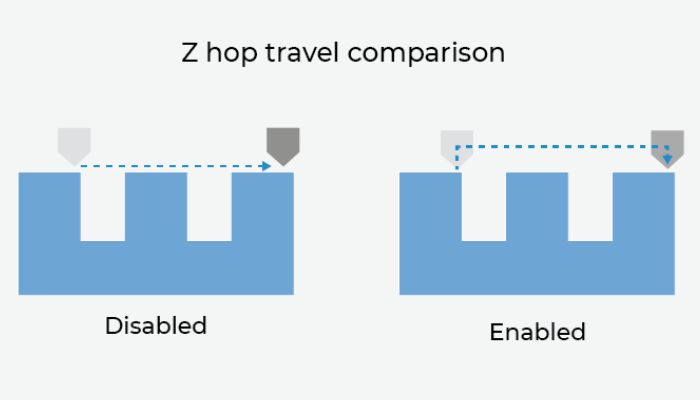
Photo Credits: BCN3D
Have you had issues with prints due to retraction? Let us know in a comment below or on our LinkedIn, Facebook, and Twitter pages! Don’t forget to sign up for our free weekly Newsletter here, the latest 3D printing news straight to your inbox! You can also find all our videos on our YouTube channel.


