


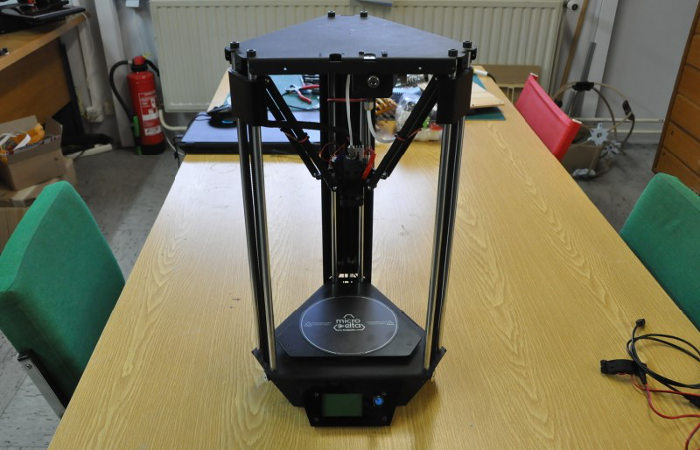
Lab 3Dnatives: MicroDelta Rework 3D Printer Test

As part of our series of 3D printer test articles, the 3Dnatives Lab is committed to testing cheap 3D printers in addition to more expensive, prosumer printers. This time, we are testing the MicroDelta Rework 3D printer kit which retails at $430. The Rework is the next generation in the MicroDelta range, and the Toulouse-based manufacturer has upgraded this printer with a variety of changes from the original.
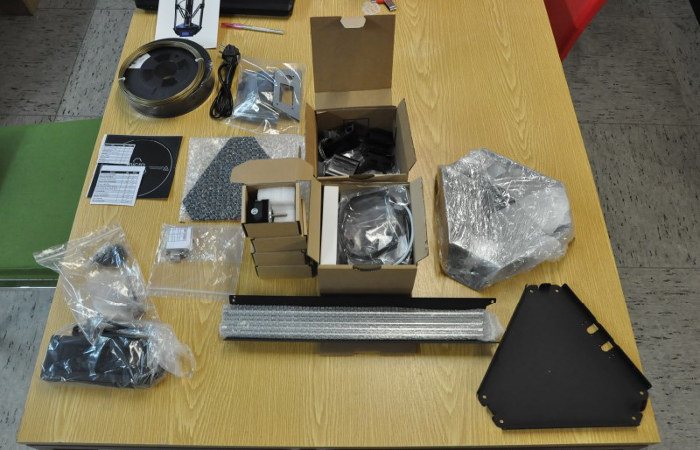
Currently, the MicroDelta Rework is only available as a kit, which you must assemble yourself. People who are less DIY-inclined will therefore perhaps want to avoid this printer.
Before showing you the results of the test, here are the technical specs of the MicroDelta Rework. The printer has a build volume of 150 x 150 x 200 mm (vs 110 x 110 x 170 mm for the original) within its 530 x 261 x 285 mm dimensions. It also has an increased speed at 80mm/s. The MicroDelta Rework has a minimum layer thickness of 100 microns on the X and Y axes, and 50 microns on the Z axis.
This low-cost 3D printer kit’s chassis is made entirely of folded aluminium, and includes the parts, auto-calibration, and a variety of other options such as a heating plate kit for €40 or an LCD screen, also for €40 extra. Overall, this is a nice printer for the price.
1. Assembly
The company claim that the full printer can be assembled in just 3 hours. However, if this is your first 3D printer kit, it will likely take longer than this. This is because of the sheer amount of parts to assemble (over 200), which you’ll need to read the instruction manual to put together. Take your time assembling it, there’s no race – and you want to make sure you assemble the printer correctly.
The instruction manual is very good, and easy to understand. This makes it much easier to assemble the printer. In addition, all the instructions are available in PDF format and are written clearly. Each step is well-detailed and there is little risk of getting confused.
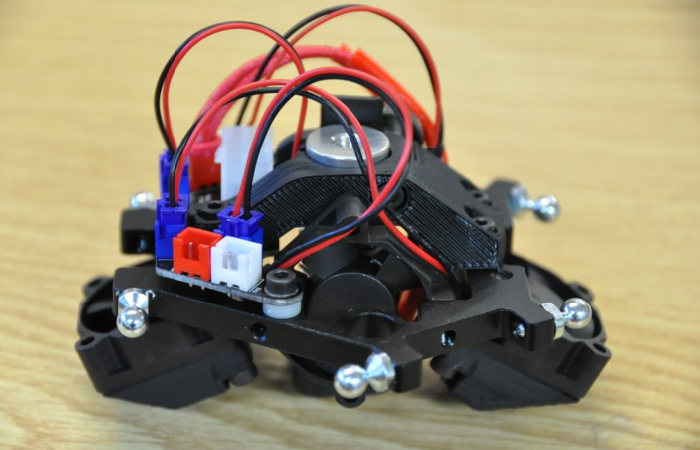
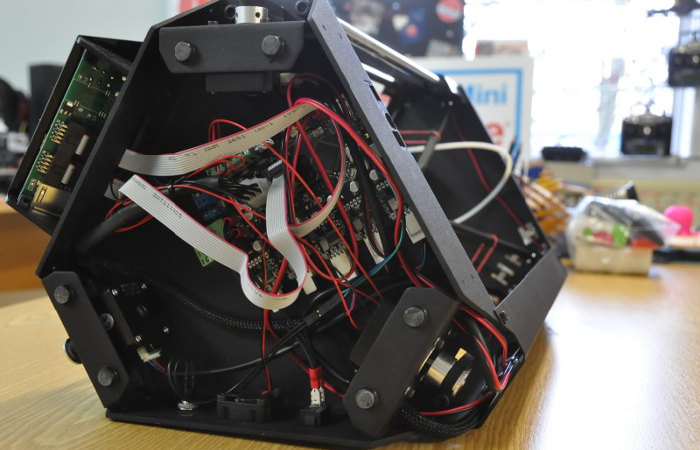
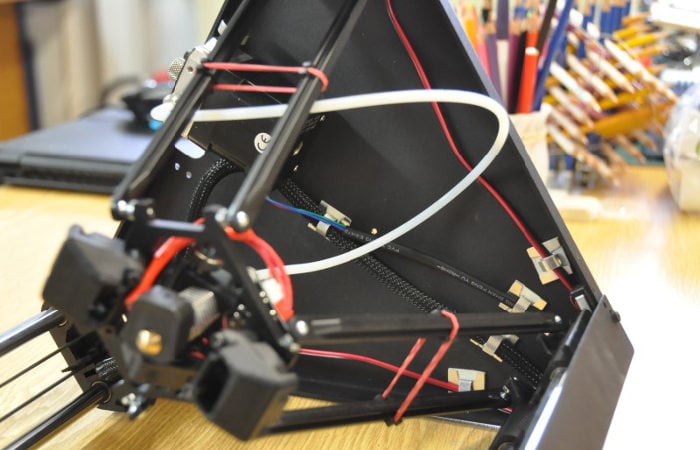
A novelty of the MicroDelta Rework is the appearance of its aluminium chassis. This has advantages in that everything fits to the millimetre, and there is no need to force parts to fit together. Moreover, all the various screws fit together perfectly, and in general the assembly is very simple.
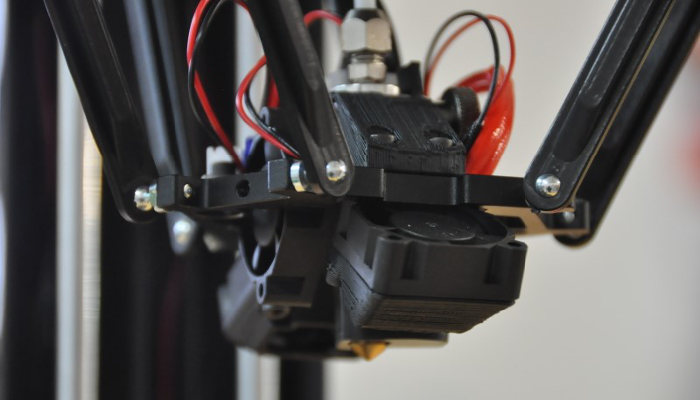
The documentation helps enormously when fitting the extruder together and mounting it. It contains a Hexagon extrusion head with interchangeable heads (0.4mm) and 2 fans to ensure cooling at height. These are all directly connected to the interface board. However, in our assembly of the extruder we were missing a ball bearing which was key to its assembly. This was however an opportunity to test the after-sales service. After a phone call, 2 days later the missing part arrived. This was very reassuring and allowed us to finish with the printer’s assembly.
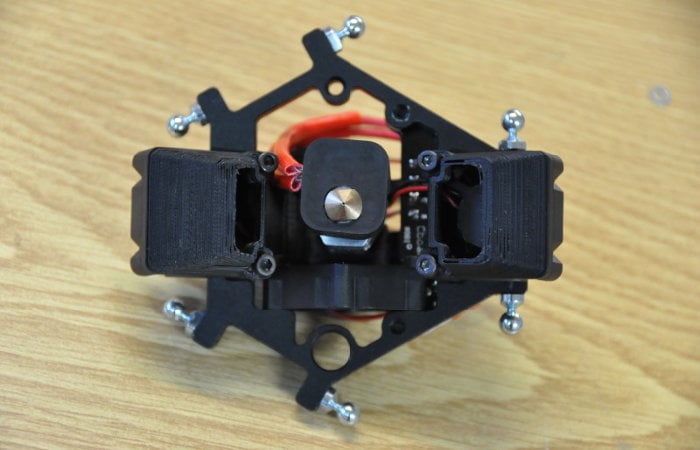
The motherboard fits together fairly simply if you follow the documentation carefully. Everything fits together and the different color codes help you to connect the cables. This ended up being far easier than we expected it to be. The only downside is that SD card can get stuck amongst in its port near the motherboard. Although you don’t need to regularly access it, you’ll have to be patient in trying to remove it.
The kit we received included 2 available options, the heated plate, and the LCD screen. After conducting our test prints, we were divided on the heating plate’s usefulness. The printer comes with a “BuildTak” type surface and the adhesion of the PLA is really good. Therefore, we were divided on whether you require a heated plate for printing PLA. However, if you plan on printing ABS, you definitely do need it.
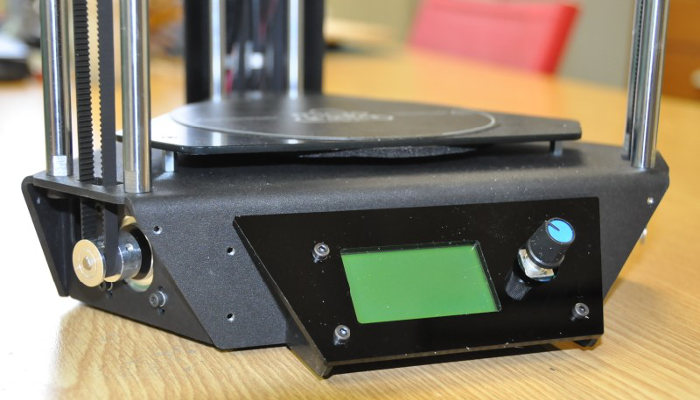
The LCD screen, although not essential for printing, allows you to use the printer without being connected via your computer. It also displays some practical information such as the estimated printing time, and the different temperatures.
2. Software
For our 3D software, we used the modified version of Repetier provided by eMotion Tech. This modification dealt with the calibration of the 3D pritner and was very practical with its step-by-step guide. During assembly, you will have to assemble a switch with its 3D printed support to be mounted on the printer during calibration.
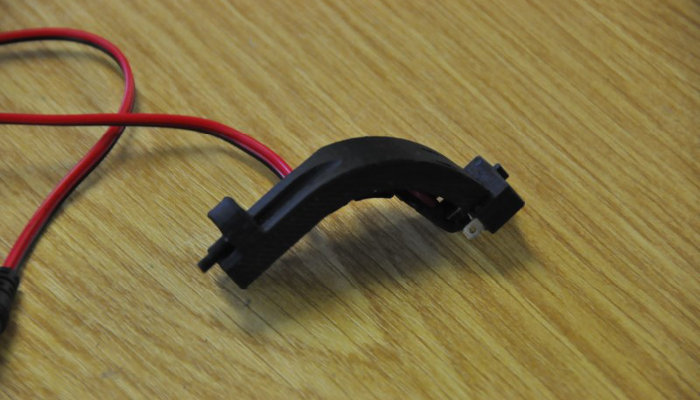
The MicroDelta Rework’s 3D printed support.
4. Printing
Once you’ve set up the printer, you’re ready to print! Firstly, you can print your filament spool holder. During printing, the filament is placed on top of the 3D printer, saving space on your desktop. This is a very useful aspect of the MicroDelta Rework.
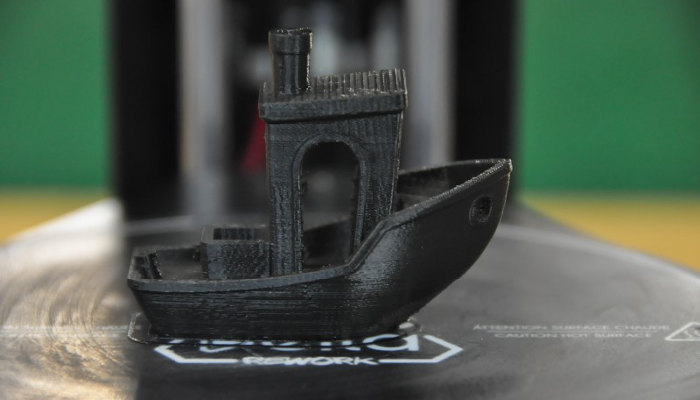
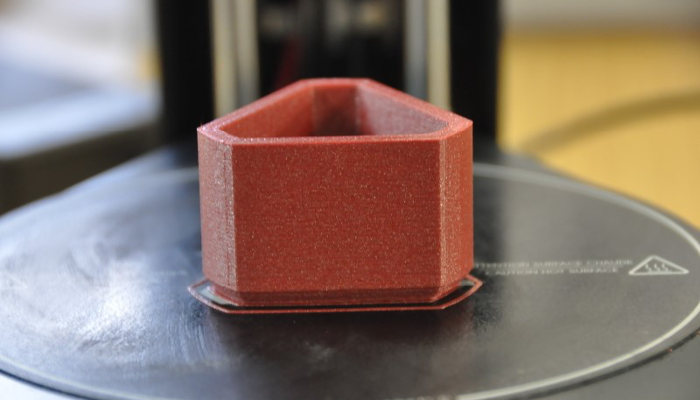
We started off by printing the infamous 3D Benchy torture test. We found the result to be fairly good, which you can see below printed in 200 microns. There were however some problems in the finish, mainly related to the calibration being set for too fast printing. After correcting this, we launched the same print in 100 microns. You can see both results below, as well as some more prints we tried:

What do you think of the MicroDelta Rework? Let us know in a comment below or on our Facebook and Twitter pages! Sign up for our free weekly Newsletter, all the latest news in 3D printing straight to your inbox!


