


3Dnatives Lab: Our Test of the Micro 3D Printer by M3D
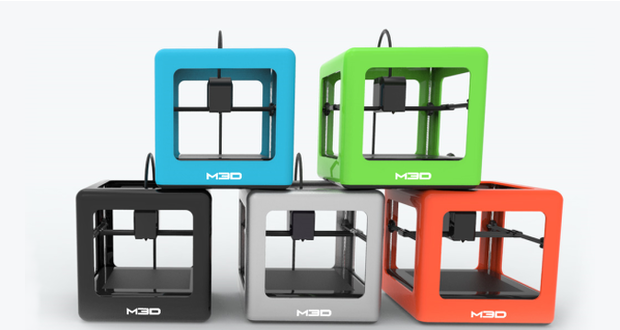
If you’ve been watching the 3D printing market for some time, you’ve heard about the Micro from M3D. The Micro 3D printer is a compact printer that was launched through a Kickstarter campaign in April 2014, and was advertised as one of the cheapest on the markets.
The printer from M3D had gathered a lot of interest at the time because it had nearly 12,000 backers and raised more than $3 million. With so much interest in this machine, the 3Dnatives lab decided to test this small printer thanks to our friends at Toon Remakers, who participated in this campaign and allowed us to come try out their machine for our review! (Thanks again guys!).
Unpacking
We decided not to post a photo of the packaging the printer was delivered in because the packaging in which it arrived in showed, quite obviously, that packaging was the least of their priorities. The M3D was delivered with a USB cable, the main plug, a filament coil and the installation instructions. With not too many items, it was pretty much ready to go right from the moment we took it out of its box.
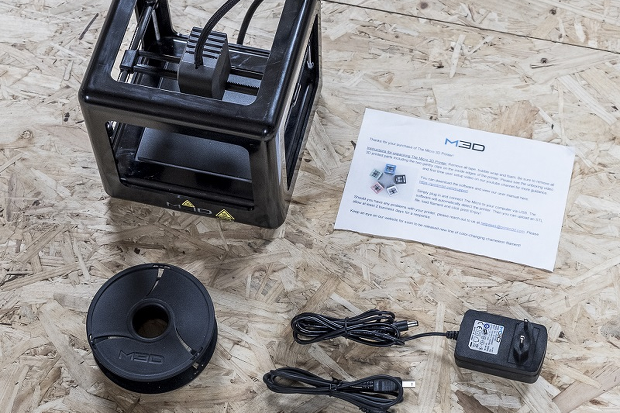
Everything given
Installation
There is nothing special to say about the installation of the printer. The filament coil is housed under the construction tray, which is rather good in terms of both visually saving space. It is important to note that the coils are not proprietary and that it is possible to use a commercially available reel by placing it next to the printer.
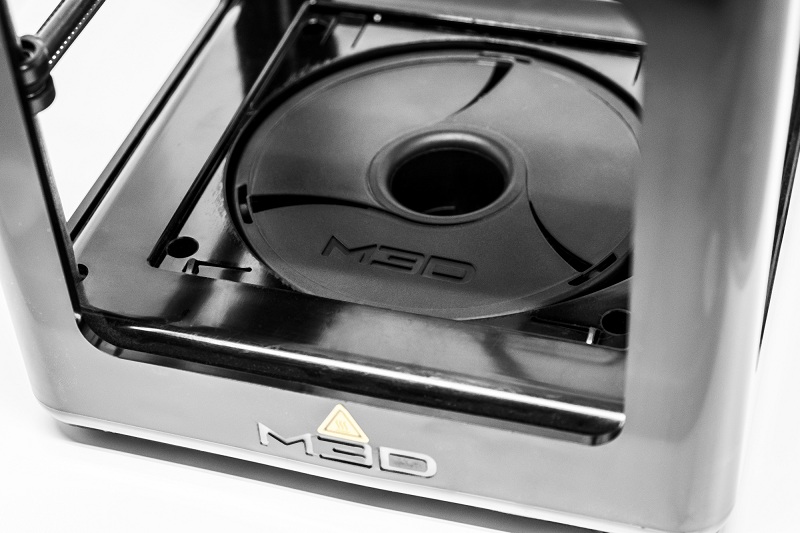
The coil housing under the tray
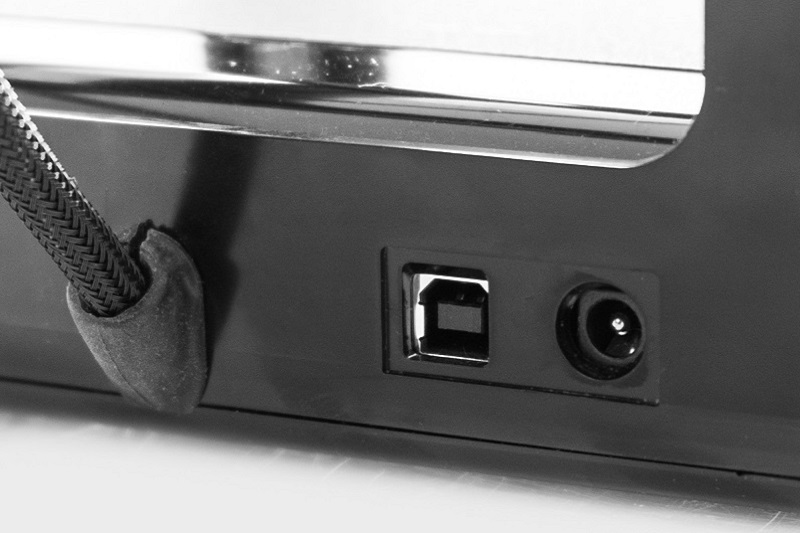
The USB and power port of the M3D
To illustrate all this, there’s nothing like a video:
Software
The software that was supplied with the Micro-3D printer is relatively easy to use and everything is configured in a very harmonious way. Because this, it puts this printer in the category of Plug & Play printers.
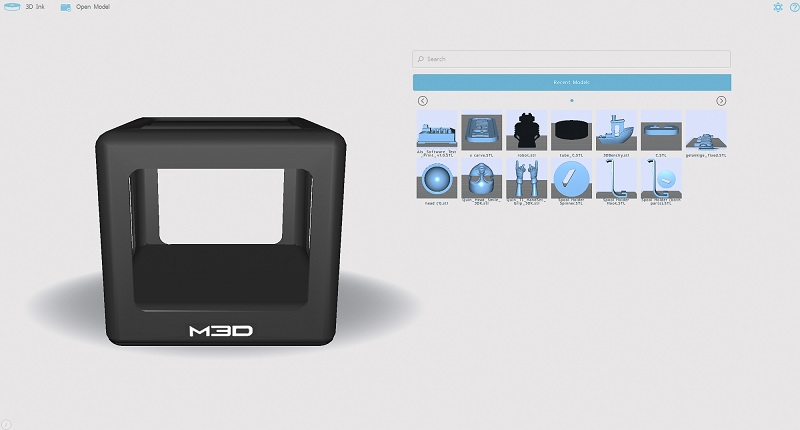
The software offers a clean interface
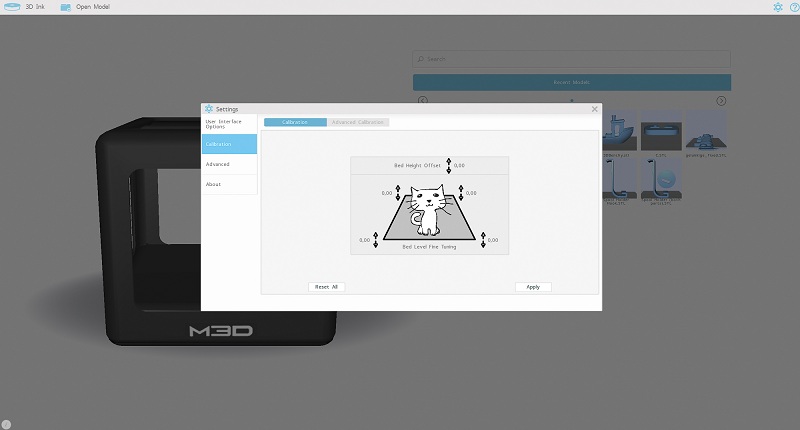
On the flip side, there is a configuration level that is limited to only four options: low (300 microns), Medium (200 microns) and Ultra (50 microns). The same logic applies to the filling parameters of your object (infill), which has the following levels: Thin walls, thick walls, low, medium, and high.
As a result, you will not be able to change settings for things such as the extrusion temperature, print speed, or retraction (for you experts). That being said, it’s up to you to control all of this on another software such as Cura or Repetier. When doing this, you will then need to import your G-Code onto the software of the M3D, but even here, some of your parameters will be overwritten by those of the M3D..
Printing
The Micro has a layer height of 50 to 350 microns with a print surface that is quite limited with only a tray that is 109 x 113 x 116 mm. The major advantage of this printer though lies mainly in its Plug & Play side, with the only negative point being that the print time is very slow.
Our object came out without any problems, but it took us almost 10 hours of printing (at 200 microns). Whereas a Replicator 2 by MakerBot can do a print like this in less than 4 hours.
The M3D’s printing plate is not heated and PLA is favored in comparison to the ABS, which is sold on their site. While they launched a Kickstarter soon after their original to fill this missing element, according to their website today, there is still no heated tray
The creation of our object in photos:
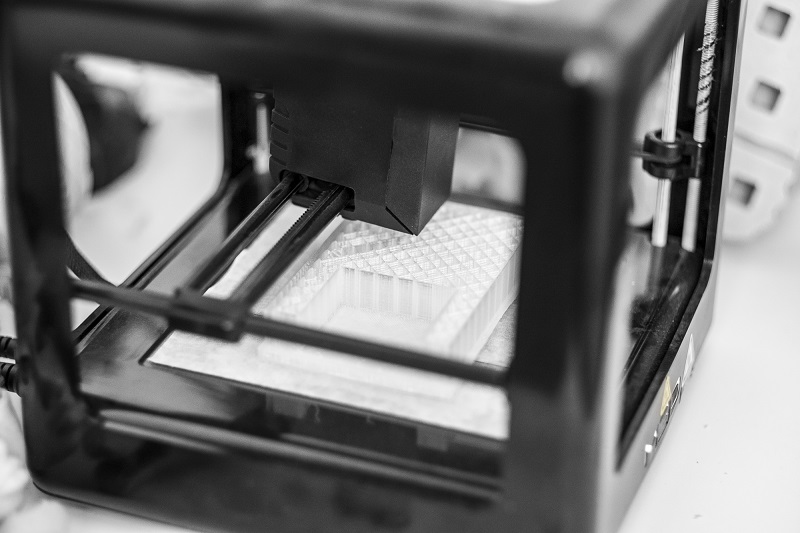
Printing of the object
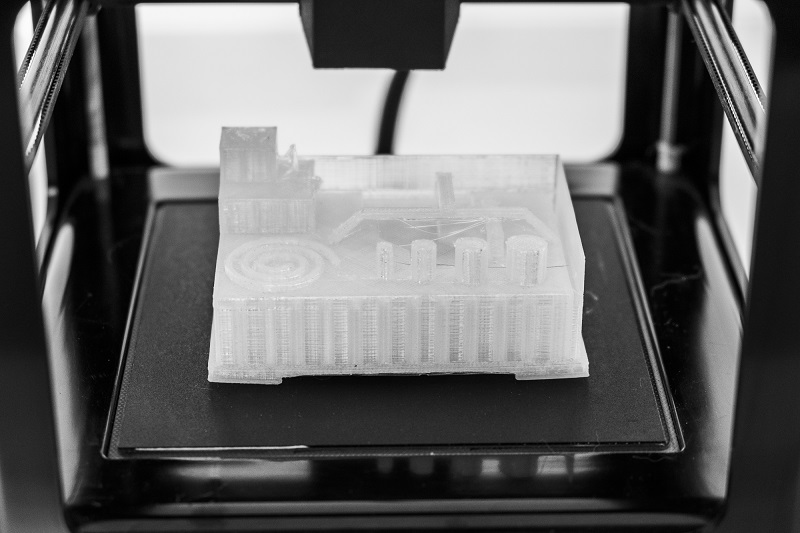
Our result
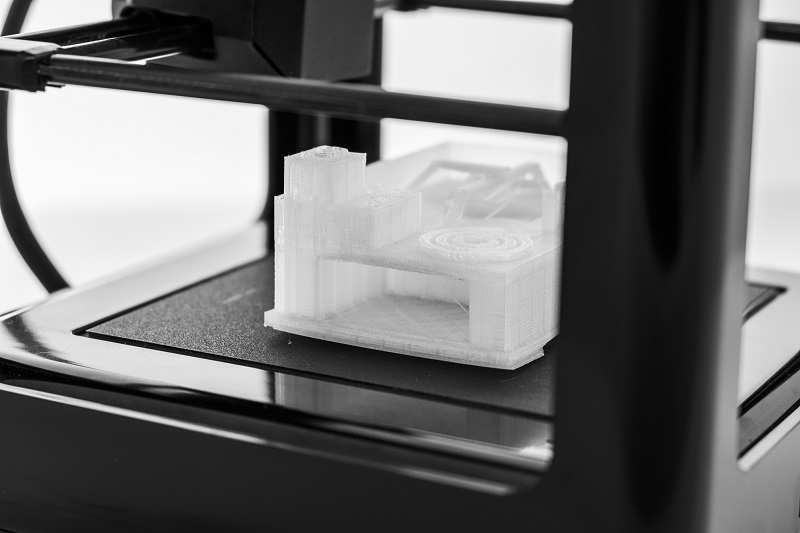
It did a nice job on the bridges


