3Dnatives Lab: Our Test of the Replicator 5G
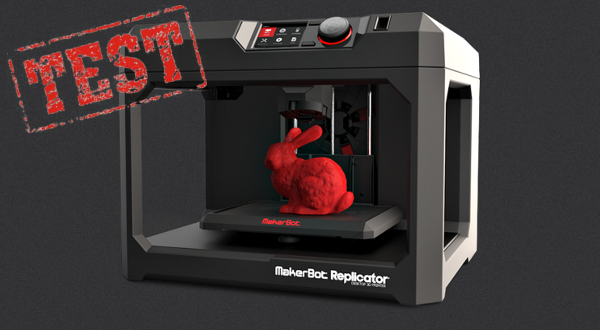
Everyone can agree that these are the days of the 3D era, which is one of the reasons why we love doing these test. It gives us an opportunity to check out this fascinating technology, and to help you in your quest for a new 3D printer! Today, we are going to be going back in time to the 5th generation of MakerBot by testing out their Replicator 5G. This test will be special because as you know, our reference machine is the Replicator 2. Therefore, we are really excited to see what improvements have been made in regards to setbacks that we typically find with our machine. This will also give us the perfect opportunity to talk about Plug&Play and reliability!
We want to give a special thank you to FabShop for letting us test this machine!
Packaging and Hardware
Once again, it is hard to find any criticism in the packaging from MakerBot. The printer is very well packaged in its cardboard box, with all the accessories located right above the printer. At first glace, you may wonder where they are because no pieces are visible and with the thickness of the packaging, one can hardly believe that they are even there!
-
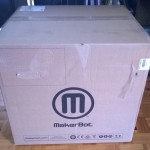
- The box
-

- The accessories box
-
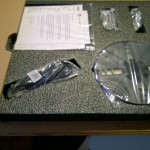
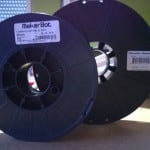
- PLA coil, cables and extruder
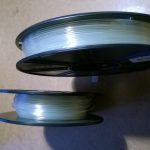
The printer isn’t even out of its box yet and we have discovered that they have delivered the machine with filament. It is the same type of filament that was supplied with our Replicator 2, transparent PLA 1.75 mm, but we did notice that the coil is much thinner than before; therefore it is also a lot larger.
-
- the coil of the Replicator 2 and the new coil behind it
-
- Thinner, larger …
-
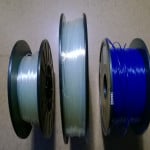
- Replicator 2, Replicator 5G, Traditional Coil
In the photos above you can see from left to right, the coil of the Replicator 2, followed by that of the Replicator 5G and a reel of filament that was bought on the web (blue filament). Finally, it is time to remove the printer from its packaging . It is here were we see the reason for their modification with the filament. The coil is now no longer attached to the rear of the machine because it is now an integral part of it. Now you can’t just speak about the ‘proprietary’ coil because it is possible to use the ‘traditional’ coils by placing them on a coil stand. We must note that this could change the deal, especially for those who manufacture the coil. It would be a good idea for builders to come together to create a standard format, but that’s another story.
-
- The new reel in its retractable drawer
-
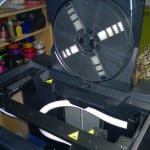
- a closer look
-
- An “old” coil secured by a simple adhesive
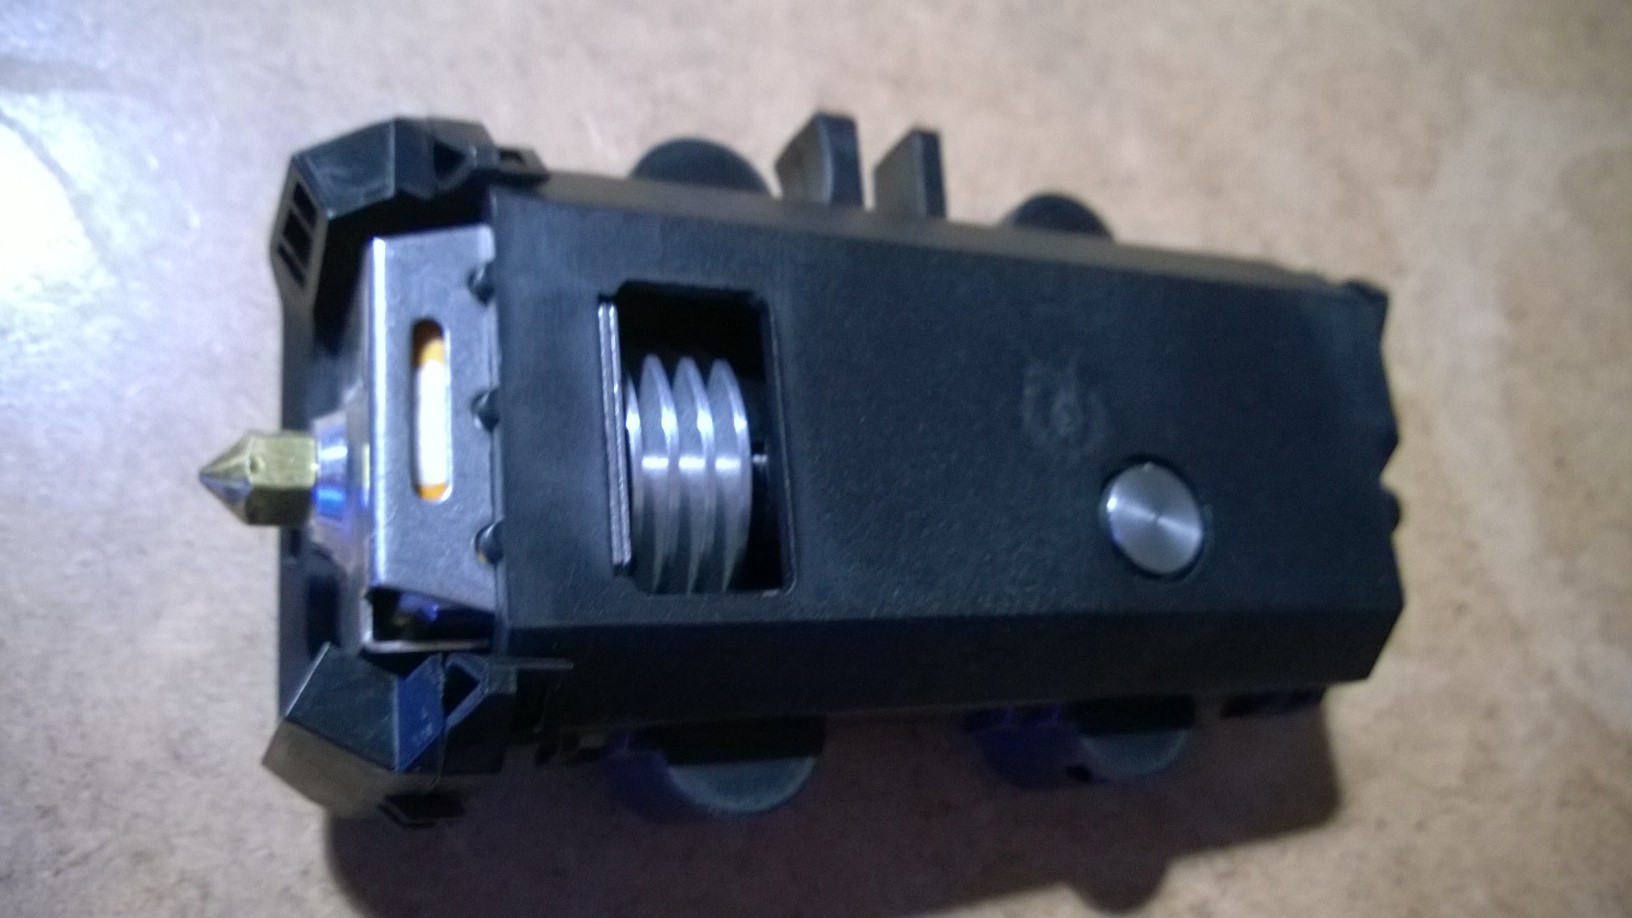
There are definitely not many accessories in this box. There are only a USB cable, power supply, a filament coil, an extruder, and the instructions to help you quickly connect your printer. Before we go further, we want to talk about this extruder as it had caused a lot of controversy when it was launched in the Replicator 2. When looking at the extruder, at first glance it looks like one from E3D, well wrapped in its plastic case and magnetized for easy fixing in the printer. It’s a very beautiful piece!
One of the other debatable points with the Replicator 2 was that its acrylic construction tray, which tends to deform fairly easily (when it wasn’t already deformed). It seems that MakerBot heard the comments and we now find a glass construction tray with dimensions that are somewhat different at 26.5 cm in width (X) and 20.5 cm in depth (Y) in contrast to the Rep 2, which had a width of 30 cm (X) and a depth of 15 cm (Y). When looking at all the papers that were sent with the printer, we find the ‘blue tape’ that you use to help facilitate the adhesion of the PLA. As far as we are concerned, we like our brown tape from TESA (model 4309), which has already proved its worth.
-
- The tray out of the box
-
- Tape TESA 4309
-
- The mounted and ready-to-use tray
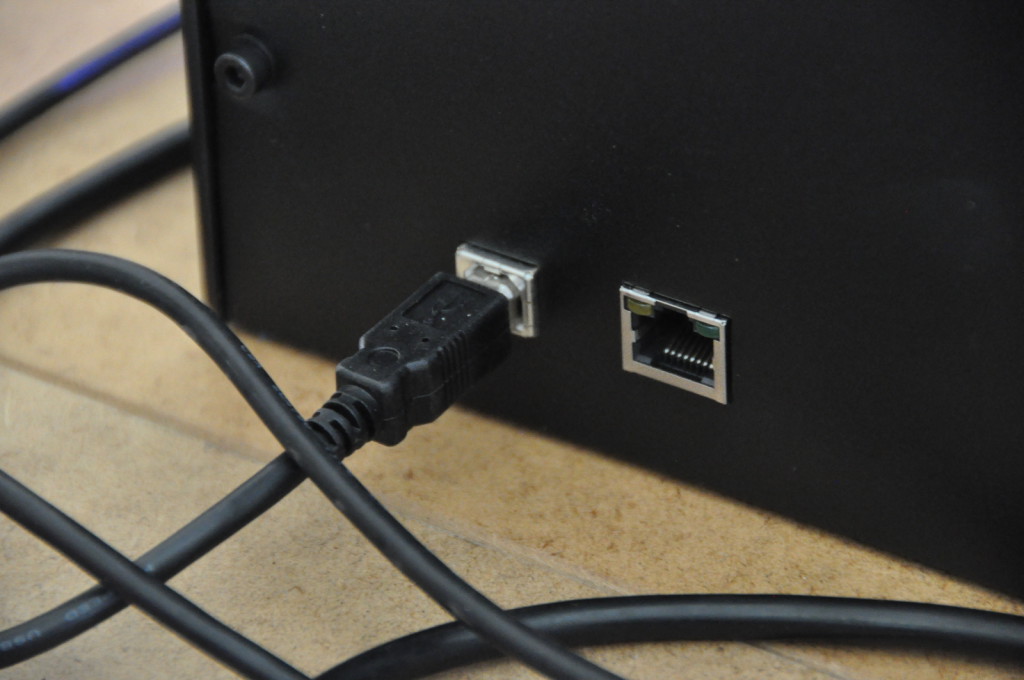
For communication and connections there are some new things we’ve found. The first is to say goodbye to an SD card because now there is a USB port at both the front and back of the machine to connect it to your computer! We also have found an RJ45 port that should allow you to connect to a network cable. Another positive point is that the power box is now integrated into the printer
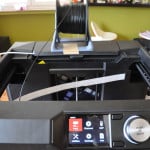
The control panel has been completely redesigned and leaves room for a color screen that is controlled by a large button on the ‘Jog Dial’ (a simplified button that turns from left to right) followed by two small pushbuttons. Aesthetically speaking, it blends into the printer well and is much more user friendly than that of the Replicator 2 (it is now more difficult to press the wrong button for those of you who have big fingers). The menu has 6 possibilities to control the printer “manually”.
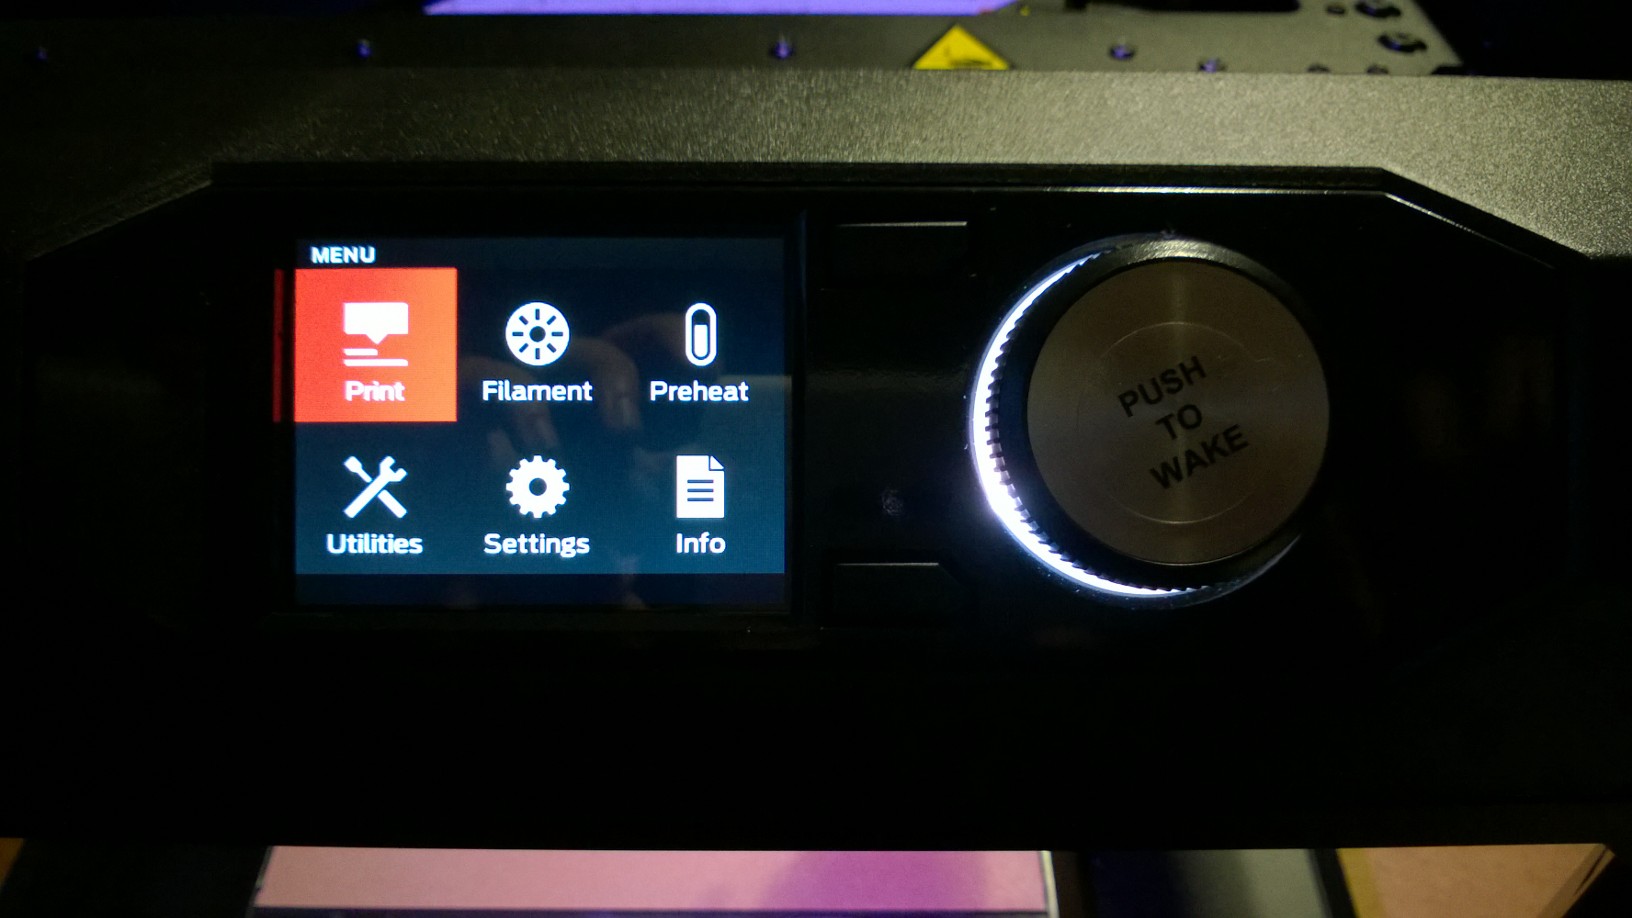
- Print: provides access to all printing features and allows you to navigate through your object libraries (USB key, internal storage space, Thingiverse libraries, and purchased files).
- Filament: Allows you to change your filament coils
- Preheat: To start or stop the extruder heater
- Utilities: Provides access to advanced printer features such as upgrades, camera systems, settings, or powering off.
- Settings: Accesses the printer settings
- Info: provides access to printer statistics and firmware.
-

- Color display with a nice design
-

- Neat, clear and accurate
-
- Viewing images from your files
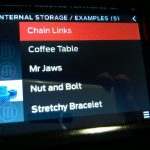
It should be noted in passing that only one object was actually in the storage space of the printer and not 5 (this may have been a problem with the machine?). But above all that, the 5 files that were on the printer were the same as on all the other versions of the printer. MakerBot should have made a little bit more effort in this front..
Software: MakerBot Desktop
With the single file on the internal memory, we were already impatient to start printing and in that impatience we didn’t bother to check if the printing plate was well calibrated and decided to trust the factory settings. After all, we can’t be the only ones, right?
The printing was started directly from the machine’s control panel. The process hasn’t changed much when comparing it to older versions. After the tray alignment, the return of the individual axis to their starting positions and the rise in temperature of the nozzle, printing began and finished smoothly. Pretty good!
We still have to install the printing software, which, as you should know by now, has evolved since the release of the Replicator 2X. Good-bye Makerware and hello MakerBot Desktop. As a reminder, our computer is equipped with Windows 8.1 with the latest updates installed. The installation of the software does not pose any particular problems (remember to install it in administrator mode) but we did notice a small, annoying point: in order to install MakerBot Desktop, you must first uninstall Makerware. Although this shouldn’t be that annoying, the current version of MakerBot Desktop only supports the 5th generation Replicator..
For those of you who have a Replicator 2, you will need a second computer (or use another software like the ReplicatorG) for this part. As mentioned above, this was only a minor problem, but as they are onto their 6th generation of printers, this software is now the standard one used.
Once you have installed the software, you’ll notice Thingiverse (MakerBot’s file sharing platform) has already been integrated into the software. I’ll leave it up to you to decide for yourself if you like it or not, but it is clear that the two go together very well.
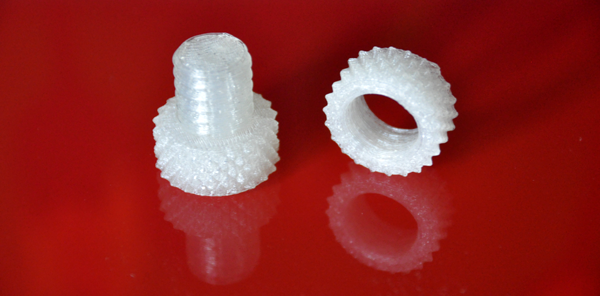
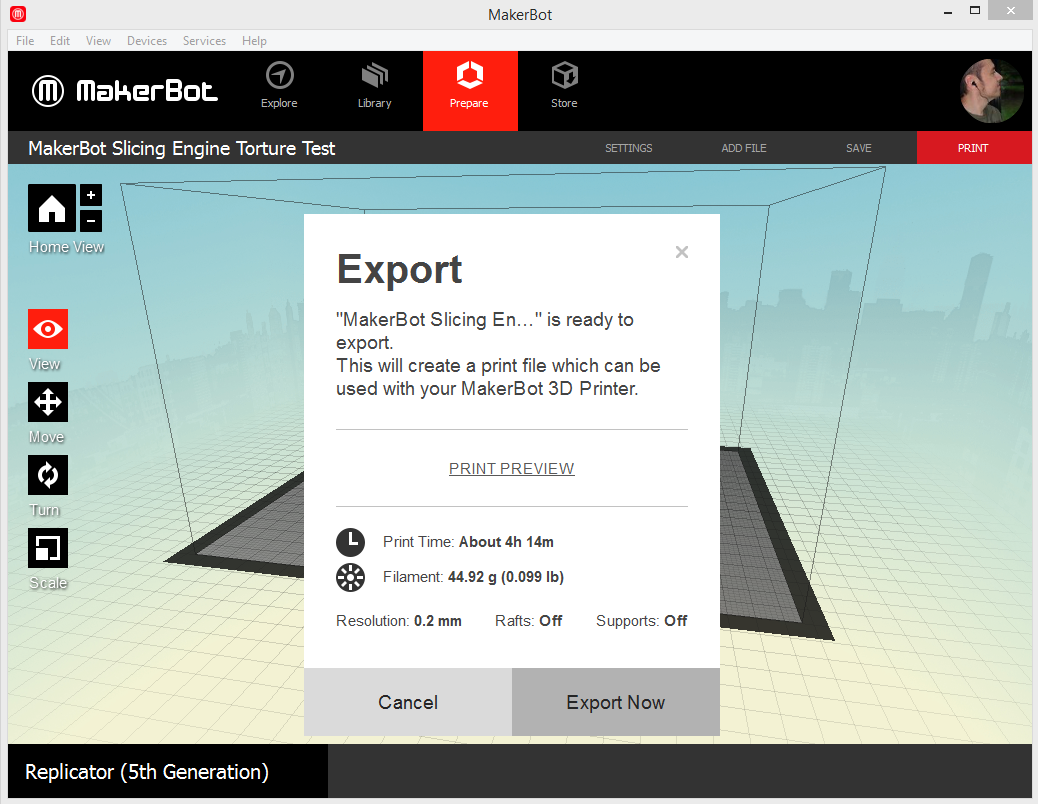
Simple and efficient, we took a closer look at the announced new additions. The most obvious of these was the preview of printing. Yes, you can now simulate printing on your screen to see if there will be any blockages.
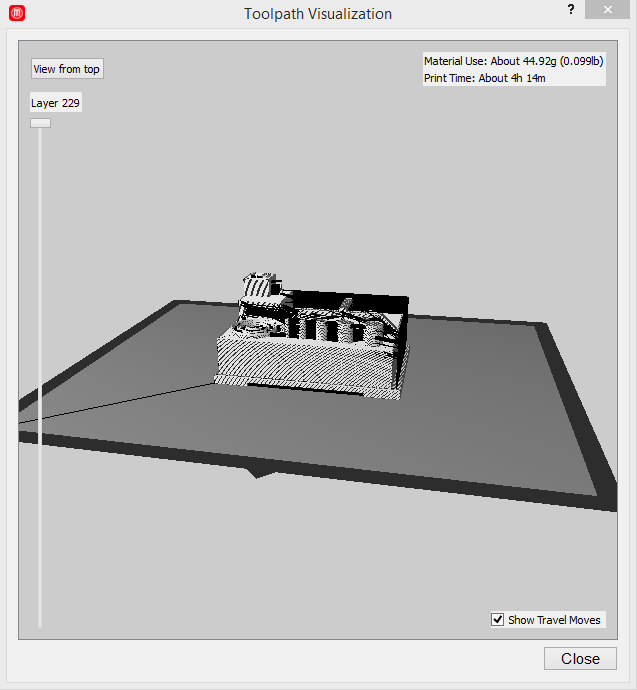
The sidebar on the left allows you to navigate among the layers
Not only is the option convenient, but in addition to this, you will also have some parameters that were previously lacking such as the printing time or the amount of filament required. This means your printing will no longer be interrupted due to a lack of filament!
It is important to note, however, that this doesn’t prevent accidents for happening, and when printing our object, the printer stopped for no apparent reason. We assume it was either due to it not having enough filament or due to the spool being new. Although this was a setback, we were able to see the reporting system in action. When the printer does stopped working (like it did for us), the printer will ask you to fix the problem and then lets you resume printing from where it stopped. It is a real improvement that was demanded by many people.
Another improvement that has been highlighted by MakerBot is the built in camera. On paper, the concept may seem nice, but in practice it is more of just a gadget than anything else. The options when operating the camera are limited, and you shouldn’t expect anything HD. With a sensor of 320 x 240, your photos will be good enough to share on Facebook. We’re expecting a little more such as a time-lapse, automatic photo sending and the integration of Thingiverse (with maybe an addition of a photo category of “I made One”.