


Houdini for 3D Printing: The Best Techniques for Modeling and Error Prevention
Developed by SideFX, a Toronto-based software company, Houdini is a powerful solution for 3D modeling, animation and special effects. The software is particularly well known for its procedural approach and is mainly used in the film and gaming industry, especially for creating complex simulations and visual effects. In the film industry, graphics software is used for special effects in large studios such as Walt Disney Animation Studios, Pixar or DreamWorks Animation for films such as Frozen, Fantasia 2000 or Zootopia. But in addition to animations and special effects, Houdini is also excellent for modeling objects for 3D printing. In this guide, we will explain how to leverage the platform for 3D printing,
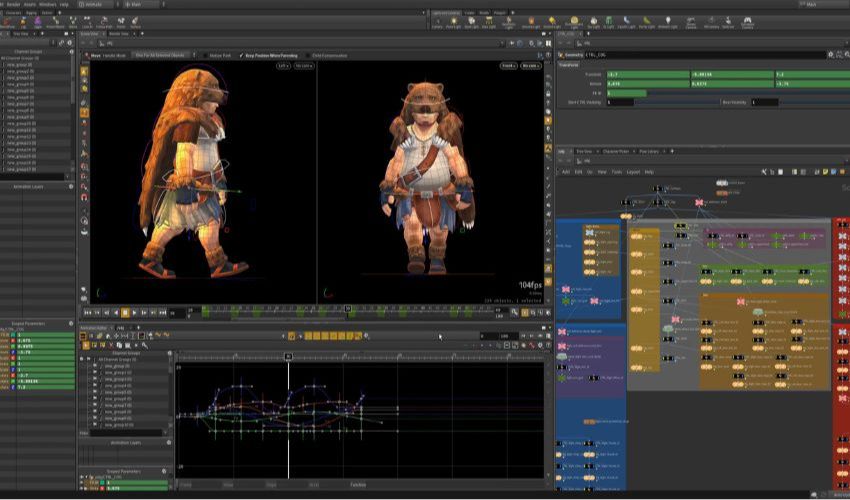
Houdini was developed as a procedural system to offer artists maximum creative freedom. With a node-based workflow, the software enables the creation of repeatable and modifiable processes. This means that every action in Houdini is stored in a node, which can then be connected to form networks that serve as a basis for optimizing designs, creating variants or testing alternative approaches. Above all, this facilitates collaboration and experimentation. In addition, Houdini offers extensive tools for polygon, NURBS and subdivision surface modeling that can be used on the right side of the viewport, making it easier to create detailed surface topologies. Houdini also has an integrated mantra renderer that supports scanline, ray tracing and physically based rendering, which is particularly useful for efficient visualization of geometries or volumes. The software is also characterized by tools that can be used to create assets and adapt them to different projects.
The software is suitable for Windows NT, Linux, MacOS. (Credit: SideFX)
Houdini and 3D Printing: What to Look out For
As Houdini is primarily a 3D animation and simulation software, certain points must be taken into account when developing 3D printing projects. First, you should ensure that the models have a closed volume and are therefore suitable for additive manufacturing, as overlapping geometries could lead to significant errors. It is also important to adapt the wall thickness to the printing material and printer requirements to ensure stability.
But how exactly can you proceed? First, you can scale the model to 1% of its original size to obtain a realistic shape. Then, you can add a color to the model. The color white, for example, makes editing easier. To highlight the wireframe lines more clearly, you can then use the wire blend option in the display properties, which helps detect interruptions or inconsistencies in the model that lead to errors during 3D printing. Here, we advise using the fuse function, which solves most of these problems.
If the model contains thin structures, these can be reinforced with the poly extrude function and the model can then be made thicker and more stable using the transform extrusion and transform handle. If you want to combine the added geometry with the existing parts of the model, you can use the software’s Boolean function. If there are holes in the model, these can be closed automatically using the polyfill function. If this does not work, you can use the boundary group option or topo built to fill the holes manually.
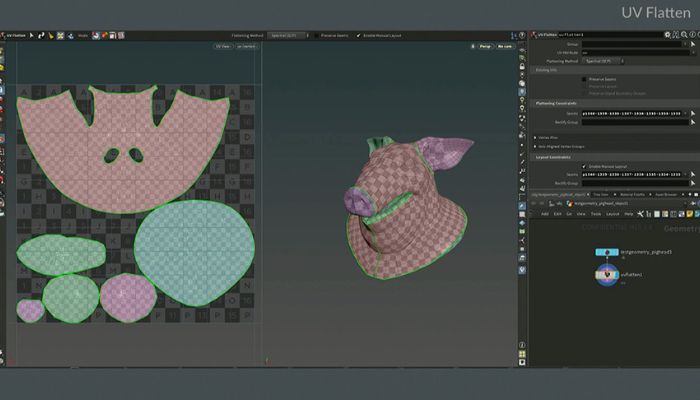
A major advantage of Houdini is that the software offers extensive simulation tools that can be used to test the stability of the model and ensure that no unwanted deformations occur during printing. Another effective method is VDB conversion, where the model is converted into volumetric data blocks. This technique ensures a clean surface structure and facilitates the merging of surfaces. For example, Houdini can take a sphere and convert it into printable, complex geometries through transformations and rotations.
Once you are happy with your model, you can export it to an STL format, which is the standard file type for most 3D printers. Remember: the model cannot exceed the maximum print size of the printer! Finally, finish the model by processing it in slicing software. From there, your printer can do the heavy lifting and get to printing. Find out more about Houdini HERE and in the following video:
What do you think of Houdini for 3D printing? Let us know in a comment below or on our LinkedIn, Facebook, and Twitter pages! Don’t forget to sign up for our free weekly Newsletter here, the latest 3D printing news straight to your inbox! You can also find all our videos on our YouTube channel.
*Cover Image: SideFX


