


From Design to a Finished Part: How Does the 3D Printing Process Work?
3D printing, also known as additive manufacturing, is a process in which thin layers of material are deposited one on top of the other to form an object. There are several printing techniques available today, grouped into seven main families that enable design using a wide range of materials, from plastics and metals to ceramics and silicones.
The Seven Additive Manufacturing Technology Families
- Material Extrusion: a material is extruded in liquid form through a nozzle to deposit each print layer.
Vat Photopolymerization: a liquid resin reacts with photons emitted by a UV light source to harden and form a part. This part is immersed in a liquid resin bath during printing.
- Powder Bed Fusion: powders (plastic or metal) are placed in a thin layer on the print bed and brought below melting temperature before being either sintered or fused by the additional energy supplied by a laser.
- Binder Jetting: Powders (plastics, metals, ceramics, sand, etc.) are bound together by a binder deposited very precisely by a print head (similar to that of an inkjet printer).
- Material Jetting: a liquid resin is deposited very precisely by a print head (similar to that of an inkjet printer) before being hardened by photons emitted by a UV light source.
- Directed Energy Deposition: a fine powder (or metal wire) is melted using a laser, electric arc or electron beam.
- Sheet Lamination: a sheet of material is cut to form a layer, then the layers are laminated (glued together) to form the 3D model.
Thanks to this huge variety of technologies, we’re able to manufacture everything from jewelry to buildings to rockets. All these technologies come with a different workflow, but whatever the 3D printing technology used, the additive manufacturing process can be broken down into four stages, which we will detail below.
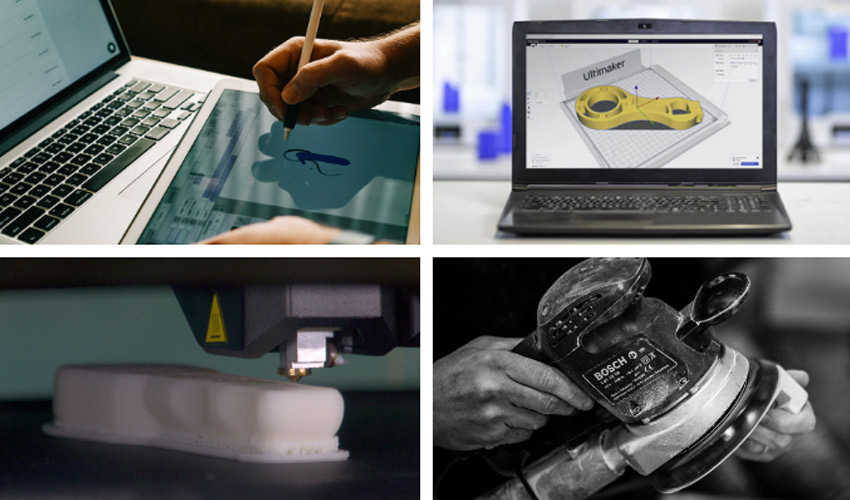
The 3D Printing Process: A 4-Step Workflow
CAD, 3D Scan or Model Download
The first step is to establish the digital model you wish to 3D print. There are three ways of doing this:
- Digitally design your own models using Computer-Aided Design, or CAD, tools such as SolidWorks, Fusion 360, Tinkercad, Siemens NX, NTopology, etc.;
- Scan an object or person using a 3D scanner, camera and computer or phone;
- Download a model from a specialized site, such as Thangs, Thingiverse, Printables, MyMiniFactory, Cults, etc.
At the end of this stage, the final model is often a mesh of points in 3MF, STL or OBJ format.
Slicing
Once the 3D model is ready, slicing is performed using a dedicated tool to convert the 3D model into a series of instructions to be executed by the printer, generally written in G-Code. Dedicated software, called a slicer, is used to specify the machine and material settings to create the code used by the machine. The user then enters the printing parameters (depending on the technology, machine and material used) into this slicer software to generate the instructions that will be sent to the printer to create the desired part. Among the best-known slicing solutions on the market are Cura and Simplify3D.
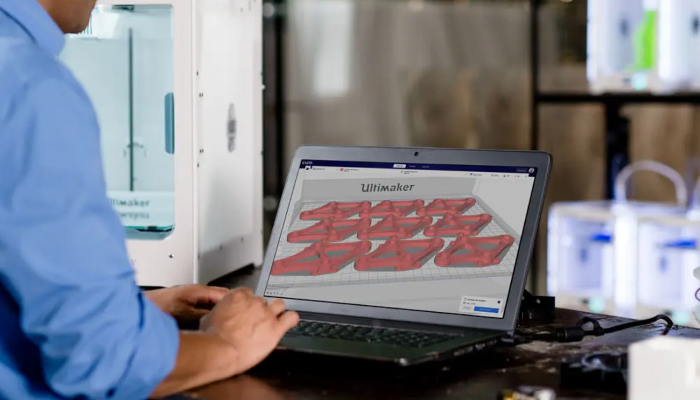
The slicer converts the 3D model into a series of instructions for 3D printing, taking into account the specified parameters
Printing
Once the G-Code (or other programming language) has been sent to the machine, it prints the model. Most 3D printers are stand-alone machines capable of producing parts without assistance during the printing process. Once this stage is complete, the user retrieves the part, and depending on the technology, material and desired final rendering, post-processing of the printed object may be necessary.
Post-Processing
Post-processing of a part can range from sanding to CNC machining. This step may be optional for some printing technologies and materials, while others depend on it. Various post-processing steps and methods include: sanding, painting, drilling, sanding, assembly, puttying, annealing, machining, etc.
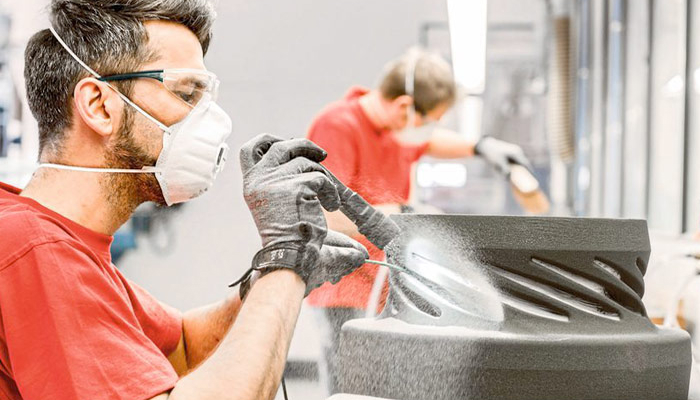
Post-processing is the last step in the 3D printing workflow
Which stage of the 3D printing process is your favorite? What challenges do you often face at different steps? Let us know in a comment below or on our LinkedIn, Facebook, and Twitter pages! Don’t forget to sign up for our free weekly Newsletter here, the latest 3D printing news straight to your inbox! You can also find all our videos on our YouTube channel.


