3Dnatives Lab: Our Test of the Beethefirst 3D Printer

After testing and using many 3D printers, the effervescence is still the same with each unboxing of a printer. What treasure does this box contain? What new 3D adventures will we experience?What surprise will we discover? This is what we will get to experience today, thanks to our friends at Cubeek3D who kindly lent us this little BEE!
https://youtu.be/ZbvKOgPbqqw
Unpacking
Delivered in a box with a design immediately put a smile on our face as we opened the box, but an even bigger smile when we realized a free T-shirt had been bestowed upon us! What a nice surprise to find in the package and a little something different from the typical foam, polystyrene and cardboard wedges.
After opening our package, we were greeted with an abundance of protection. The only things that were clearly visible were two white embedded handles of the packaging that could be seen to help remove the printer from the box.
Everything was obviously designed to make our 3D printing experience comfortable as each of the part that were protected by cardboard are numbered to help you remove them in the proper order.

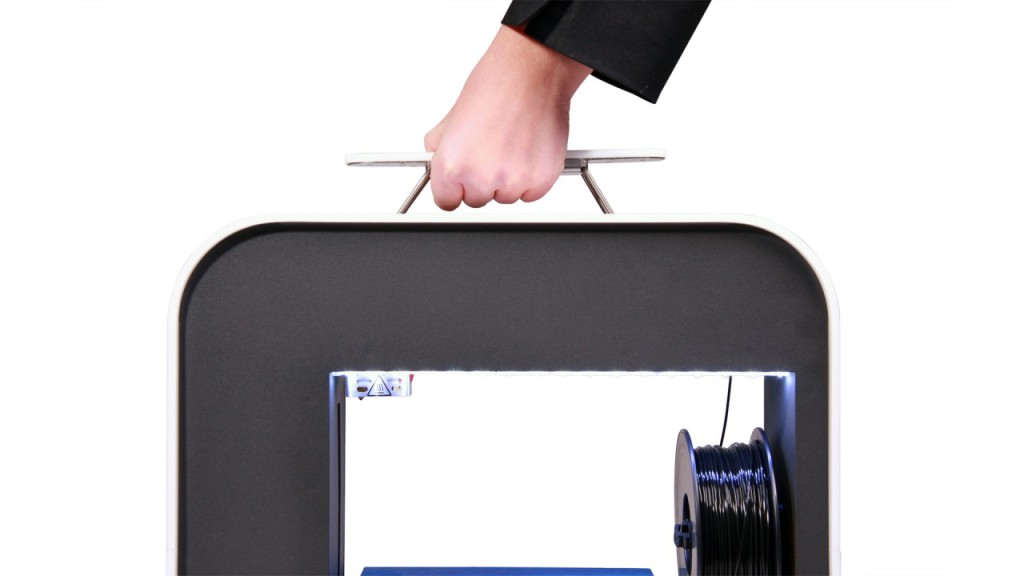
Now our machine is ready to be connected and for all the accessories to be installed. While taking a look at the Bee, there was one thing that surprised us: its somber, elegant design. Although the shape is only a cube, all four corners are rounded which adds a discreet kind of class.
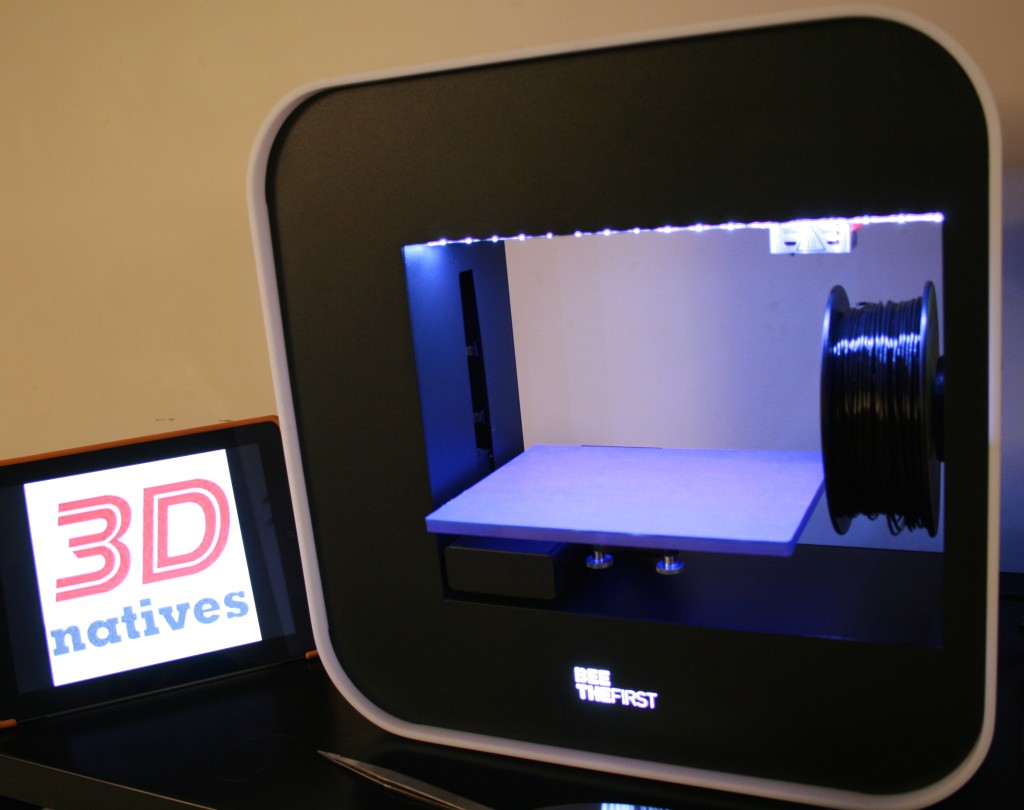
One thing that is surprising is that there is no LCD screen nor are there knobs. We concluded that it is controlled via the software. The only visible external elements are:
- Front: A Sublime logo that is illuminated using LED lights
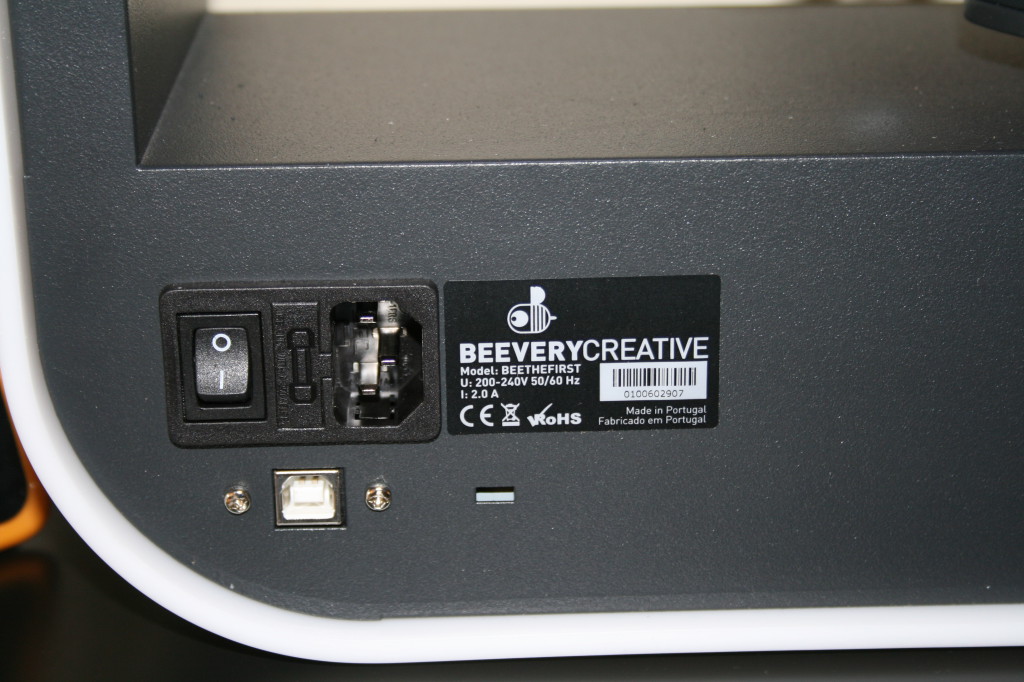
- Back: A single ON/OFF switch and the ports for the connectors.
Once we have the contents out in the open, we are able to see the accessories that came with it. As you can see there aren’t too many:
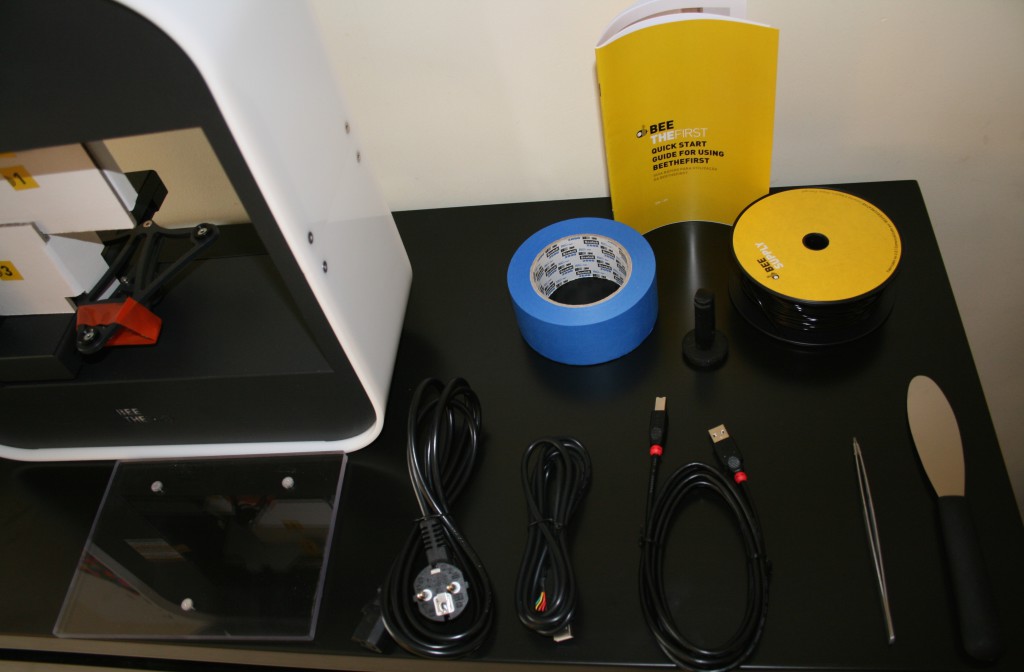
- A roll of classic blue tape
- A spatula to remove our long awaited pieces
(photo)
- USB cable for printing
- Power cable
- An upgraded cable
- A sharp pointed tip for removing PLA residues from the print head
- A hexagonal wrench to disassemble the hull if necessary to unclog the extruder (we’ll get to this later
- A 10-page quick start notice in English and Portuguese; CE certified
We will spend a little bit more time on the last 3 points a little later as they do deserve to be talked about a little bit more.

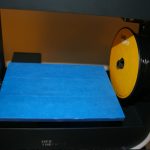
The black PLA coil in proprietary format and is a lot smaller in diameter than the usual formats used in other famous printers. This thus offers an opening of 16 mm with a diameter of 134 mm and a width of 50mm.
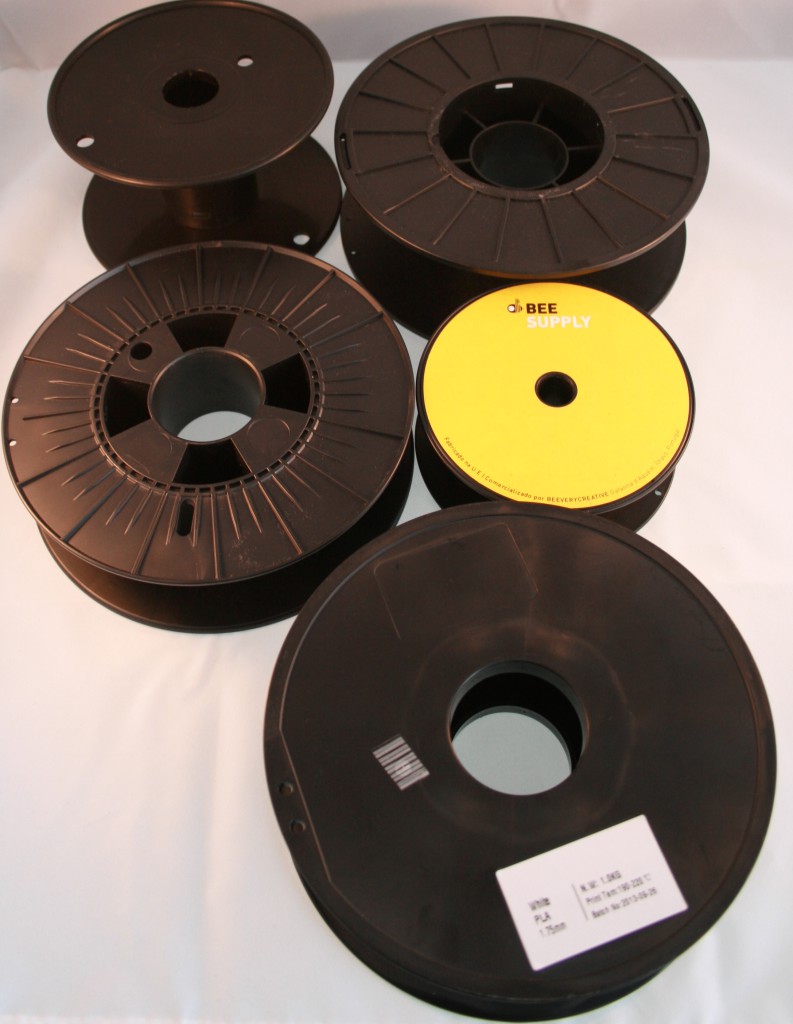
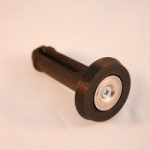
The coil stand that is printed in 3D, which I suspect to be a control piece that was printed by BEE in person. The particularity of this reel holder, besides its small diameter, is its attachement system. It goes on the right side just next to the tray. This is very clever and shows that they thought about it.
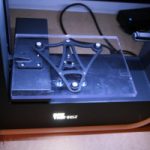
Last but not least, we will now talk about the tray. This is something you will either love or hate. Such as when you can’t figure out why it won’t seem to go. A small Plexiglas square of 20.2cm X 14.7cm, followed by the 3 perfectly triangulated magnets to ensure a snug fit to avoid shock and shake for our meticulously adjusted mechanism.
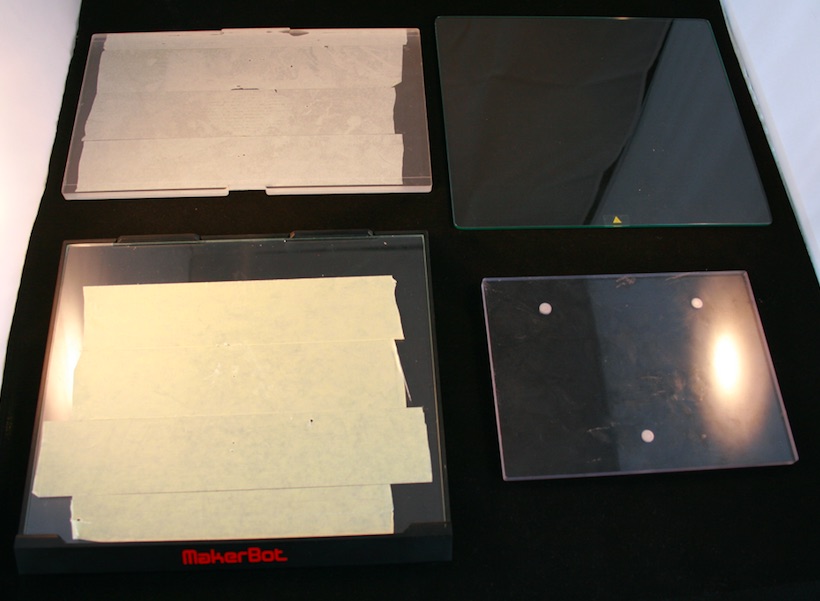
BEE (bottom left) vs Makerbot Replicator 2 (top left) Makerbot Replicator Gen 5 (bottom right) Ultimaker Ultimaker 2 (top right)
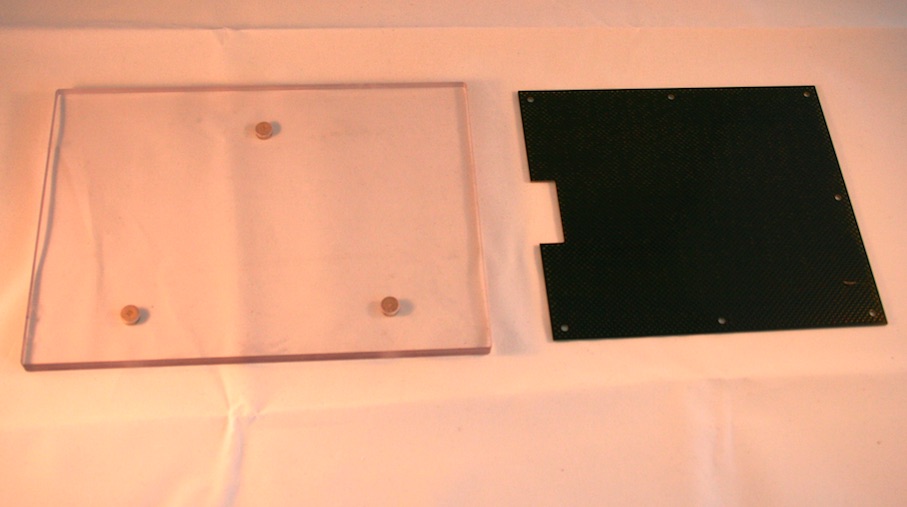
The Bee left and the UP! Plus 2 PP3D right.
Software
Now that we have fully unpacked the BEE, we are ready to test her out. The first step is to download the software. Once you’re on their website, you will find a link at the bottom left hand corner to download the software, as well as other manuals and tutorials you may need. The videos that are on their website are a plus as well when you are trying to understand how the machine works as a whole.
The software comes in 3 versions: MacOS, Windows 7/8/10, and Linux. Once installed, a small tutorial will pop up to present you to the different features available. If you need a reminder on anything from this, you can always find out by clicking on “Quickguide”. Needless to say, the whole thing is very intuitive. Like the external appearance of the printer, the app is simple and effective. Check out the software in the video below:
https://youtu.be/jHl4sSccsDQ
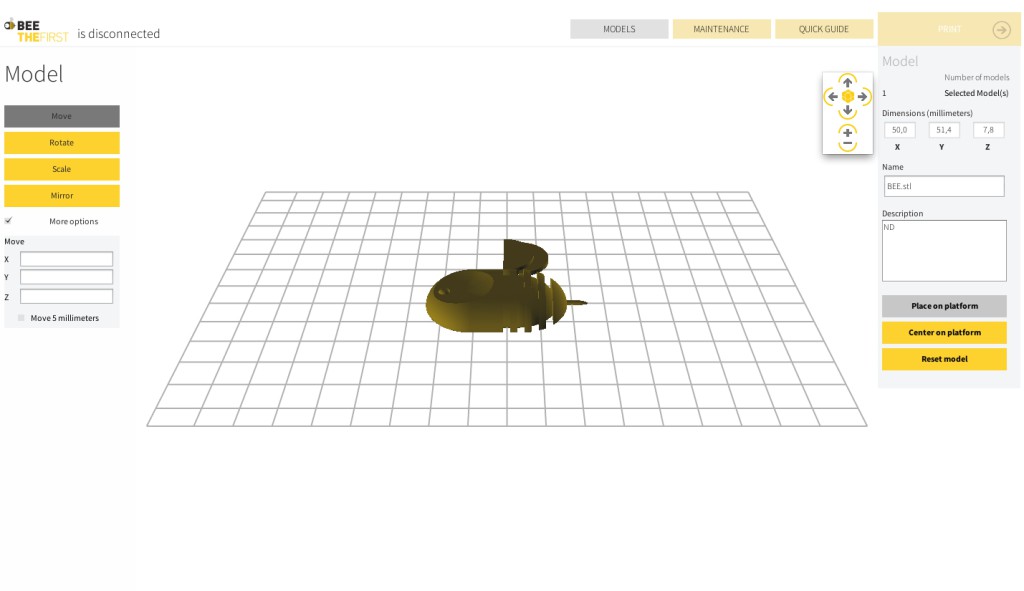
With the four tabs on the left, you can modify the object. The three others at the top right are used to control your printer, guide you and load an STL file. There is also an information bar on the right side of the screen. By clicking on “Models”, a database of 6 pre-registered files can be accessed, which we will present to you during the test. You can also access your own files if you want.
Once the 3D file is loaded, you can move it via the “Move” tab and set its position on the three X, Y, and Z-axis. You also have the ability to orient it with precision or you can make it do a rotation of 90° in only a few clicks. This is very practical to place the STL files and to limit the quantity of supports while posing a nice flat and smooth part on the tray. And finally, you can resize the STL or reverse it using the mirror effect.
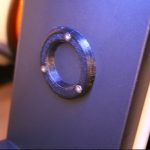
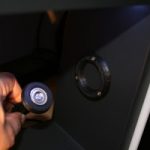
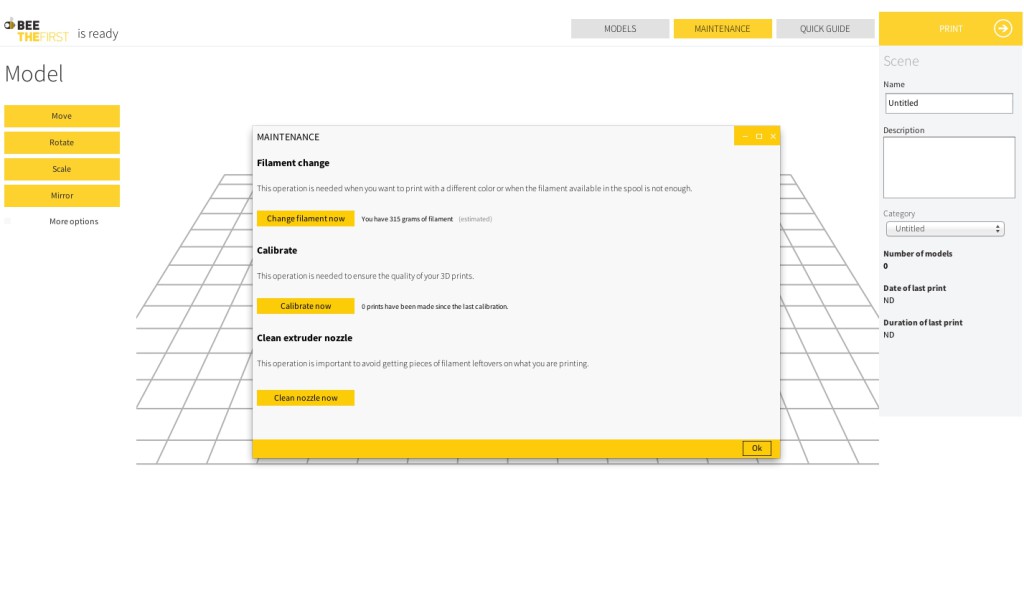
With the part now positioned and ready to go, we need to load our PLA filament. To do this, you click on the “Maintenance” tab. As soon as the nozzle is at the correct temperature, you just have to select “load” to insert the material and “unload” to change it. The small metal ring on the top right of the printer is the location that swallows the filament. To calibrate the tray, only a piece of paper will be necessary to ensure that the distance between the nozzle and the tray is adjusted. The first adjustment point is made via the software and the other 2 points via the wheels that are located under the tray. The “Maintenance” menu also provides a convenient tool for cleaning the print head. These points are quite easy as we are guided through it from beginning to end of the process.
Here we go… Piece? check! Tray? check! Filament? Check and check! And now ladies and gentlemen, let’s print!
Clicking the “Print” button, you will have to choose the print settings. The more technical you are, the more disappointed you will be by the parameters.
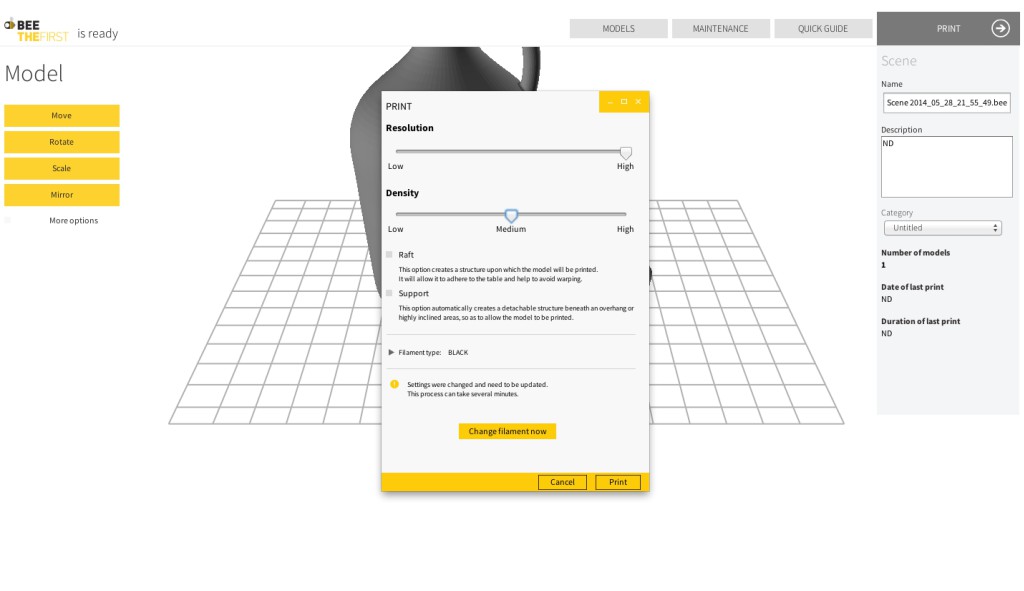
Available parameters
- Resolution: low or high
- Density: low/medium / high
- Addition of a raft to facilitate the attachment of the part during the printing. Very practical for the first layer on this printer
- Addition of supports for more complex parts to print
We do regret that there’s an absence of temperature settings, speed of movement and other parameters of this kind.
First 3D prints
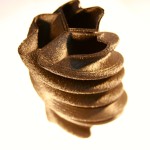
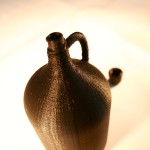
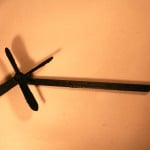
To make your prints, the manufacturer has put a few 3D files at your disposal: EEB logo, a 3 part vase that you assemble, a jar with a cap, mustaches, and a windmill.

Printing the objects
To continue this test, it was essential to start with a print that has been made on each of our tests here at 3Dnatives. It was important for us to do a test that allows us to see how it works with flat, rounded, stopped, curved pieces that are also with/without supports on the 3-axis. The results are in the following images:
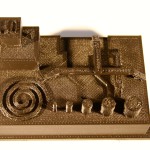

On the flat parts, the print is a little coarser than previous models. Here’s another test of our famous TreeFrog (designed by MorenaP):

On the left, you’ll see our print with the MakerBot Replicator 2 and on the right you’ll see our print with the Beethefirst.
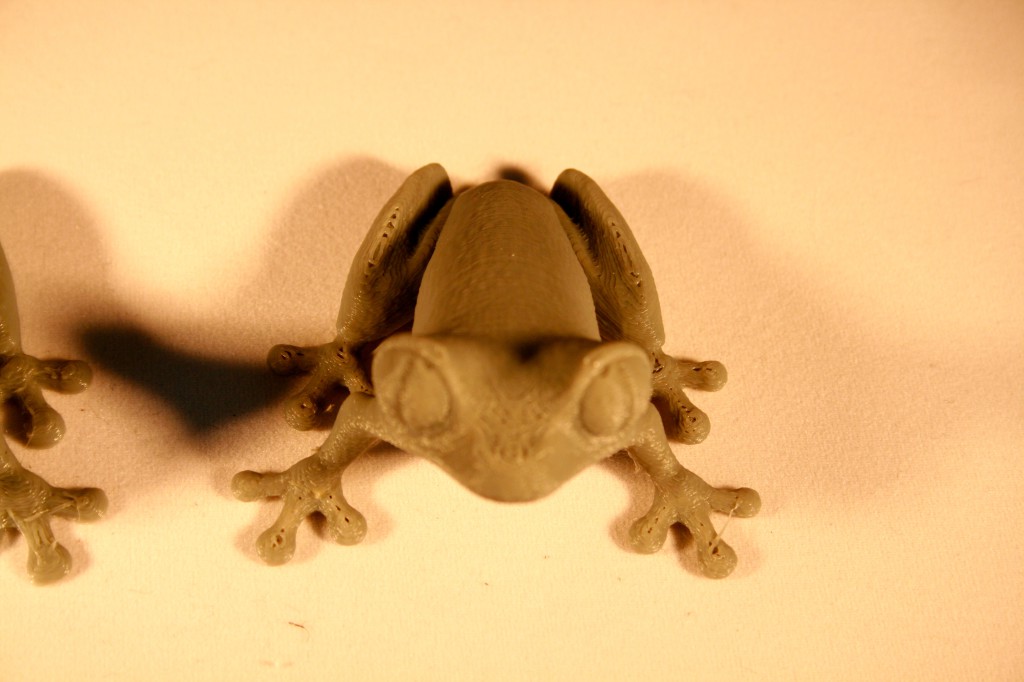
As you can see, there is some slight material shortage on the top of the legs as well as the top of the thighs. It’s difficult to overcome this problem since the temperature and speed setting couldn’t be changed at the time of our test.
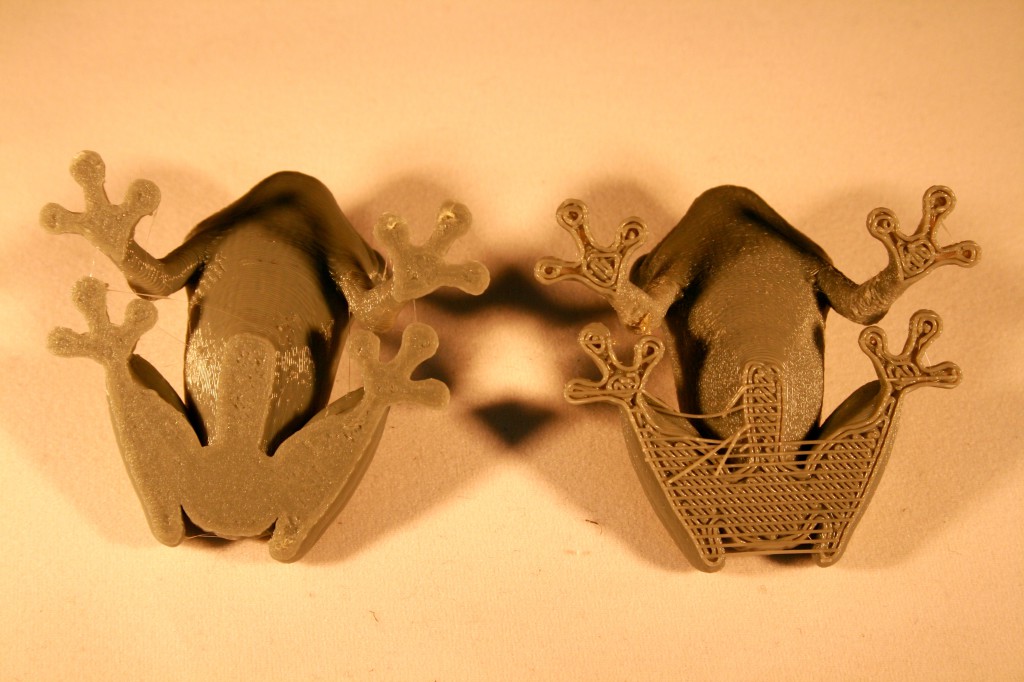
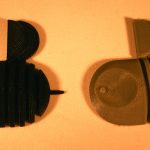
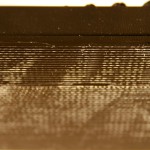
The underside of the pieces are also important and shows the difference in “finishes”. When looking, we find a coarser start on the print by the BEE (on the right), thus ensuring a perfect adhesion of the piece on the tray. Regardless of this, the print was still less clean and smooth when compared to the one we printed with the MakerBot (on the left).
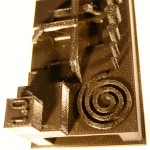
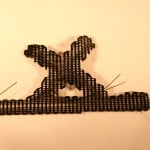
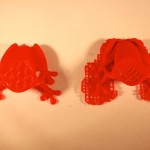
Below on the left, you’ll find the supports by the BEE. We quickly stopped the post-processing treatment as they were too complicated to remove compared to other printers. These supports can be removed, but will require more time and energy than with other machines. The middle photo highlights the raft that was generated by the BEETHEFIRST: flexible to see elastic, very effective and easy to remove. In the photo on the right, you can see a comparison of the infill (the filling in the piece) between the classic honeycomb of the MakerBot at 15% (picture on the left) and that of the BEETHEFIRST with the density set at medium.
During our test, we had the opportunity to test the customer service of the company (In English or Portuguese), as it was impossible for us to load the filament (perhaps it was linked to the non-proprietary format of our coil). We were quite surprised when less than an hour later we received an email with the solution.
A test without a technical problem is not a real test and so we had to work through it, thanks to the help of the customer service. We resolved our issue through 4 steps:
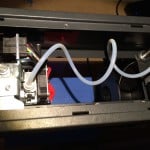
Step 1: Remove the 4 screws of the upper casing
Step 2: Remove the handle by removing the screw in the middle (this let us see how the loading system works; given the small diameter of the coils in the proprietary format, a tube swirls horizontally until it is extruded. This is practical when preventing our filament from pinching or tangling
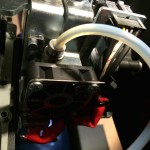
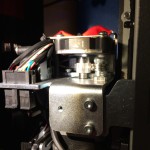
Step 3: Unscrew the larger screw by hand to remove the metal tab in order for the extruder to appear
Step 4: Remove the end of the filament due to blockage. If necessary, pass a use a toothbrush on the toothed wheel to remove any PLA deposits that would have become encrusted