


Everything You Need to Know to Get Started With Arduino
The open-source 3D printing maker community is ever-evolving as new tools innovate the space. One such tool is an Arduino— a programmable circuit board that is often referred to as a microcontroller. Arduino launched in 2005 as a tool for students at the Interaction Design Institute Ivrea, Italy, with the goal of providing an inexpensive and easy-to-use device for novices and professionals to be able to create devices that interact with their environment using sensors and actuators. Now the company makes a variety of boards as well as accessories that heighten the board’s processing power. Let’s take a dive into all the things an Arduino board can do.
What is an Arduino?
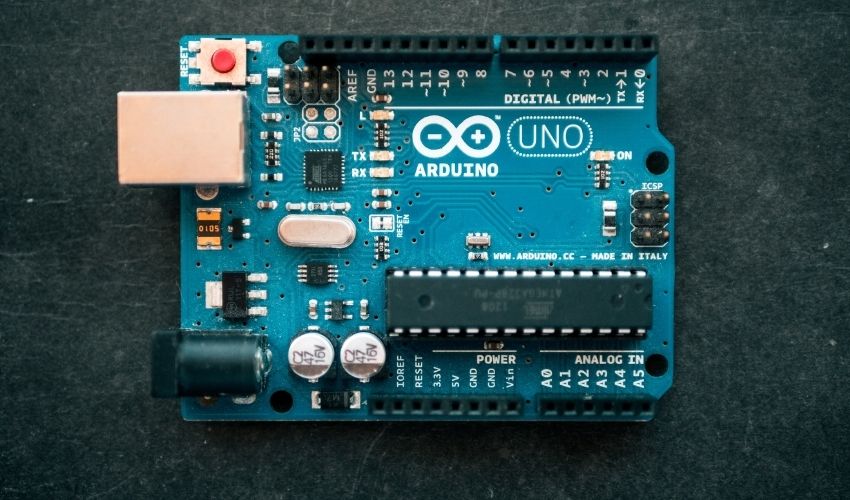
Arduino is the name of a company that produces microcomputers that are popularly known as Arduino boards, or simply an Arduino. These boards come in a variety of models that offer different features, such as WIFI or Bluetooth for instance. The most popular microcomputer board by Arduino is the UNO. For less than $30, the Arduino UNO board is a powerful piece of hardware capable of processing a broad range of data inputs.
Arduino UNO board. (Photo Credit: Unsplash)
A microcontroller is a small computer processor that is mounted on an Arduino board along with different components that process the inputs and outputs. On the micro-controller you can, for example, you could have a variety of input options, such as a button or photosensor, send information to the computer processor and after analyzing the input then the computer processor sends output to any connected devices—such as a 3D printer. Since the board is open-ended on the frontend and as well as the backend, this allows you to have any myriad of inputs controlling any outputs.
How Do You Control an Arduino?
To control the board, you can use the USB port that is included on the board and connect it to a laptop, desktop, or 3D printer. Using the Arduino development environment on a desktop or laptop, you can write C++ code that is sent to the board through the USB port. You can remove the USB connection, then each time you turn on the board the code will run continuously in a loop.
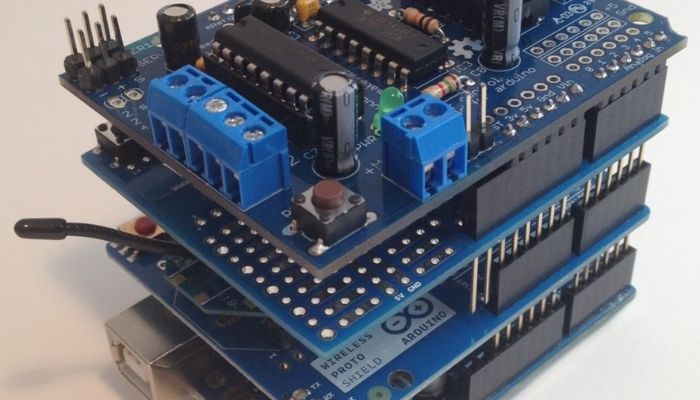
Stack of shields. (Photo Credit: Arduino Forum)
On the board, you can have analog or digital inputs. For instance, if you have an on/off button, that would be a digital input. Whereas a dial that is tuned to varying degrees, for example, would be an analog input. Using the available header pins on the board, you would connect devices to the analog or digital inputs. You can purchase what is known as a shield for your board, which will allow you to add more functionality to your board. You can stack several shields on top of each other to add even more functionality.
Arduino Project Ideas
Since the company open-sourced the design of the board, your first project could possibly be to build your own microcomputer board piece by piece instead of buying a complete board from the brand. Next, you can build your own 3D printer on an Arduino board—there are plenty of inexpensive (under $100) 3D printer kits to get started with. Additionally, similar to Raspberry Pi, there are a number of other interesting projects you can do with 3D printing and Arduino. For example, users have created robots, robotic arms and even products for the home like automated door locks or dog treat feeders. You can learn more about Arduino boards HERE.

(Photo Credit: Unsplash)
Have you used Arduino for your 3D printing project? Let us know in a comment below or on our Facebook and Twitter pages. Don’t forget to sign up for our free weekly newsletter, with all the latest news in 3D printing delivered straight to your inbox!
Cover Photo Credit: Unsplash


