


An Introduction to Bed Leveling in 3D Printing
When it comes to 3D printing, one of the most daunting aspects for all levels, whether absolute beginners or professionals, is print failures. One technology which is particularly notorious for this is FDM 3D printing as so many different aspects of the process can contribute to issues with the final part. Indeed, we have already told you about many of the different common printing failures and how to address them including stringing, elephant foot, over-extension, warping and more. But did you know that often learning more about one aspect of the process can help? Notably, by turning to a sometimes overlooked 3D printing step: bed leveling.
Often associated with FDM 3D printing but also present in vat photopolymerization, bed leveling is a critically important but misunderstood part of the full 3D printing process. In the following guide, we will demystify bed leveling for 3D printing taking a look at not only what it is, but why it is important. Additionally, we will cover the differences between manual and automatic bed leveling for a full introduction to the subject.
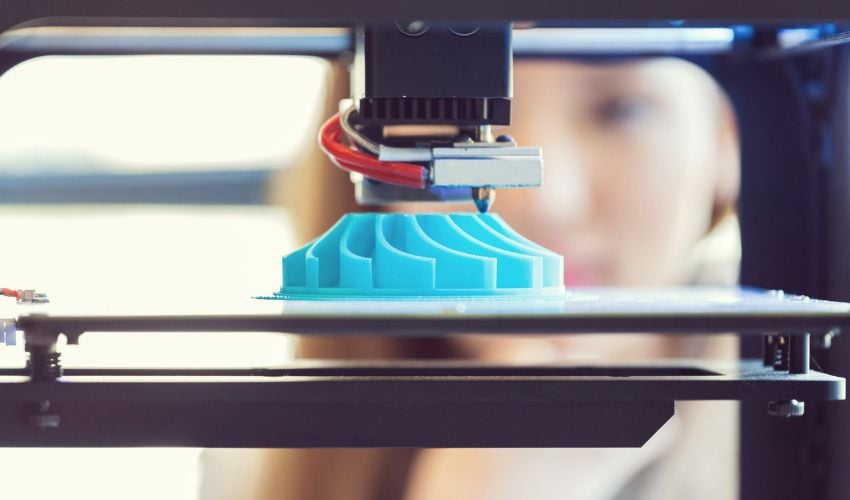
Bed leveling is an important step in 3D printing to ensure that prints come out correctly (photo credits: UltiMaker)
What Is Bed Leveling and How Does It Work In 3D Printing?
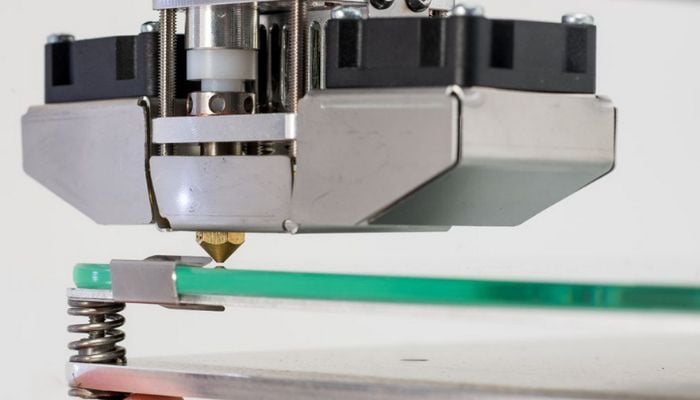
So of course the first question anyone will ask is what exactly is bed leveling in 3D printing. Contrary to what some may think, bed leveling does not refer to leveling the printer bed with the floor. Rather, bed leveling refers to the calibration of the parallelism relative to and height between the print nozzle or nozzles (for IDEX printers for example) and the entire printing surface. When leveling, it is necessary that this height be the exact same no matter where the nozzle is on the x- or y-axes.
And to truly grasp the mechanisms at play, it is necessary first to understand how manual bed leveling works. Manual bed leveling involves the manual adjustment of the level of the bed by the user. This is done by turning the knobs or screws that are attaching the build plate to the printer. These will allow the user to move the bed either up or down while also checking that the level of all corners is level.
In terms of the process itself, there are some disagreements between experts on whether the printer should be preheated or not. Some say it is crucial as the bed will expand when heated and thus the only way to ensure a truly level surface is by doing it while it is on. Others note that this expansion is negligible and by keeping the printer off you can avoid safety issues like burning. What is sure is that the first step must be to clean both the nozzle and the build plate itself. This will ensure more accurate results.
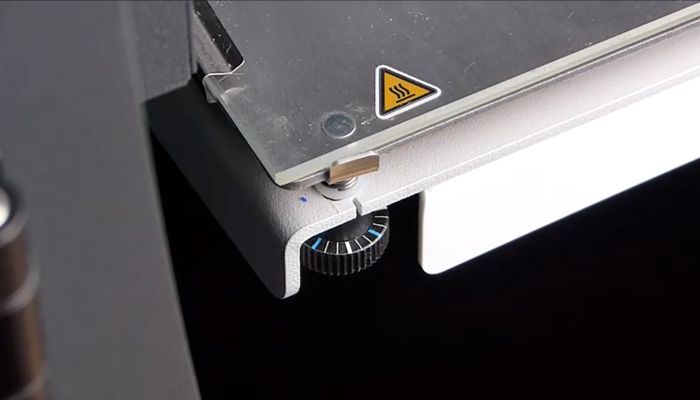
In bed leveling, it is necessary to adjust the knobs or screws to raise or lower the bed (photo credits: 3Dnatives)
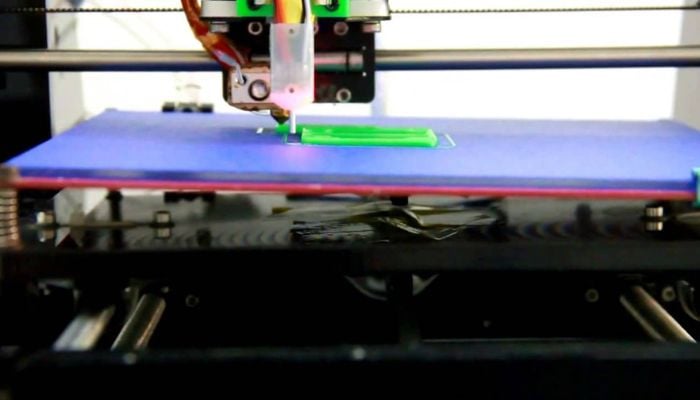
Next, it is necessary to “home” the printer/all axes. This ensures that the nozzle is located at 0, 0, 0, thus resetting the coordinates for more replicable results. After you will put the knobs in a halfway position to prepare for moving, though this is not always necessary, and the next step is to take a piece of paper. The perfect spacing between the printhead and the bed is when the tip of the nozzle barely touches the build surface. This is why something thin like a piece of printing paper (with a thickness of 0.07 to 0.1 mm) is useful for testing.
Essentially, a user will slide the paper at each corner, one at a time, and adjust until there is only a slight drag from the nozzle and 3D printer bed when sliding the paper. After all corners have been leveled, it is recommended to do a test first layer to ensure the print quality. Though it is important to note as well that since the paper has a height itself, the distance between the nozzle and bed is not actually at 0 which is the ideal. To compensate for this a setting called, z-offset or can be used or baby-stepping. Additionally, those with good eyesight could use a flashlight instead of a paper but it is a little more complicated.
And though the process can be time-consuming, most experts agree that it can be done more quickly after initial adjustments. Indeed, the most important moments for bed leveling are right after setting up the 3D printer for the first time, whenever a printer needs to be moved, when noting common print failures in parts and after changing the extruder. Additionally, it is generally recommended to level the print bed at least once a week, or if printing less regularly, every few prints. Though of course this can be adjusted based on the needs of a particular 3D printer.

Paper can be used in manual bed leveling for a 3D printing (photo credits: 3Dnatives)
Moreover, bed leveling is critical for successful, high-quality prints. When the extruder is too high it can lead to gaps in the layers or filament not sticking. On the other hand, having a nozzle that is too low can scratch the surface, breaking the first layer. Furthermore, warping and nozzle clogging can also occur. Also, it decreases the need to have rafts or skirts, which are often used to compensate for bed leveling issues.
Manual vs. Automatic Bed Leveling
We have already told you a bit about the process for manual leveling, though there are many different ways to do it. But one growing trend we are seeing in 3D printers is the inclusion of what is known as “auto-leveling.” As the name suggests, auto-leveling is when a 3D printer is capable of leveling itself with minimal intervention from the user. But how exactly does it work?
Well, in essence, automatic bed leveling starts with either sensors or a probe. These are typically attached to the printhead and are able to measure the distance to the print bed. By creating a mesh map of all these values and their coordinates, the printer is able to determine how level the bed is and then accommodate this. In fact, hardly any automatic bed leveling systems adjust the bed itself. Rather, it often allows the printhead to compensate for the levelling deviation of the print bed. Automatic bed leveling is particularly popular not just because it is easier for the user but it also results in more consistency as the sensors are more precise than human hands.
More and more 3D printers come with auto-leveling (photo credits: Geeetech)
In any case, regardless of the method, it is important to have an understanding of how bed-leveling works and to determine what works best for you. And even if one method is preferred, combining automatic and manual bed leveling is preferred as a way to ensure accuracy. Without consistent and accurate bed-leveling, it is certain that users will be faced with any number of print failures and issues.
What do you think of this introduction to bed leveling in 3D printing? What is your preferred way of doing it? Let us know in a comment below or on our LinkedIn, Facebook, and Twitter pages! Don’t forget to sign up for our free weekly Newsletter here, the latest 3D printing news straight to your inbox! You can also find all our videos on our YouTube channel.


