


3Dnatives Lab: Our Test of Formlabs Form 2
The story of FormLabs began at MIT in 2011, when students Maxim Lobovsky, Natan Linder and David Cranor developed the first low-cost compact 3D printer based on the Stereolithography process. Backed by several financiers and following the commercial success of the Form 1, the brand unveiled it’s latest generation of 3D printers the Form 2.
Currently being sold for a price of €3,958 (about $4,221 USD), the Form 2 is clearly not within the typical price range of personal 3D printers, but with its minimum layer of thickness of 25 microns on paper, makes it a pretty cool machine to check out.
The 3Dnatives lab was lucky enough to obtain a the printer from the American manufacturer to bring you our review on this machine. Some key areas we will be looking out during our test is what areas of this machine have seen improvements since the Form 1 and we will be looking to see if the price too high for this machine.
Find our complete test below!
Unpacking
Coming fully protected, the packaging of the printer shows the seriousness that this brand takes in thinking about all the little details. At first glance, it’s obvious that nothing was left to chance when shipping this printer.
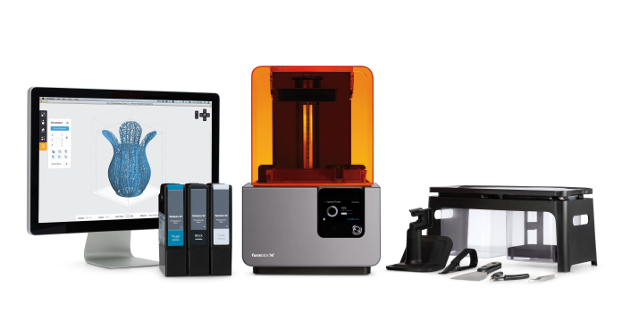
The printer is divided into three boxes: The 3D Form 2 printer, the resin cartridge(s) and the finishing kit. Despite it being almost 30 pounds. (about 13kg), removing the machine from its box was a breeze, thanks to the handles that were integrated into the packaging.
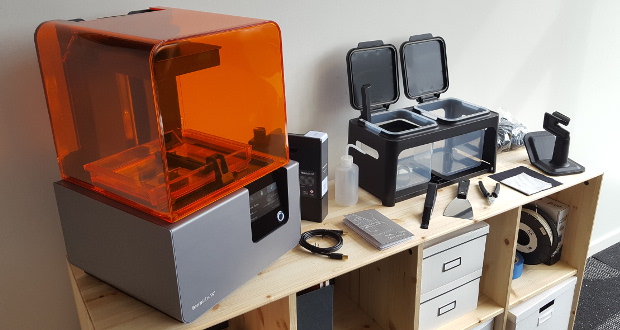
The 3D Form 2 printer and its finishing kit
The finishing kit that is supplied with the machine contains all the necessary accessories for the post treatment of you objects. Namely a finishing station with its two containers for pre- and post-rinsing, a basket to drain, a flexible bottle for the rinsing solution, tweezers, two spatulas for detaching the print from the platform, multiple disposable gloves, cleaning wipes, and a cloth.
Like the Form 1 and Form1+, you will need to buy isopropyl alcohol (can be bought on Amazon for around $27 USD (not including shipping) for a gallon) to clean your parts. This solution (which should be used with caution) makes it possible to remove the excess unsolidified resin on your object after printing.
The Form 2 has dimensions of 350 x 330 x 520 mm and offers a production volume of 145 x 145 x 175 mm (compared to 125 x 125 x 165 for the previous model). Among the innovations, the 3D Form 2 uses a more powerful 250mW laser, providing a point accuracy of 140 microns (compared to 155 microns as seen before).
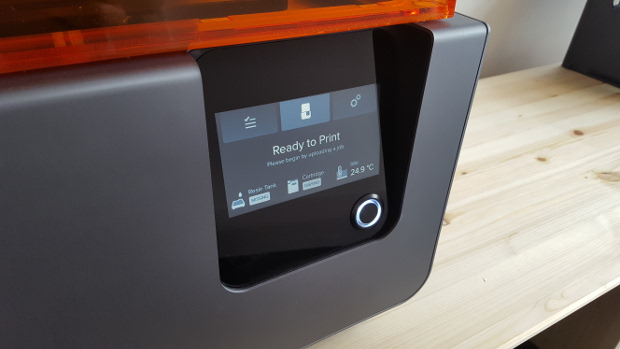
A brand new color screen has arrived on the 3D Form 2 printer
Installation
The instructions offer simple steps that will allow you to start your machine quickly. After connecting the power cable, you will then need to choose how to connect the printer: USB, Ethernet cable, or Wi-Fi. For the latter, the connection will connect easily from the printer’s control panel. A screen that is sublime in terms of both the color quality and design.
Once connected, you will need to attach the resin tank and manufacturing plate. A small improvement, a scraper, has been added. This helps to scrape the resin between each passage of the laser, thus optimizing the quality of the prints
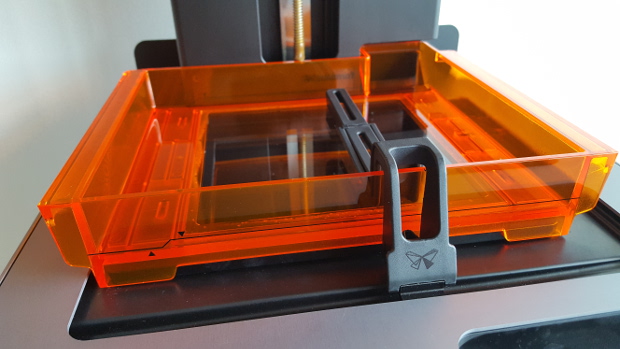
A scraper moves the resin from the tank
Another innovative idea from Formlabs, they have added a vertical opening on the hood on its own axis. A detail that gives the advantage of reducing the space needed on the back of the printer when opened. This was something that was sorely lacking in the previous machines.
Another positive change is the introduction of the system of resin cartridges that are inserted at the back of the machine. This is a real improvement that makes it possible to better manage the stock and automates the filling of the tank with the resin.
For resin, you will need to pay around €162 (around $180 USD) for a 1 liter bottle of classic resin. However, Formlabs now offers “Open Mode”, which aims to open its machine to other brands of resin. A nice addition in a market where the printing material often exceeds the price of €100/L

Resin cartridges are now on the 3D Form 2 printer
Before printing, you can also change the footing of your machine from the control panel. This ensures that the resin does not overflow during printing.
Software
With recurring updates (some people would argue to be too many), the PreForm software delivered with the machine displays an interface that is both pleasant and easy to understand.
When opening PreForm, a window appears and prompts you to choose the type of resin used and the desired layer of thickness: 100, 50 or 25 microns. Once the model is loaded, you will be able to choose the dimensions, orientation, layout of the board and the print media of the model that you wish to print. The last step may seem complex at first glance, but thanks to the clear explanations from the support team at Formlabs, you will quickly learn how to use this feature.
The design remains the same, but the PreForm software has never been so easy
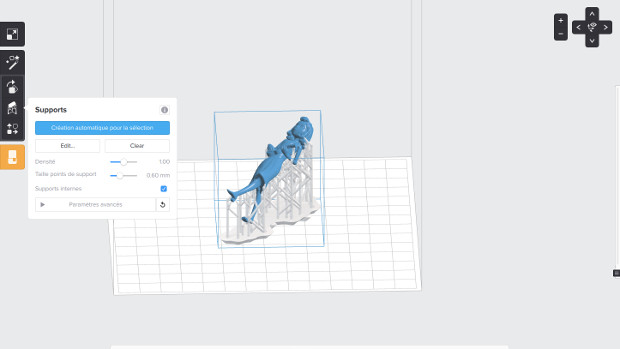
The PreForm software now includes a new option, the magic wand. This allows you to print an object in one click. This tool helps guide and position the supports needed to print the object. However, there may be some supports that appear on the detailed part of your object (such as a face), resulting in laborious cleaning of them. With little experience, you will be able to anticipate and minimize your post-processing time by positioning the model and adding only necessary supports.
Once the model is ready, all you need to do is send it to the 3D printer via the desired connection. After a final validation step from the control screen of the Form 2 (with a preview of the file), you will then confirm and printing will begin.
Printing
Below, you will find a series of pieces that we printed using different designs. Improving the quality of the part is different in comparison to the first Form 1 and Form 1+ generations, however the 3D Form 2 printer has a higher success rate when printing. Even if the process is not complicated, the post-processing steps after printing can be a bit laborious at first. As with any SLA machine, you will have to rinse the part once it is printed in the 2 bins supplied. To remove the brackets, it will be necessary to stay patient and use cutting pliers. Compared to FDM 3D printers, resin part supports can be much more numerous, depending on your object.
It should also be noted that the sound level of the Form 2 remains well below the conventional FDM 3D printers. A good point that will allow you to store and run the machine, even in your office.
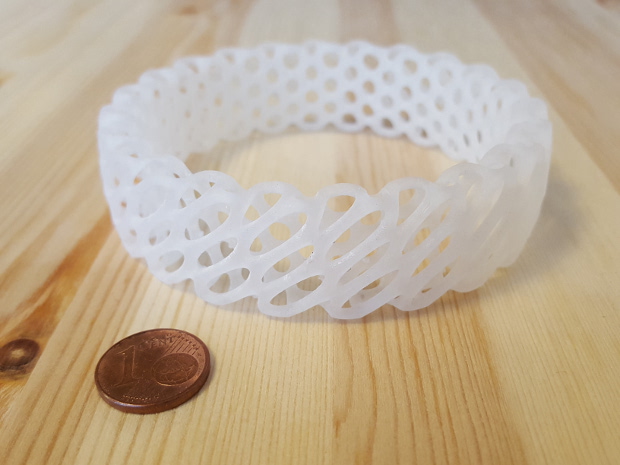
“Diagrid Bracelet” model by Nervous System – Printed with supports

Model “Dymaxion Cube” – Printed without supports
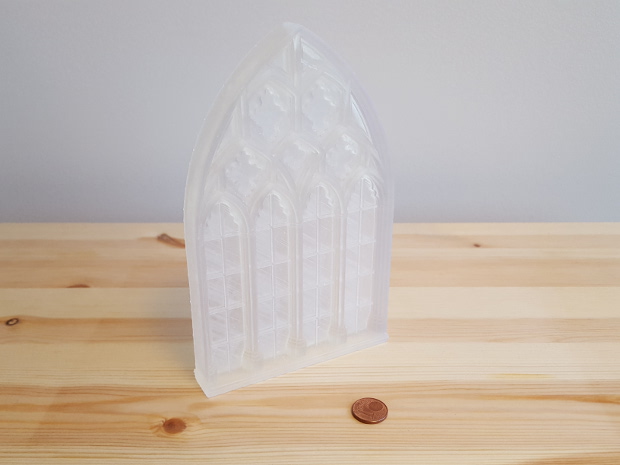
“Gothic Window” model by Skimbal – Printed with supports
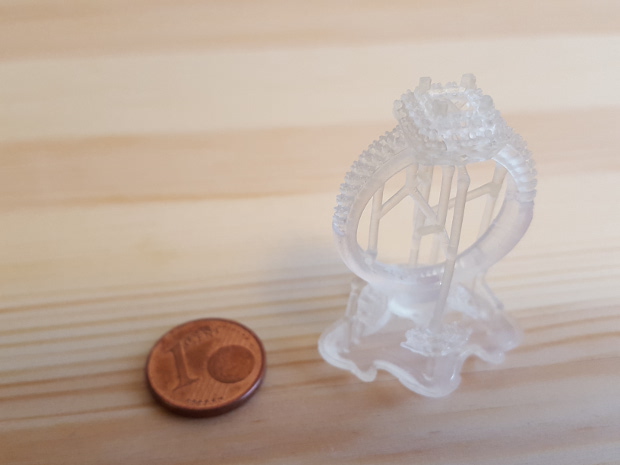
Model “Rings” by Jay Bradshaw before removing supports
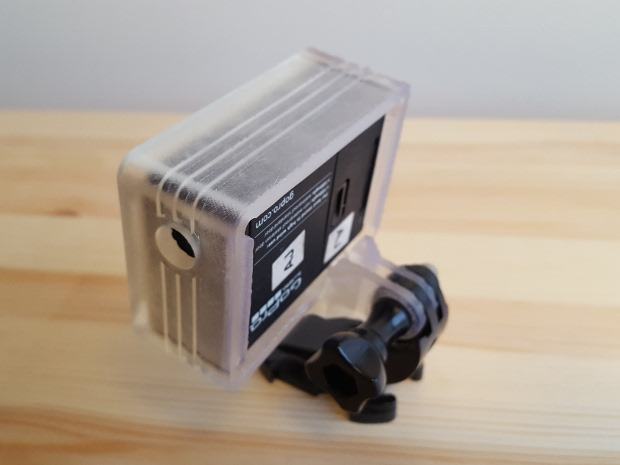
GoPro Hero Mount for GoPro 3 Camera – Printed with supports
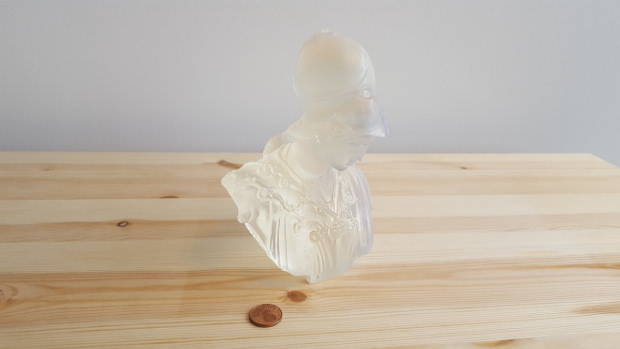
Model “Athena of Velletri” by CosmoWenman – Printed with supports
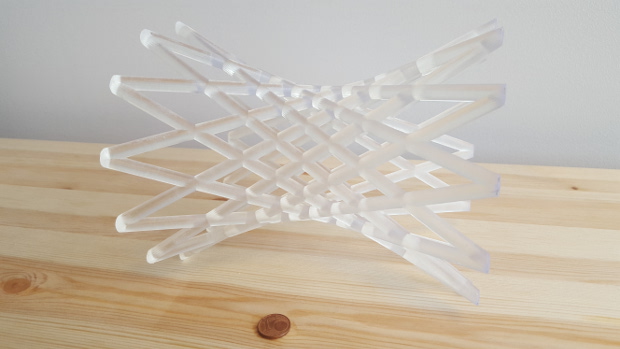
Model “Hyperboloid” by George Hart – Printed without supports. Our aim was to test the maximum volume of the Form 2


