3Dnatives Lab: Review of the Snapmaker U1 3D Printer
Long known for its versatile digital fabrication machines—which combine 3D printing, CNC machining, and laser engraving in a single device—Snapmaker has been undergoing a significant strategic shift in recent years. Following the success of its Snapmaker 2.0 and Artisan models, the Chinese brand is making a deliberate shift toward dedicated 3D printers, gradually moving away from the “all-in-one” positioning that had built its reputation among makers. The U1 is the most accomplished expression of this transition: a machine focused exclusively on multi-material 3D printing, equipped with a four-tool automatic print head switching system.
Funded via Kickstarter before reaching the mainstream market, the U1 is entering a competitive segment dominated by Bambu Lab and its AMS system, Prusa Research with the MMU3, and Creality with its CFS. Its unique selling point? A mechanical tool changer that, unlike purge-and-load systems, promises to drastically reduce filament waste. We put the machine through its paces at the 3Dnatives Lab to determine whether this promise holds up in daily use.
1. Unboxing and Technical Specifications
The U1 features a modern, minimalist design in line with current trends. The mechanical and electronic components are concealed behind injection-molded plastic panels, giving the machine a clean, industrial look. A glass door on the front and a transparent plastic rear panel allow for full visibility of the print chamber, from front to back. Visibility from the rear is, of course, limited by the machine’s positioning: if it is placed against a wall—which remains the most natural setup in most workspaces—it is impossible to see from the back.
Let’s be honest about one point that is sure to confuse those accustomed to the Snapmaker 2.0 and Artisan: the exterior construction relies heavily on plastic, whereas previous generations relied on a heavy, reassuring metal construction. It would, however, be remiss to stop at this first impression. These panels primarily serve a cosmetic and protective role. They do not compromise either the structural rigidity of the frame or the print quality. The only observable mechanical compromise is a slight flexing of the side panels when both spool holders are loaded simultaneously with one-kilogram rolls—a cosmetic flaw that has no impact on print results.
One ergonomic detail, however, stands out during extended use: the USB port for transferring files via a flash drive is located on the back of the machine. In isolation, this may seem trivial. But consider the context: Snapmaker made a deliberate choice to place the four spool holders on the sides of the machine, acknowledging that the back is not an easily accessible area in a standard office or workshop environment. Placing the USB port precisely in this location, therefore, amounts to ignoring the logic of use that guided the design of the rest of the product. If the brand wanted to preserve the clean aesthetics of the front and sides—an understandable goal given the care taken with the overall design—the top panel would have been a sensible alternative, accessible without moving the machine or contorting oneself behind it.
The USB port, placed in the back of the machine, is difficult to access.
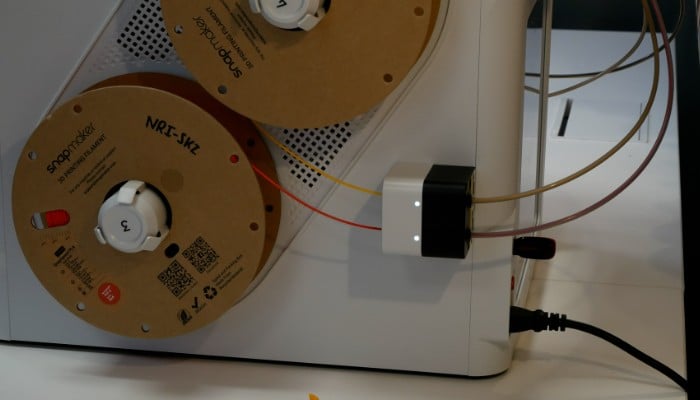
The filament holder system also needs to be addressed: the four slots (two on each side) are exposed to ambient air, with no built-in drying box. For users in humid environments or those who regularly work with hygroscopic materials such as PETG, Nylon, or TPU, this design choice represents a trade-off to anticipate, particularly during long print sessions.
The built-in lighting, consisting of two LED strips, provides basic illumination for the chamber. While sufficient during the day or in a well-lit room, it reaches its limits in dark environments, making camera tracking difficult under such conditions. Although there is a built-in camera on the right side of the chamber, its usefulness depends largely on the ambient light.
2. Installation and Setup
Assembling the U1 mainly involves installing the four print heads onto the tool changer system and connecting the corresponding cables; it takes between 30 and 45 minutes for an experienced user, and can take up to an hour for a novice who takes the time to check each step carefully. It is not, strictly speaking, a kit machine, but it is also not truly plug-and-play; a minimal level of technical involvement is required. The quick start guide details all the steps with a good level of detail and instructions that are, for the most part, quite clear and intuitive. The manual and accompanying images are of good quality and show a commendable level of attention to detail.
One notable point of contention concerns the installation of the PTFE tubes. The machine comes with two sets of tubes of different diameters intended for separate filament paths, and the assembly manual fails to explicitly mention this distinction. In practice, tubes of the wrong size simply won’t fit into the pneumatic fittings, so the error is quickly identifiable, but clear labeling or an explicit note in the documentation would have prevented any confusion, especially for users unfamiliar with this type of component. It is a minor detail, to be sure, but one that highlights a potential improvement in the onboarding experience, especially since Snapmaker explicitly targets individual makers and educational institutions.
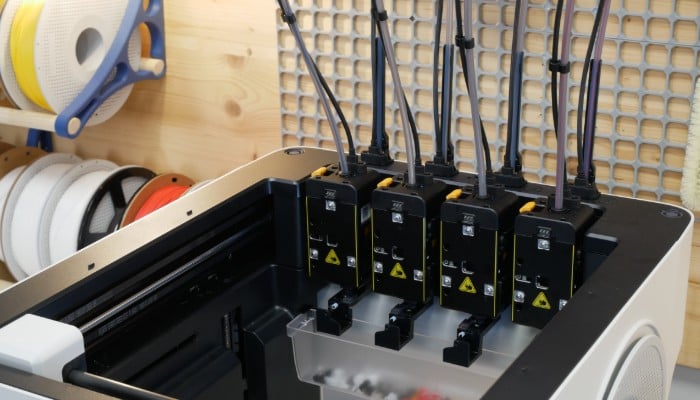
The Snapmaker U1 has four printheads.
Once assembled, the calibration phase takes place via the 3.5-inch color touchscreen, flush-mounted in the front panel. The process is guided step-by-step, and the machine automatically levels the build plate and calibrates the offsets between the four tools—a critical step in this type of architecture, the reliability of which directly determines the quality of multi-head transitions. During our tests, this procedure went off without a hitch, and the results were immediately usable.
The interface is responsive, easy to read, and logically organized. Its main drawback is that it is fixed: unlike some competitors that offer tilting or swiveling screens, the U1’s display is not adjustable. Depending on the height at which the machine is installed—on a high shelf or, conversely, on a low side table—the viewing angle can become uncomfortable. This is a deliberate trade-off made in favor of a clean, aesthetic integration, but one whose practical implications are worth considering.
3. Software and Applications
On the software side, the U1 runs on Klipper paired with Fluidd, a combination that is undoubtedly one of its strongest selling points for the technical community. Klipper is open-source firmware renowned for its flexibility, high-speed performance, and ecosystem of customizable macros. The fact that Snapmaker hasn’t locked its printer behind a closed, proprietary ecosystem is a bold decision and consistent with the machine’s maker-oriented positioning. Users can access the Fluidd interface directly via the machine’s IP address on the local network, view logs, modify Klipper settings, and deploy custom macros—a level of freedom neither Bambu Lab nor Creality offers by default.
The included slicer, Snapmaker Orca, is a version of OrcaSlicer, enhanced with profiles specific to the U1 and its tool-changer system. Anyone familiar with OrcaSlicer will feel right at home: the interface, menus, and configuration logic are identical. Tool management is straightforward, with color/material assignments per head and preconfigured tool-change profiles.
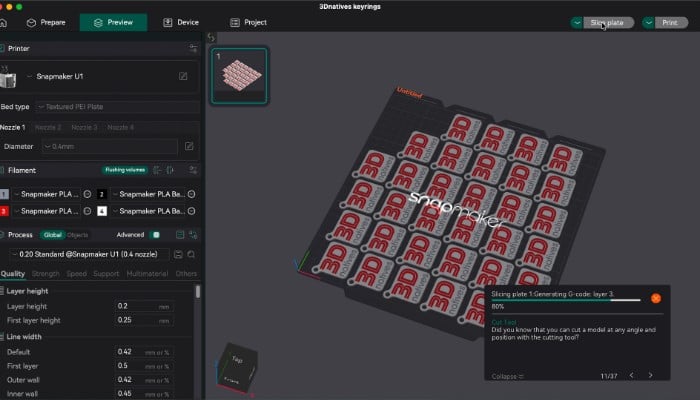
The Snapmaker Orca slicing software is based on the open-source OrcaSlicer software.
The RFID system support is similar to that of competing solutions—a common feature, but one that’s always appreciated: when a Snapmaker spool equipped with an RFID chip is inserted into one of the feeders, the machine automatically identifies the material and color and applies the corresponding print profile. This user-friendly feature reduces configuration errors, although it is limited to the brand’s own consumables; third-party filaments require manual configuration. This is a common trade-off in the industry, but worth noting for those who primarily use generic spools.
However, the mobile app lags significantly behind the Bambu Lab ecosystem. It allows users to monitor ongoing prints, check the machine’s status, and view the camera feed, but it does not offer the ability to start a print directly from a model library on a smartphone. This feature, available natively on MakerWorld for Bambu Lab machine owners, requires U1 users to use a computer to start their prints. A recurring bug also reports the machine as “offline” in the slicer and the app, even though it is properly connected to the network—an issue that is usually resolved by a simple restart, but which reveals that the network integration still has room for improvement on the software side.
4. First 3D Prints
The heart of the U1’s print engine is its tool changer system with four independent heads. Unlike flush-and-reload systems such as Bambu Lab’s AMS, Prusa’s MMU3, or Creality’s CFS, each head maintains its own filament supply in its hotend at all times. Switching from one tool to another is purely mechanical: the active head drops into its magnetic dock, and the next one is grabbed and locked in place in a fraction of a second. As a result, there’s virtually no material waste during color or material transitions. Whereas AMS-type systems can consume several dozen centimeters of filament per change to purge the previous color, the U1 produces only a tiny amount of purge. On projects with numerous transitions, the material savings become significant.
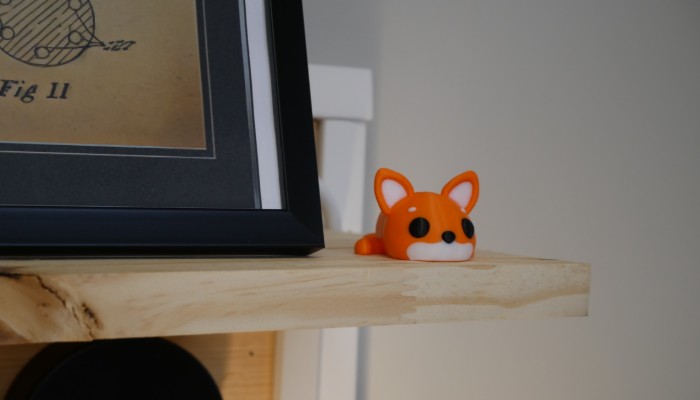
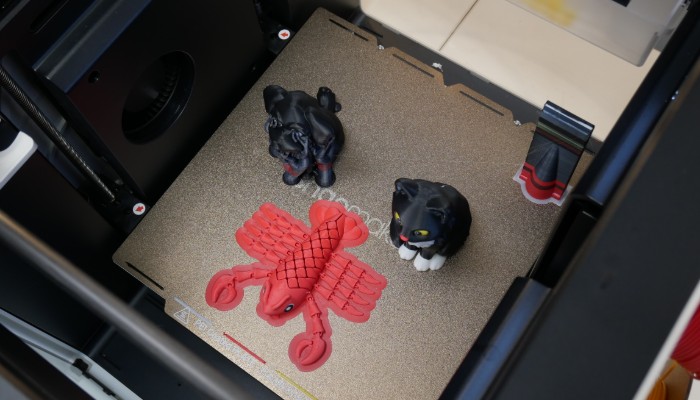
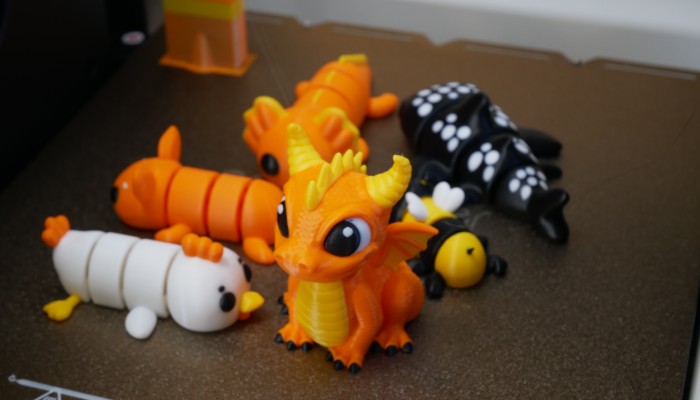
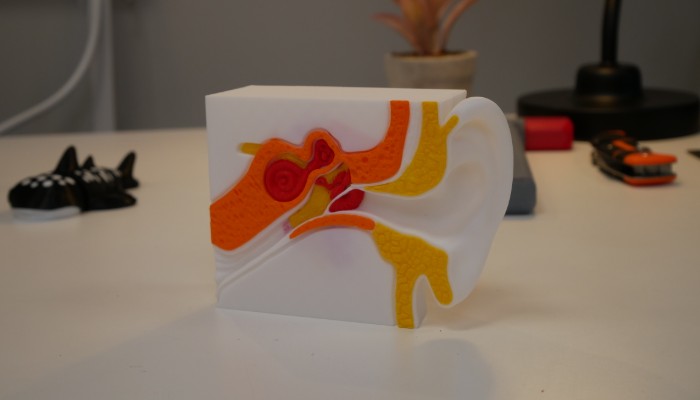
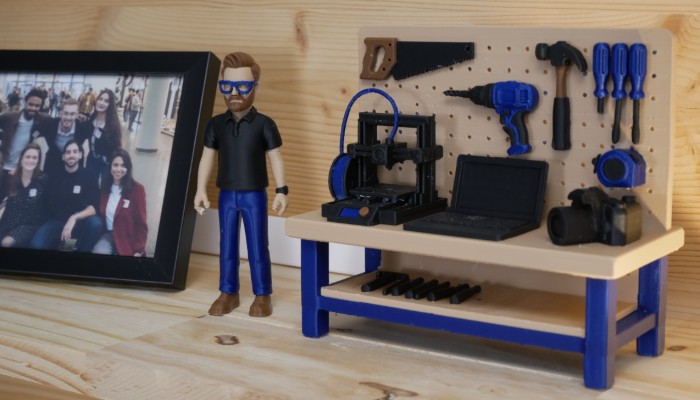
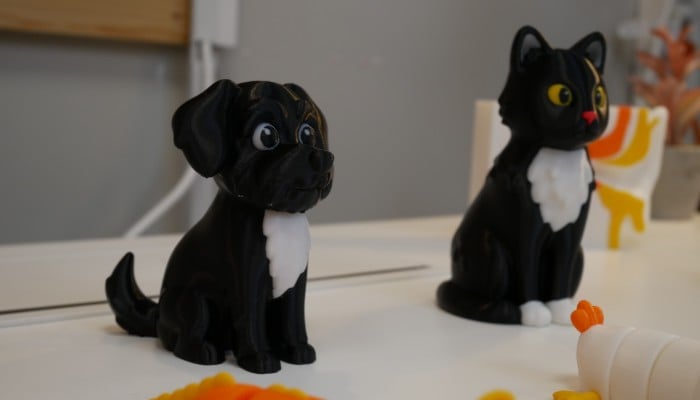
During our multi-color printing tests on PLA figurines and decorative objects, the transitions proved to be remarkably reliable and clean. The mechanical reliability of the dock is excellent: no misaligned tools, no collisions during changeover sequences. A minor issue on the Z-axis during the very first launch—likely caused by a slight initialization vibration—did not recur afterward, suggesting it was a one-time occurrence with no structural impact.
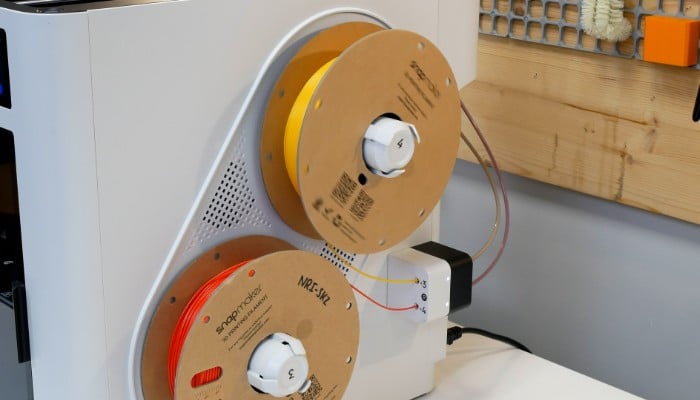
The Snapmaker U1 features an assisted filament loading system, and the spools are placed on the side of the printer.
Multi-material prints with breakaway filament supports delivered particularly impressive results: the supports detach cleanly, and the final surfaces are smooth. This type of result benefits from a seamless interface between the model and the support, a configuration that only a multi-material system can achieve without the risk of material fusion.
During printing, the cooling fan is particularly loud at high speeds. Since the printer is sold without a top cover by default, this noise can become annoying over time if the machine is located in a workspace or living area.
Two drawbacks deserve to be frankly pointed out. First, TPU printing was unreliable during our tests, with recurring issues of clogs and under-extrusion. This type of flexible filament remains problematic on the vast majority of multi-extruder systems; the geometry of the feeders and PTFE tubes is not optimized to accommodate the flexibility of TPU. Although Snapmaker recommends splitting the PTFE tubes to feed the filament into the direct-drive head, this solution did not work in our specific case. Second, the design of the nozzles—sold as an integrated assembly that includes the temperature sensor and heating block—requires replacing the entire assembly rather than simply swapping out a standard nozzle. This business model is becoming increasingly common on this type of machine, but it can quickly prove more costly for users who regularly experiment with different nozzle diameters or abrasive materials.


Conclusion
- Contents of 3D Printer 9.5/10
- Software 8.5/10
- Print Quality 9.5/10
- Getting Started 8.5/10
Pros:
- Open and customizable Klipper + Fluidd platform
- Value for money
Cons:
- Limited software ecosystem
- No enclosure
The Snapmaker U1 is a technically ambitious machine that succeeds in its primary goal: making multi-material 3D printing with a tool changer accessible to everyone at an affordable price. Its mechanical switching system is reliable, filament waste is minimal, and its Klipper/Fluidd base opens up extensive customization possibilities for experienced users.
However, it is not the ideal machine for those seeking a fully controlled, out-of-the-box experience. The mobile software ecosystem lags behind, some design inconsistencies remain—such as the fixed screen, the absence of a filament cutter on the hotend, and the USB port positioned at the back despite the obvious difficulty in accessing that area. These criticisms do not call into question the machine’s fundamental performance—especially when considering the printer’s price point—but they do outline the profile of the user for whom it is truly intended.
At its price point, it represents one of the most compelling options on the market for makers, students, or fablabs looking to acquire a multi-material tool changer without compromising on performance. It is designed for those who are willing to do a little tinkering in exchange for real technical freedom, and who do not view “configuration” as a constraint, but as an integral part of the digital fabrication experience.