3Dnatives Lab: Testing the Edge E1 3D Printer From RAYSHAPE
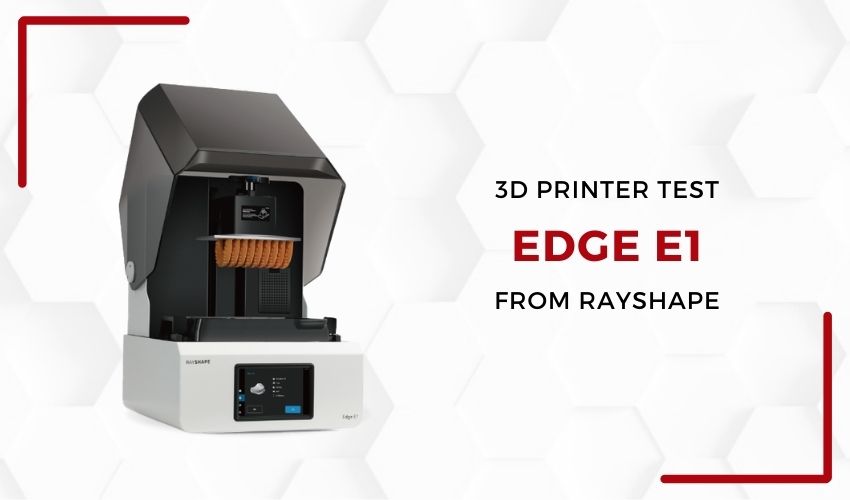
RAYSHAPE is a Chinese manufacturer specializing in the development and sale of resin 3D printers. With a wealth of experience in the field, founder Bill Liu and his teams have developed a full range of DLP 3D printers over the years. Their range includes both desktop printers that have been specifically designed for the dental field and industrial printers and dedicated to mass production.
Indeed, since its creation in 2019, RAYSHAPE has expanded into the European and North American markets with the aim of becoming a global player in additive manufacturing in several fields. Namely dental, industry, engineering, education, as well as the cultural and creative sectors. Now, the Edge E1 3D printer has become the latest edition to RAYSHAPE’s dental range.
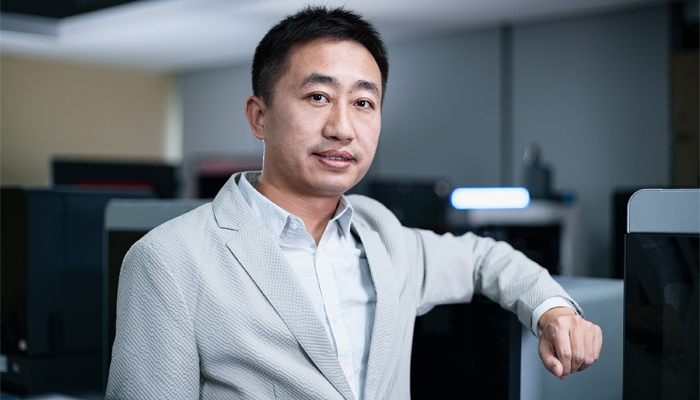
Bill Liu, founded RAYSHAPE in 2019
The Edge E1’s printing process sets it apart from other RAYSHAPE printers, since it is the manufacturer’s first LCD 3D printer. Despite its differences from the Shape +, the Edge E1 is a desktop machine that joins the dental 3D printing range. Wash & Cure post-processing solutions and a range of dental resins are available as optional extras when purchasing a printer, completing the brand’s dental ecosystem.
With this new addition to its product range, RAYSHAPE is now exploring the capabilities of LCD technology, which has evolved considerably in recent years, mainly thanks to higher-resolution LCD screens. In fact, LCD technologies now offer most of the advantages and technical capabilities of DLP printing at a reduced cost of entry. Following several weeks of testing in the 3Dnatives Lab, we are pleased to share our experience with the RAYSHAPE Edge E1 in this article.
Unpacking the Edge E1 3D Printer
As soon as we received the Edge E1, we were surprised by the dimensions of the packaging, which was delivered on a pallet. Although the print volume of the Edge 1 printer is 192 × 120 × 190 mm, its overall dimensions are relatively imposing, stretching to 390 × 420 × 535 mm.
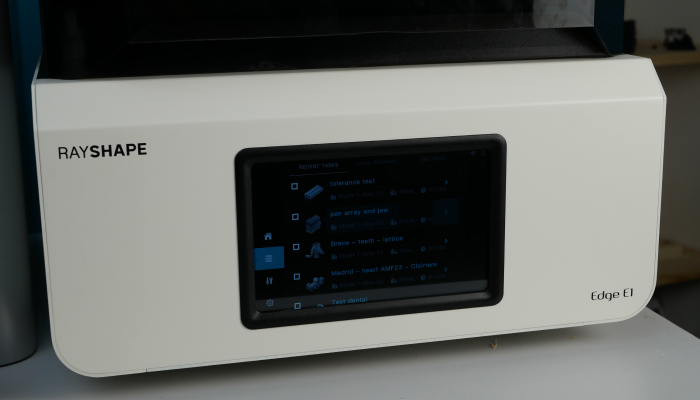
Releasing the Edge E1 from its cardboard box, the printer reveals itself. A sturdy chassis in folded sheet metal and aluminum, a Z-movement system based on linear rails and a leadscrew make this a robust printer. Boding well for precise, reliable prints. Moreoever, the front panel features a 7-inch color touchscreen which, from the moment it’s switched on, presents a relatively simple interface.
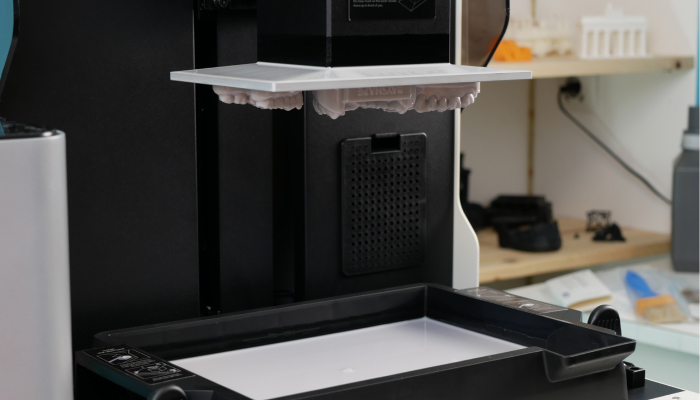
Despite its relatively imposing print volume, the Edge E1 is a minimalist, premium printer.
Although, as we’ve already mentioned, the Edge E1 is not particularly compact, it offers a minimalist, professional design. A clear aesthetic choice on the part of the Chinese manufacturer has been to conceal most of the mechanical components to make the machine more sober. Thus allowing it to blend into the décor of a dental practice or prosthetic laboratory.
To ensure a working environment free of volatile organic compounds (VOCs), which is particularly important in a medical environment, the machine features an interchangeable activated carbon filter. Further unpacking reveals the many accessories supplied (2 hermetically sealed plastic boxes, cutting pliers, plastic spatula, metal spatula, filters, tweezers, sprayer, disposable gloves, micro-fiber wipes, allen keys, Ethernet cable, mallet, and finally plastic tray). These are packaged in individual bags and labeled with various pieces of information (name, function of the accessory…). A thoughtful addition that makes it easier to get to grips with the RAYSHAPE machine.

The RAYSHAPE dental printer comes with a wide range of accessories, making the user experience even more pleasant
Alongside the printer itself, we also received two pieces of post-processing equipment, namely the ShapeWash and ShapeCure. The former is an ultrasonic tank for cleaning parts after printing, while the latter is a post-curing machine designed to ensure optimum curing to achieve the desired mechanical performance. Note that washing and curing is necessary for photopolymerization solutions.
Installing the RAYSHAPE Edge E1 3D Printer
Once the printer has been completely unpacked, it is placed on a work surface alongside all the accessories and post-processing machines. When installing the Edge E1, extra space should be left at the rear of the machine to allow the cover to be opened in order to gain access to the interior of the 3D printer.

The dental ecosystem marketed by the manufacturer includes the printer, post-processing machines and resins specially developed for dental applications.
After connecting the equipment, the printer’s screen interface greets the operator as soon as the machine is switched on. Adjustment of the plate height relative to the monochrome LCD screen is the first step, and is straightforward but requires the use of a standard sheet of paper as a reference. To make this adjustment, simply remove the resin vat and lower it, positioning the sheet between the print screen and the vat until you feel sufficient resistance on the A4 sheet due to the pressure exerted by the tray. It should be noted that the plate is already levelled and calibrated from the factory, and that adjusting the spacing between the plate and the LCD screen ensures optimum printing performance after transport.
Finally, a test of the 4K LCD print screen confirms that it’s working properly. Then we reinstall the resin tray and manually fill it with the resin of our choice. Once the entire 1 kg bottle of resin has been poured into the tray, the machine is ready to start its first print job.
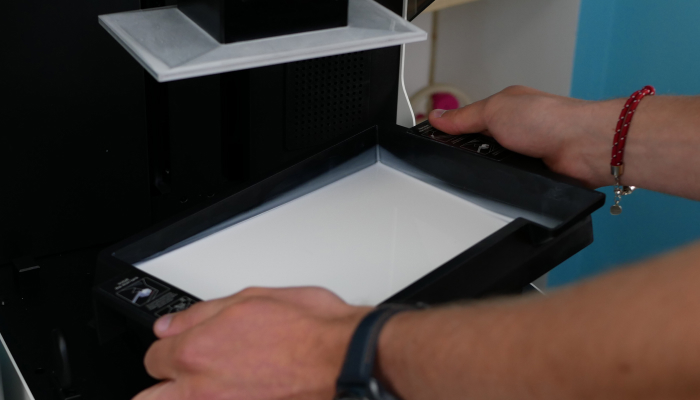
The resin vat of the RAYSHAPE Edge E1 slides easily into the space provided and is held in place by swivel clips.
As already mentioned, the Edge E1 is the first LCD 3D printer to be marketed by RAYSHAPE. All machines previously sold by the manufacturer have used DLP technology. The evolution of the LCD screens now makes it possible to benefit from equivalent or even better precision, at a more affordable price. However, it’s important to bear in mind that despite the low cost of LCD screens, they degrade with use, meaning that they will have to be replaced during the machine’s lifetime. So, despite its lower acquiition cost compared with DLP, LCD technology may involve higher maintenance costs due to wear and tear on the LCD screen used.
Please note as well that once the 3D printer has been restarted, the Edge E1 does not seem to automatically reconnect to the previously associated Wi-Fi network, despite having saved the password. You’ll need to reconnect it manually by selecting the correct network.
ShapeWare, RAYSHAPE’s proprietary slicing software
As with all its 3D printers, RAYSHAPE has developed its own slicing software called “ShapeWare”. This slicer has all the essential functions, such as orientation, cutting, hollowing and automatic media creation, as well as more advanced and relatively practical features such as integrated nesting enabling printing in series. It’s quite clear, however, that the software was originally developed in Chinese and then translated into English, resulting in some slight translation errors that can detract from user experience.
In addition to its file manipulation tools, ShapeWare comes with pre-configured profiles for each type of resin sold by RAYSHAPE, and allows the creation and import of customized profiles to exploit its open architecture to the full. By importing profiles, it will be possible to print with any compatible third-party resin. On a positive note, the slicer allows print jobs to be sent to the Edge E1 via Wi-Fi, enabling wireless transmission of print jobs via the local network, enhancing the user experience.
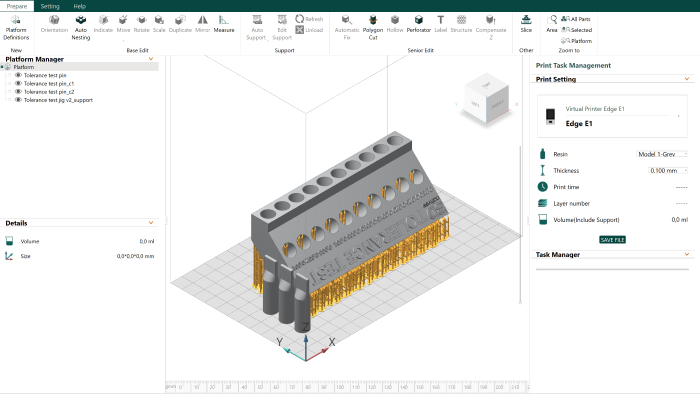
ShapeWare, RAYSHAPE’s proprietary slicer
During our test, we encountered a slight problem with the pre-configured resin profiles. As we received samples of an older resin, we had to use custom profiles supplied by RAYSHAPE to achieve optimum printing results. Importing these profiles into the slicing software is straightforward, but end-users who receive new resins will certainly not need to go through this step.
The only drawback is that ShapeWare does not currently support the 3MF file format, which is increasingly used in the 3D printing industry. Consequently, you’ll need to ensure that files are saved or converted to STL or other supported formats before importing them into the slicing software.
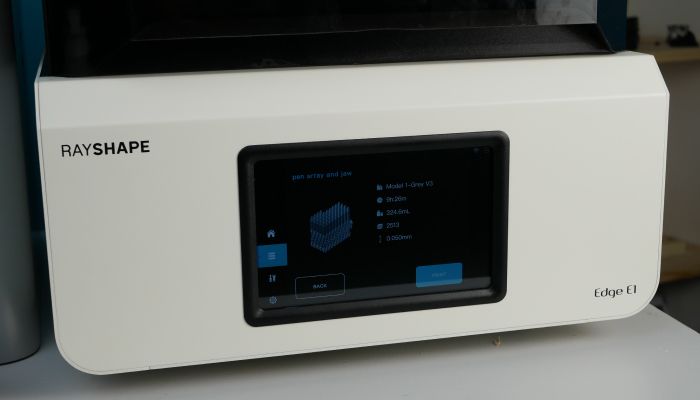
Once prints have been sent wirelessly via the slicer, they can be launched on the RAYSHAPE Edge E1 screen.
First Prints With the Edge E1 From RAYSHAPE
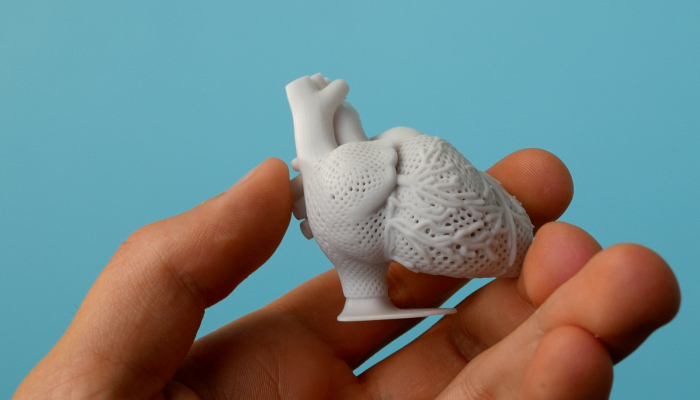
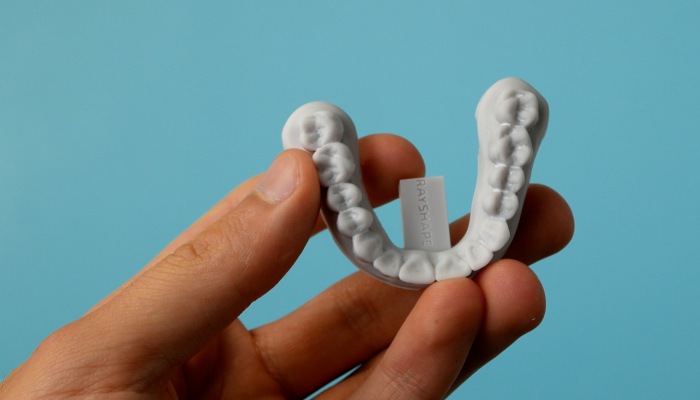
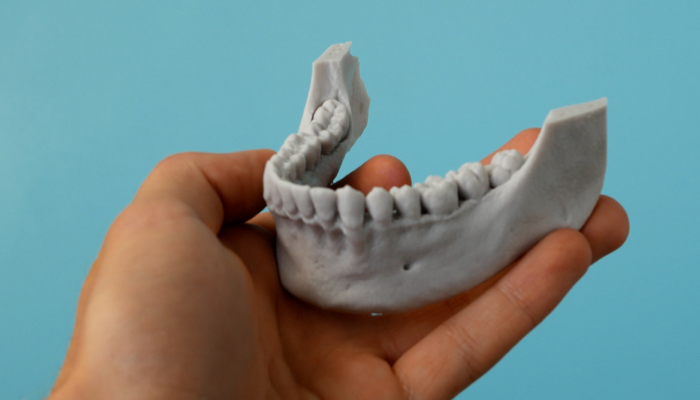
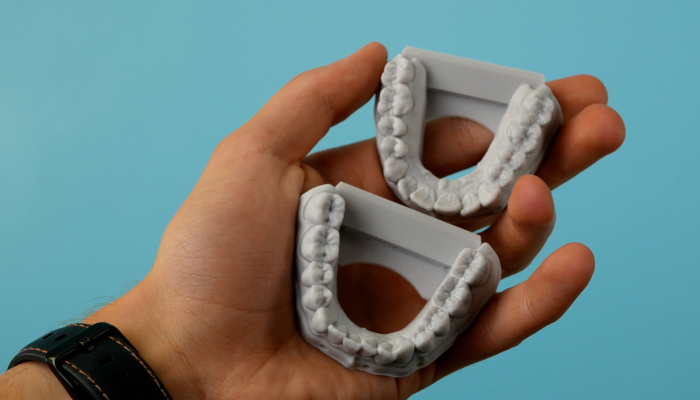
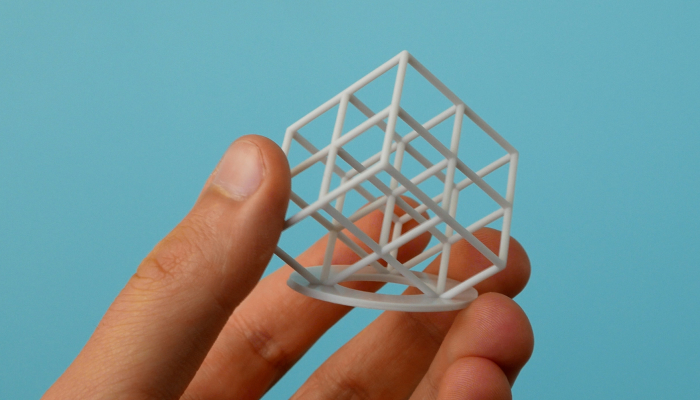
Once the first parts have been sliced from ShapeWare, the print file is sent over the local network, enabling printing to be started from the machine’s touch screen. In the end, the printed parts obtained on the RAYSHAPE Edge E1 are well detailed and faithfully represent the 3D models. Individual voxels and layers are barely visible to the naked eye, testifying to the printer’s ability to produce high-resolution prints. And despite its medium-size print volume, the Edge 1 is suitable for a wide range of dental applications.
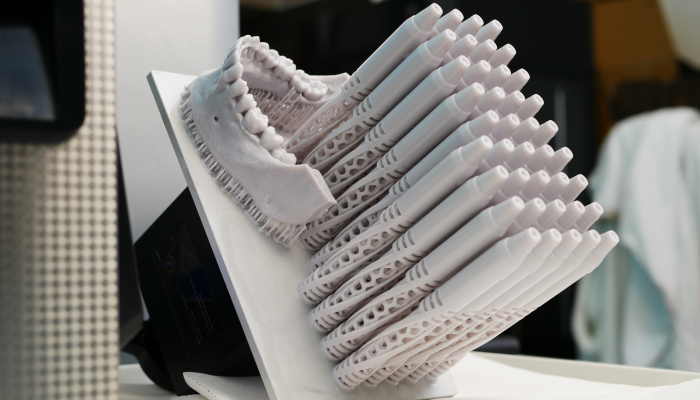
Model 1 and Record Model print runs are as expected, with the same print quality. The manufacturer claims a dimensional accuracy of between 50 and 90 microns. Moreover, in our tests we were able to validate tolerances of 3 microns.

The RAYSHAPE Edge E1 enables you to print detailed dental models using suitable resins. Thanks to the serial printing function, up to 12 dental models can be printed simultaneously.
Since the Edge E1 3D printer does not have an automatic resin-filling system, the tank must be filled manually. Thus, users will need to ensure that the resin level is sufficient before each print. RAYSHAPE also stresses the importance of stirring the resin before each print to ensure optimum results. It would be useful to have a reminder directly on the print screen to mix the resin before starting a print run.
When it comes to post-processing of the prints, the ShapeWash ultrasonic cleaning machine, originally manufactured by Skymen and rebadged by RAYSHAPE, fulfills its function and allows you to set the cleaning time and temperature. The ShapeWash has a built-in heating function, but this should be avoided when using solvents, particularly alcohol. Priced at $200 for the smallest model (020S) and $350 for the largest (040S), ShapeWash machines can easily clean all types of parts.
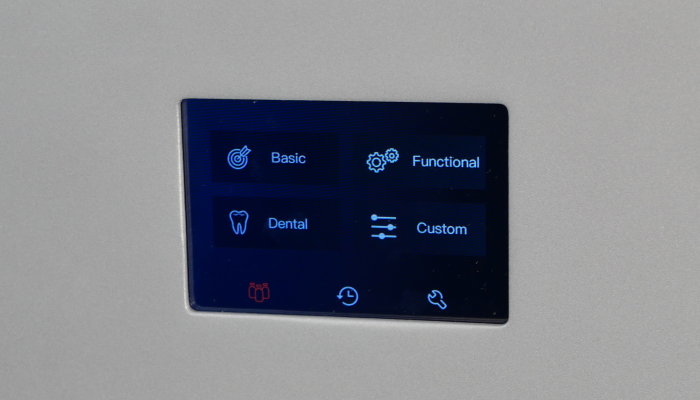
ShapeCure allows post-polymerization of prints thanks to pre-configured profiles
The ShapeCure+ post-curing machine is easy to use thanks to its color touch screen, and comes with pre-configured profiles for each type of resin sold by RAYSHAPE. Curing time and temperature are also already set. Although the machine is very easy to use, the custom settings feature has no temperature limit and therefore allows, in theory, infinite heating (this heating will obviously be limited by the physical capacity of the machine, but it is preferable to maintain an adapted temperature for safety reasons). Priced at $1,000 for the ShapeCure and $2,000 for the ShapeCure+, post-polymerization machines simplify the post-processing workflow, ensuring that prints are correctly light-cured for optimum stress resistance and stability.
Although the “ShapeCure+” is not connected to the Internet, it is likely that the machine can be updated by the user via the USB A port integrated inside the machine, enabling new resin profiles to be added in the future.
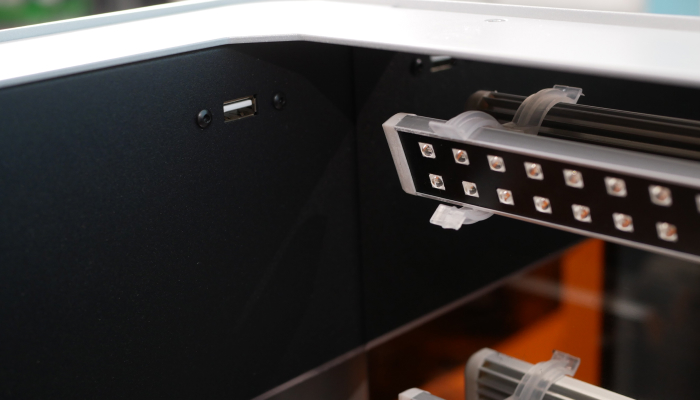
The “ShapeCure” post-curing machine is equipped with a USB A port, which should enable it to be updated with new curing profiles.
Conclusion
- 3D Printers Features and Accessories 10/10
- Software 7/10
- Printing Quality 10/10
- Ease of Use 9/10
Pros:
- Ecosystem
- Price
- Construction quality
Cons:
- Manual tank filling
- Software
- Not compatible with the 3MF format
The Edge E1’s sturdy chassis and linear rails guarantee the 3D printer’s stability and precise movement, resulting in accurate, detailed prints. Although the software can benefit from improvements, such as better translation and support for the 3MF file format, it nevertheless offers all the functions needed to prepare models prior to printing.
More advanced options, such as positioning for series, can also be particularly useful for production dental 3D printing. The associated curing and cleaning stations, ShapeCure and ShapeWash, ensure a simplified user experience in the workflow.
In conclusion, the RAYSHAPE Edge E1 is a robust dental 3D printing solution offering excellent print quality and a simplified experience. In the future, it would be interesting for the manufacturer to add the option of an automatic resin refill system to maintain a sufficient quantity of material and, more generally, reduce manual operations.
At an entry price of $3,500 for the 3D printer alone, RAYSHAPE clearly shows its willingness to attack the dental sector by offering an affordable machine and a dedicated ecosystem. As the company continues to expand its international presence, it will be interesting to see the manufacturer’s future developments and improvements, which could position itself as a leading player in resin 3D printing. You can find out more about RAYSHAPE HERE.


