


3Dnatives Lab: Testing the Dagoma Magis 3D Printer
Last year, in March 2018 to be exact, the French manufacturer Dagoma presented the Magis 3D printer to the light of day. Thus succeeding its Neva model and its DiscoEasy 200, a model widely acclaimed by the 3D community.
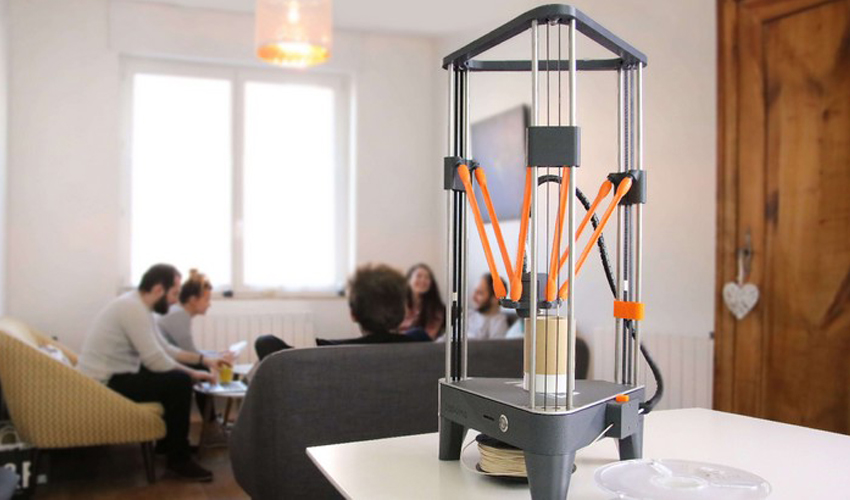
Characterised by its Delta format, the Dagoma Magis puts on a simplified grip at its climax with a single multifunction button. Other functions such as automatic calibration, a Stop & Go function, a filament end detection system and automatic filament ejection show the manufacturer’s desire to make the experience as simple as using a paper printer. Like its first models, the Magis remains on a very competitive price level with at around 499 € TTC.
As far as the technical characteristics are concerned, the Magis offers a manufacturing volume of 180 x 180 x 200 mm and a minimum layer height of 100 microns. Along with an accuracy of X / Y of 0.2 mm and a printing speed of 30 to 100 mm / s for a maximum extrusion temperature of 270 ° C.
Finally, we had the opportunity to test the Magis 3D printer to see if it kept its promises in terms of ergonomics, ease of use and, of course, print quality. You can find our complete test below.
1. Unpacking the Magis
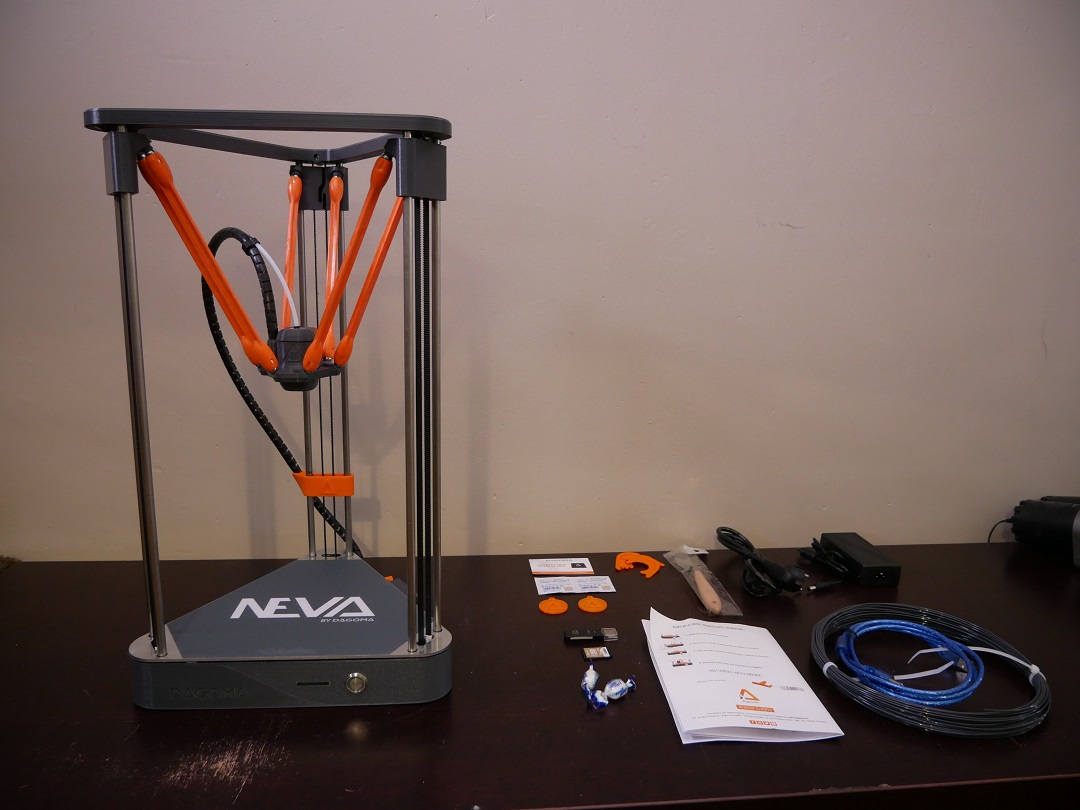
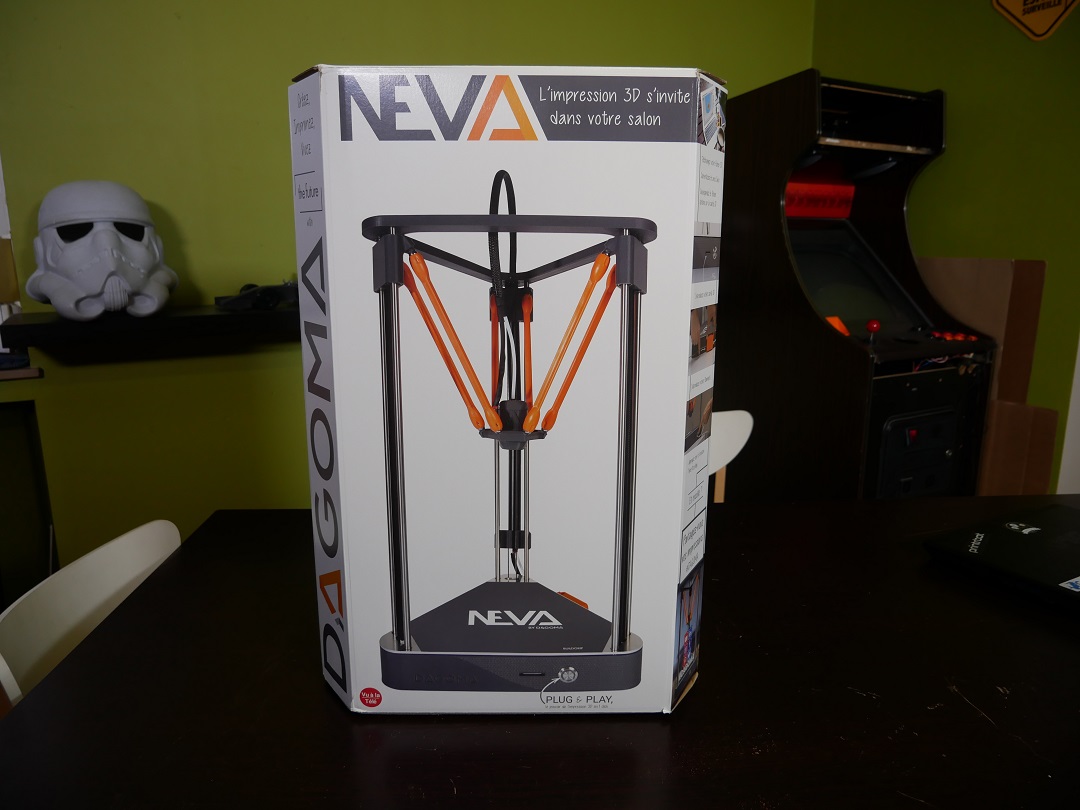
The printer arrived in a double package to preserve the transport. In the box, we discover the worked packaging of the NEVA with its clearly visible slogan “L’impression 3D s’invite dans votre salon” (3D printing invited into your living room). Once unpacked, the 3D printer Magis is unveiled with its 305 x 275 x 535 mm proportions and only weighing 4.3 kg.
In terms of accessories, we find everything we need to quickly start the first prints. Namely a sample of filament, power and USB cable, a spatula (a little too flexible for our taste), wipes cleaning system for the Buildtak tray as well as an SD card and a USB adapter. The candies you get with the box are just perfect to enjoy when reading the instructions.
Also note that Dagoma recently launched an optional protective case that we did not have the pleasure to test. It adapts to Magis and optimises print quality by regulating the temperature inside the printer. The hood is available for a price of 169 €.

2. Installing the 3D printer
Once unpacked, we are invited to follow the “First steps” guide available online on the Dagoma website. From editing the machine to first impressions, everything is explained quite clearly.
The installation of the printer is done in less than 3 minutes since the only necessary step is to connect the 6 orange arms that hold the print head. No need either to bring a screwdriver as they are magnetised and come clipped. Be careful, however, not to raise your head upside down because the arms will come off on their own during the first calibration (we speak from experience).
This calibration step is fairly traditional and consist of checking the distance between the nozzle and various points of the tray automatically. You will not have to manually pass a calibration card on the points of palpation. Finally, for the third step, you will need to load the filament into the feeder at the base of the machine before it starts to be extruded by the head of the 3D printer. From there the Magis 3D printer is ready to print.
3. Cura Software by Dagoma
As usual, Dagoma provides the Cura software to control their printer, or rather its printers because from now on it is the same software that you have for Magis, NEVA or DiscoEasy 200. Magis, however, has an improved version of the Marlin firmware and if you do not have the Magis but the previous NEVA, then you are free to update your firmware with the software especially developed for this, the DAGOM’APP .
Even if we did not really need it, we still updated to see if the process was easier than some other printers where you sometimes have to go through an Arduino. The results were: update in less than 2 minutes chrono through the supplied USB cable.
The user experience is a great success with Dagoma. The software is very well thought out and the step by step guide available on their website is simply one of the best we have had the chance to observe.
4. First impressions
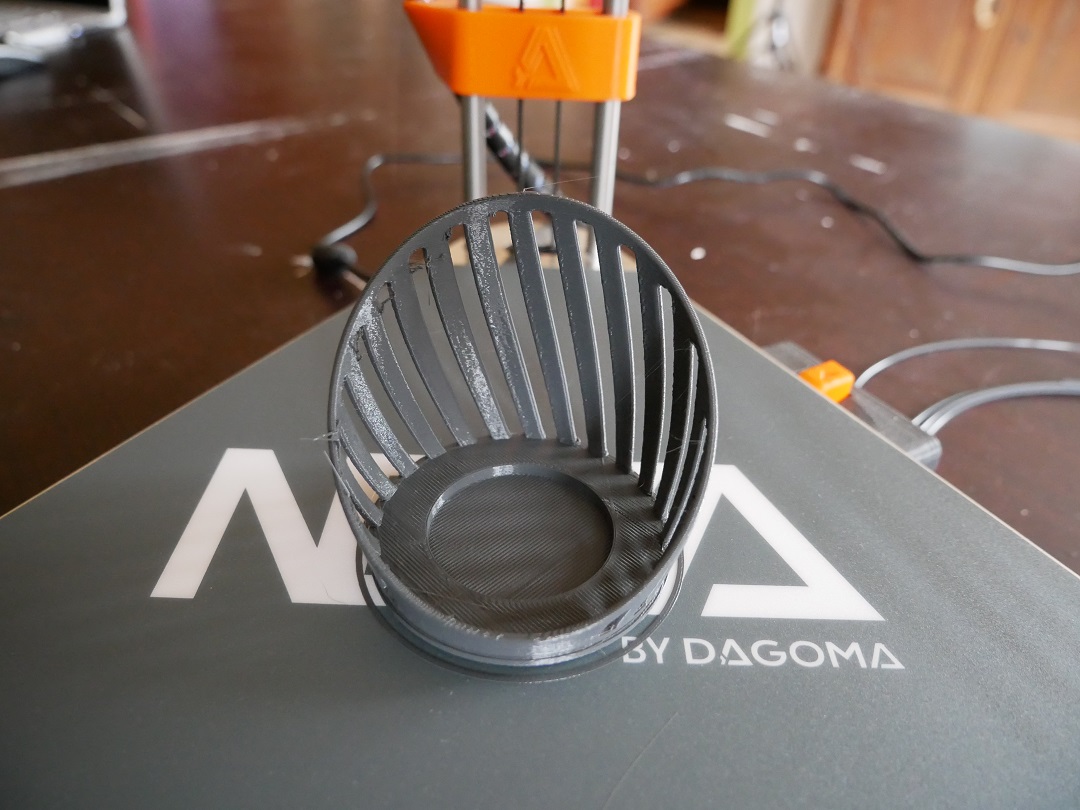
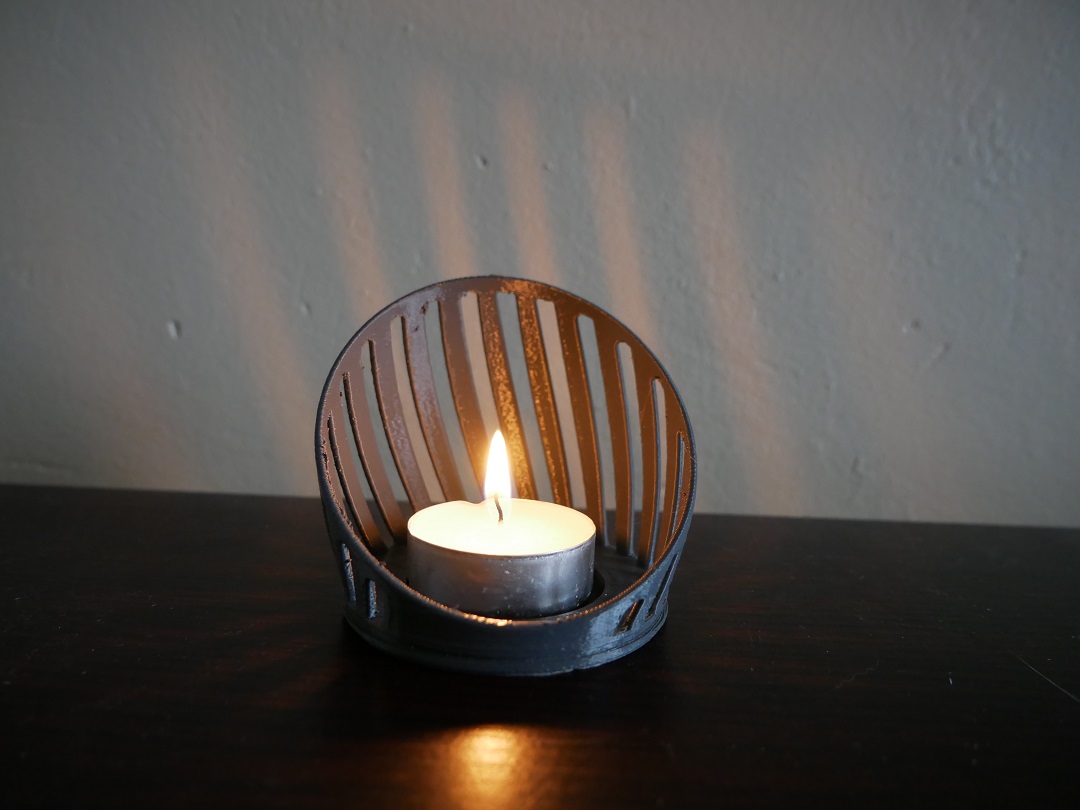
Following the guide, the first object you will be asked to print is a candle holder. We printed it with the PLA sample that came with the printer in less than two hours. The result are very satisfying and comes out as a smooth print.
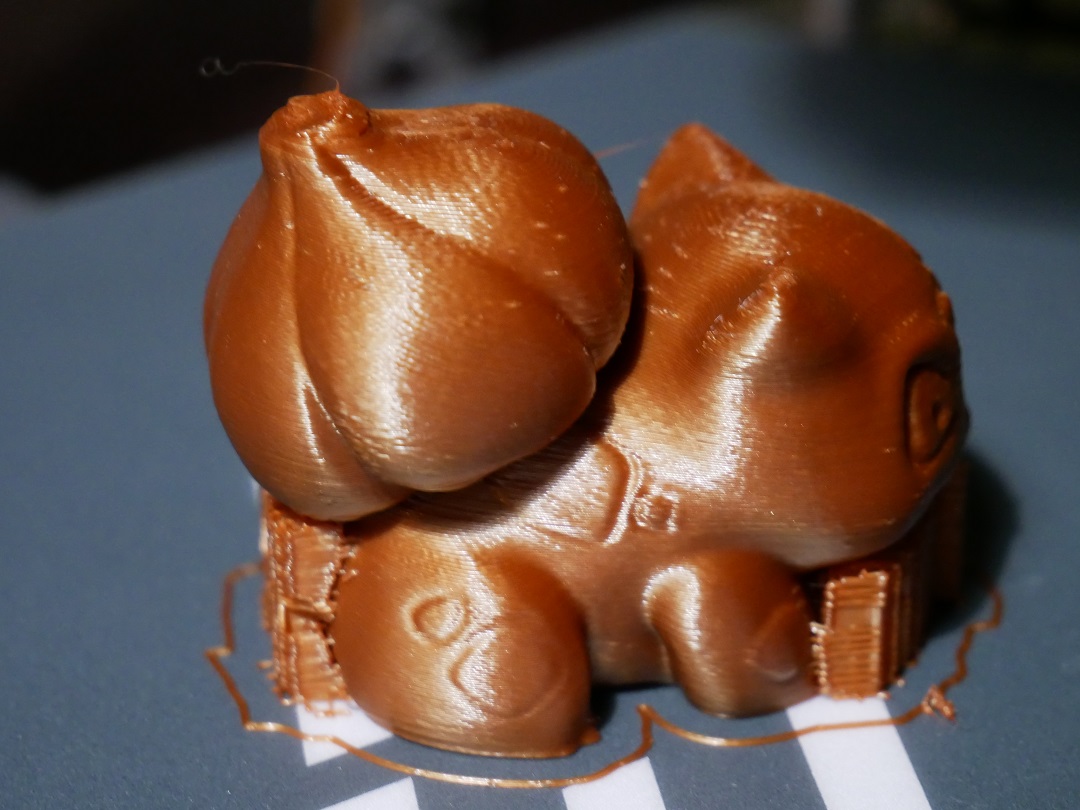
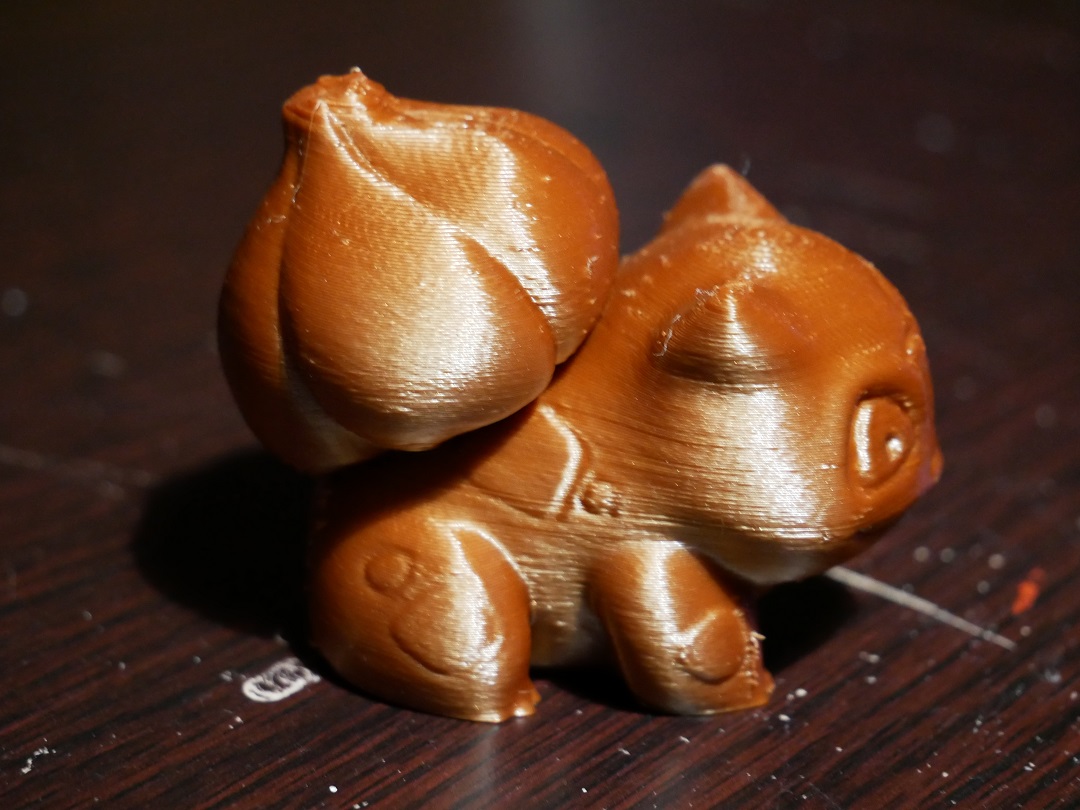
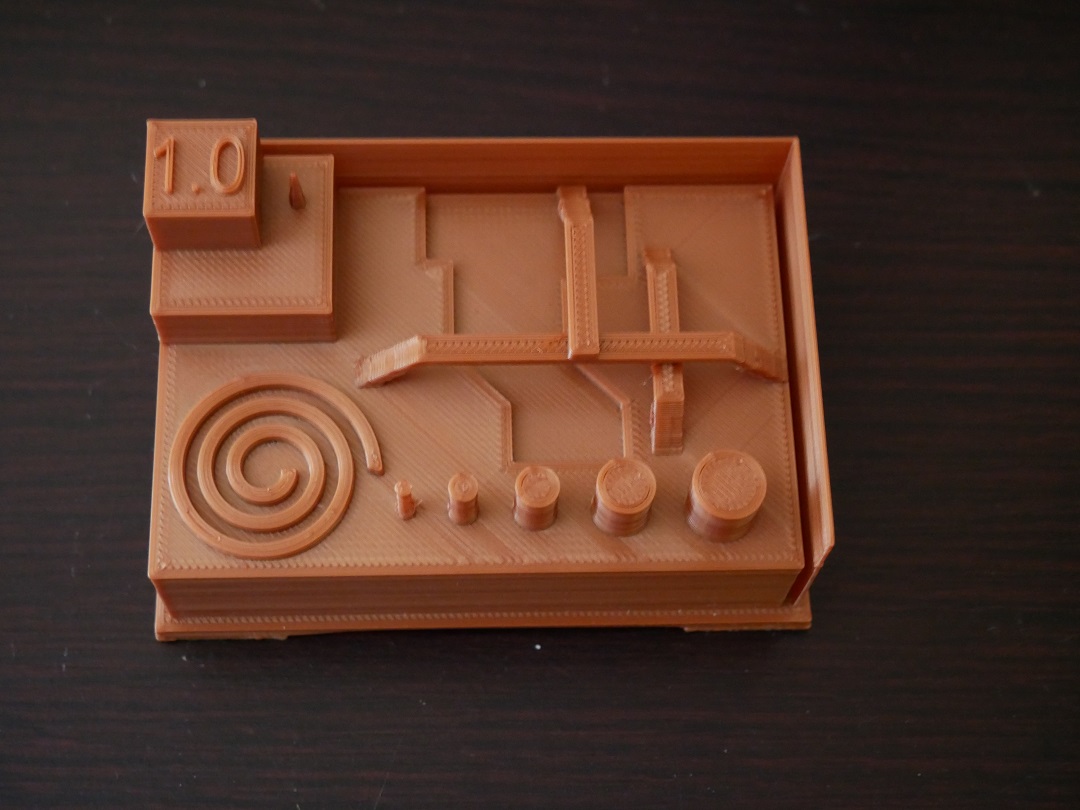
We then tested a different PLA to print a figurine requiring the addition of print media. To finally finish on our usual torture object. However, we had to print it twice because one of the straps had simply detached from its support. Nothing very serious and once replaced in the notches provided for this purpose, the print was able to resume.
The results are very positive concerning the management of angles, walls and the finest parts. The surface condition remains very good overall, although some minor defects remain to be corrected by adjusting the extrusion temperature. Parameters to change under Cura that will require a little experience for beginners to understand their influence on the final appearance of the piece. The addition of the hood recently developed by Dagoma could also come to optimise the results.
Find all our 3D printer tests in the 3Dnatives Lab
Conclusion
- Printer content 7.5/10
- Software 8.5/10
- Print quality 8/10
- Ease of use 9.5/10
Positive points:
– Ease of use
– Price
– Made in France
Negative points:
– Improvement of the quality of the prints
– Non-heating tray
– No control screen
In conclusion, we can say that we are very pleasantly surprised by the ease of use of this printer. The “TAP TAP” system works great and you get used to it so fast that you almost regret that it is not adopted by everyone. That said, the print quality will depend heavily on your ability to fine-tune your print settings. Indeed, as much as it is easy to modify some parts on more conventional printers as much you will have to optimise your parameters of slicing to obtain perfect results on the Dagoma Magis. To realise our torture object as in the photo we had to switch to advanced mode on Cura to find the right settings for printing.
Clearly, the Magis 3D printer is for budding and neophyte makers who want to try 3D printing or who want to equip a machine without a fuss. Its price of just € 499 is also a serious argument for anyone who wants to get a first 3D printer. Conversely, the most experienced users will be quickly frustrated in terms of both the size of the parts produced and the choice of printing materials. It will be interesting to know if Dagoma intends to launch add-ons to improve the machine in the coming months as for DiscoEasy200. For more information on the Magis 3D printer, visit the Dagoma website HERE.


