


3Dnatives Lab: Testing the Idea Builder 3D40 from Dremel
Dremel, better known for its wide range of multifunctional tools designed for manufacturers can nevertheless, boast about having nearly 5 years of experience in the 3D printing industry. In 2014, the company released its first FDM machine, the Idea Builder 3D20. Since then, Dremel has strengthened its range of 3D printers with the arrival of the Idea Builder 3D40 and a premium version called the DigiLab 3D45.
In order to learn more about the manufacturer’s developments we got our hands on its two latest models. Today, at 3Dnatives Lab we start by testing the Idea Builder 3D40 printer.
Interestingly enough, with this model, Dremel hopes to establish itself in schools, a desire clearly expressed by the brand in its media communication. “Dremel DigiLab works with primary schools to help students develop their critical thinking skills by improving their ability to visualise a concept, build prototypes, test and adapt their ideas” is written on the printer’s instruction sheet.
So how does the Idea Builder 3D40 compare to other 3D printers on the market? Is it really adapted for educational purposes? What are its strengths?
1. Unpacking the Idea Builder 3D40
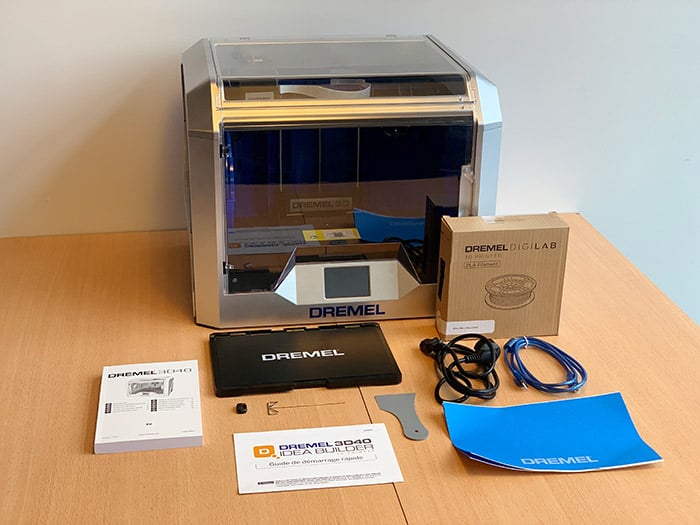
The Dremel 3D printer comes in a very visual packaging, with many pictures of the machine and a reminder of its main features. Weighing 16kg, unpacking the machine is simple.
The list of accessories included is quite simple and includes a removable plastic tray, blue tape sheets to improve print adhesion, a complete multi-language manual, a quick start guide in French, a 500g roll of white PLA filament, a USB key, a USB cable, a scraper to remove prints and a tool to clean the nozzle in case of problems.
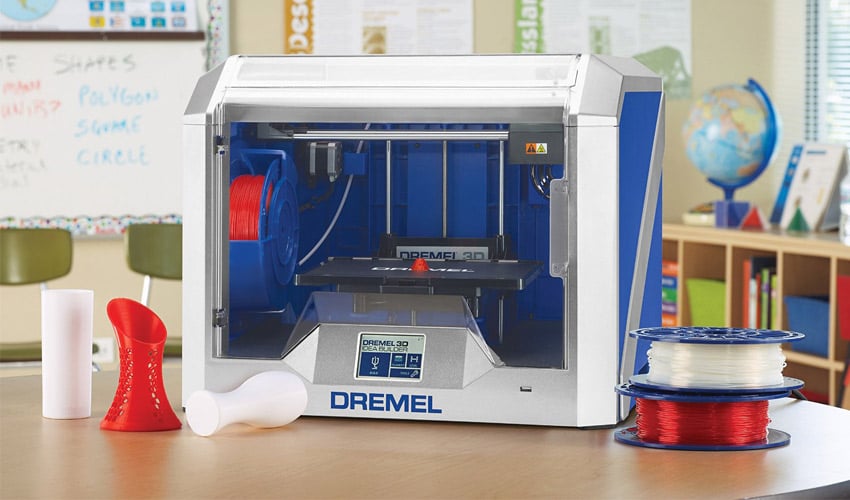
In terms of design, the 3D40 appears as an advanced version of the 3D20 printer. It offers a larger printing volume of 255x155x170 mm (compared to 230x150x140 mm previously), a slightly larger LCD touch screen and WiFi connection, USB cable or USB key. As for the 3D20, we remain on a completely plastic but robust fairing.
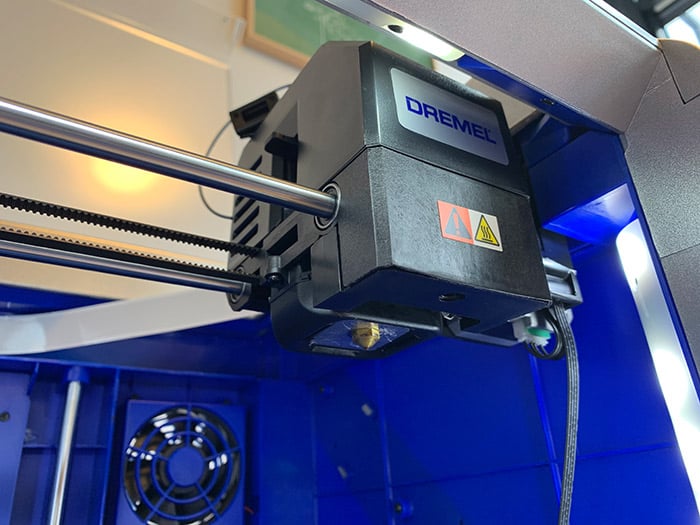
Although it is not equipped with a heating plate, it does have the advantage of a fully enclosed printing chamber, with transparent windows on the front and upper part of the machine. It allows easy access to the extruder and the plate. The result is a completely closed machine that keeps a constant temperature within the printer and therefore optimises prints.
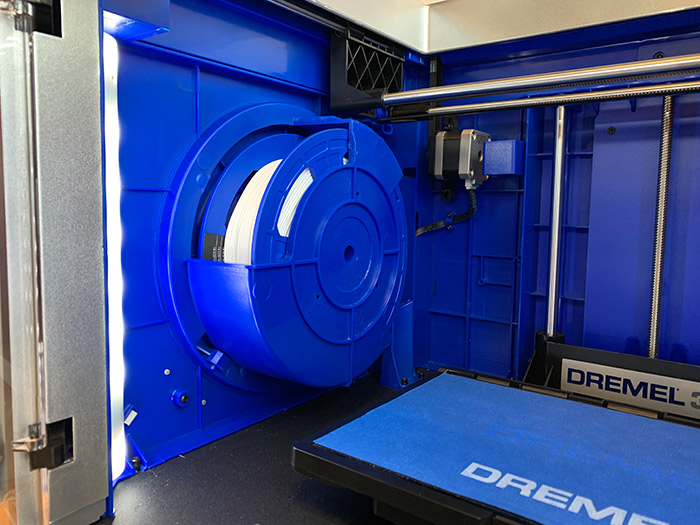
The filament reel is integrated inside the printing chamber.
2. Installing the 3D Printer from Dremel
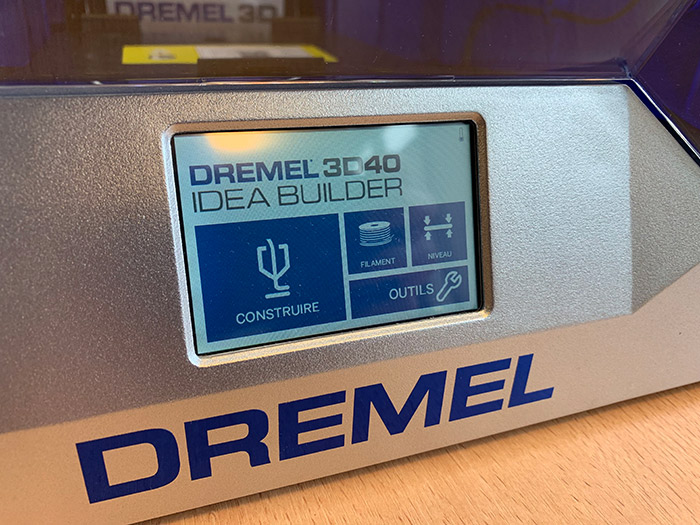
To install the 3D printer, you will first need to install the filament reel. This is placed within the printing chamber, with the advantage of reducing the external footprint of the machine. On the other hand it reduces the maximum printing volume. The loading of the filament is done in a rather intuitive way via the control screen.
Please note that the 3D40 3D printer officially only accepts reels in the specific format of the Dremel brand. A technical limitation which can be diverted by adding an external reel to the printer. As a result, it will allow the use of any PLA filament (or compatible cold plate) with a diameter of 1.75mm.
After this, you will have to clip the printer tray into the machine, having previously applied a blue adhesive film, making it possible to avoid the absence of a heating tray and to optimise the adhesion of the part.
The third step of the installation is to calibrate the 3D40 printer’s tray. Accessible via the control screen menu, the calibration is semi-automatic: a sensor placed at the extruder moves to 2 distinct points on the printing surface in a rather classic way, while at each step, the user is asked to adjust the screws located under the plate.
However, Dremel has simplified this process by indicating exactly how many turns of the screws to the right or left are required. A good point to simplify a step that can be laborious for some 3D printers.
3. DigiLab 3D Slicer Software
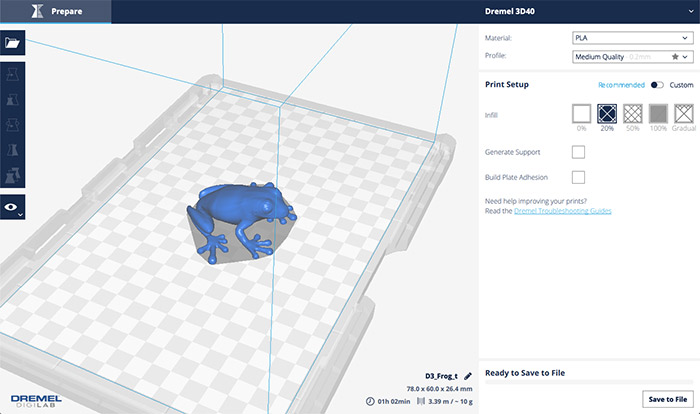
A good point to note is the manufacturer’s effort regarding the slicer. Indeed, the dedicated software called DigiLab 3D Slicer has been specially developed from the Open-Source software Cura. Why reinvent what already works? This is a light version of Cura that simplifies and speeds up the learning process. No need to download specific profiles for the Idea Builder 3D40 or relearn new slicing software.
Once the model has been prepared on the software, you can then send it to the 3D printer via WiFi but also via the USB cable or USB key provided. Please note that you will also be able to save the 3D file to the printer’s internal memory. A good idea for an educational project that will be printed several times for example.
4. First Impressions
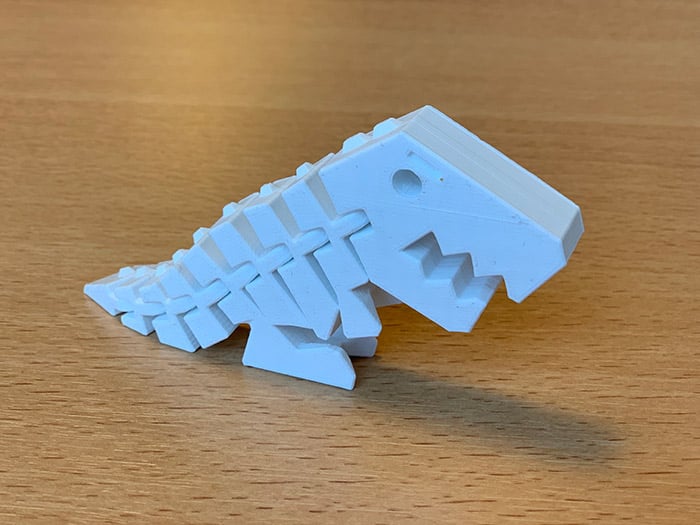
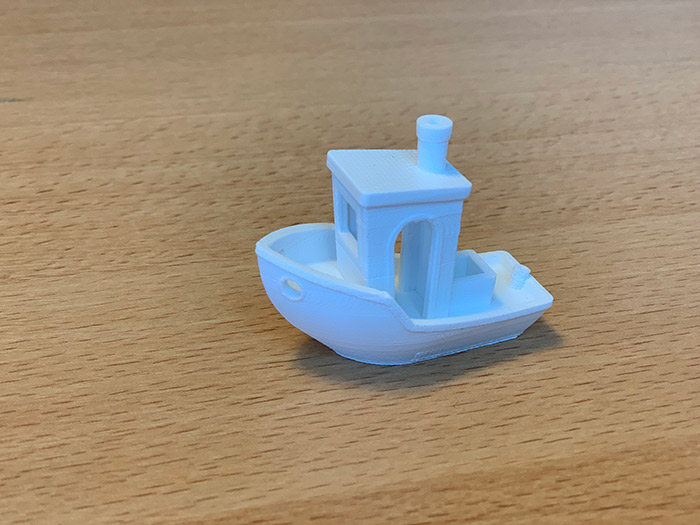
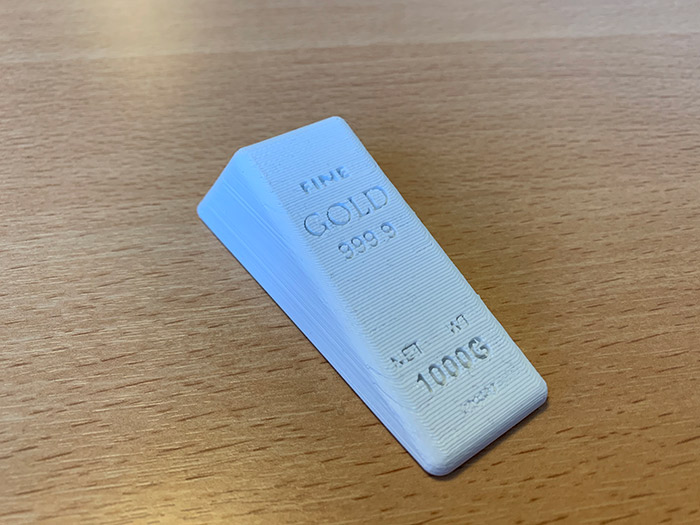
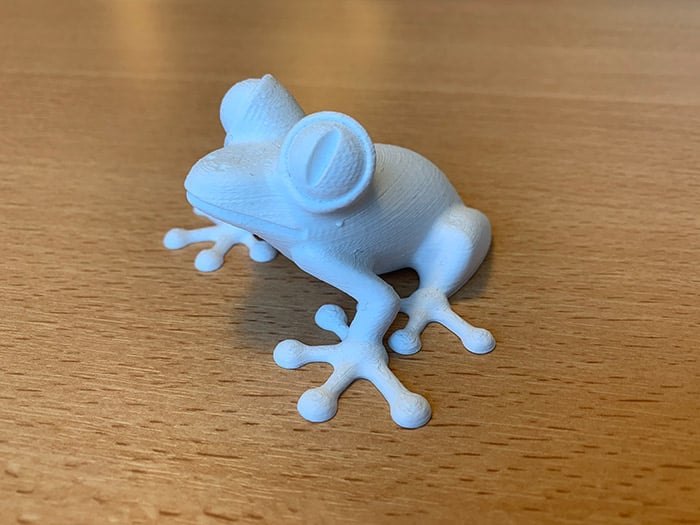
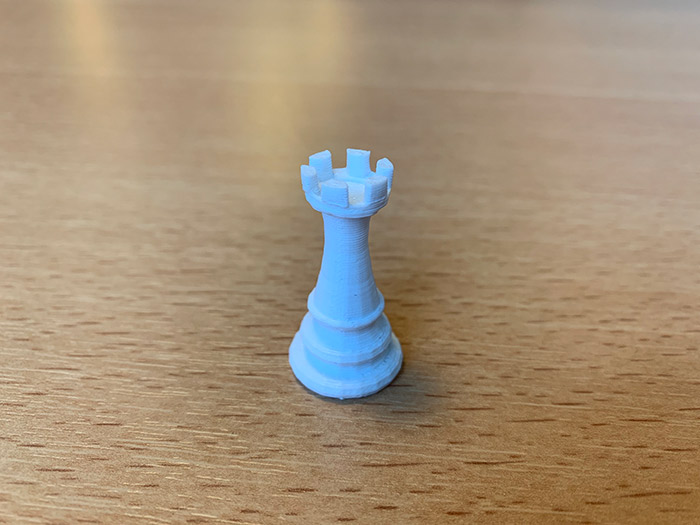
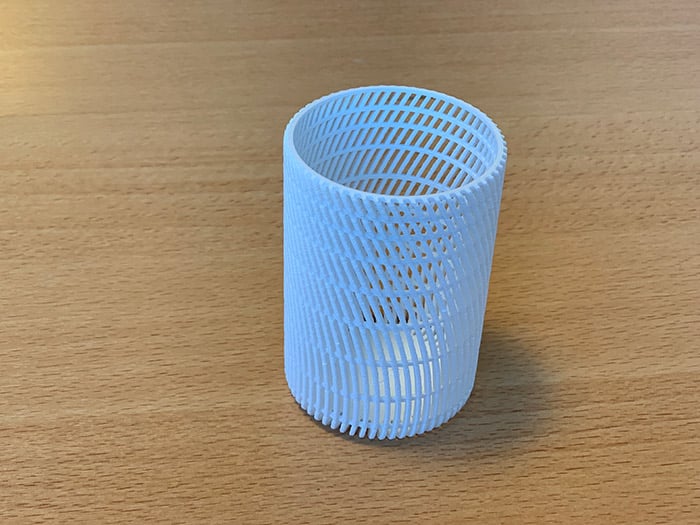
Once installed and calibrated, the first impressions of the Idea Builder 3D40 can begin. As part of this test, we started with a few models pre-set on the USB key provided before moving on to a torture file, the 3DBenchy, to push the machine to its limits.
The prints are printed one after the other without difficulty with a relatively short heating time and a rather low noise level compared to the machines on the market.
The only concern observed during the test is the regularity of the surface of the parts. Nothing problematic but the superposition of the printing layers may sometimes lack regularity with a more or less random rendering. Adjustments to the printing speed or part orientation can, in practice, reduce these types of hazards.

Find all our 3D Printer Tests from 3Dnatives Lab!
Conclusion
- Printer Content 7/10
- Software 8.5/10
- Print Quality 6.5/10
- Ease of Use 8.5/10
Positive Points :
– Ease of Use
– Enclosed Printing Chamber
– Simplified Software
Negative Points :
– Regularity of the printing layers
– Number of accessories included
– Absence of heating plate
With its enclosure and wide transparent windows, its compact and secure extruder block, but also the manufacturer’s effort to offer simple and efficient software, the 3D Idea Builder 3D40 printer clearly confirms Dremel’s desire to target students from primary school onwards.It is also suitable for people who want a machine that is very easy to use. A reliable machine that offers prints of decent quality and will withstand repeated use over time.
Its features and price of about 1100€ TTC make the 3D40 from Dremel a mid-range FDM 3D printer, which competes with models like the Witbox 2 from BQ or the Da Vinci 1.1 from XYZprinting. Finally, it should be noted that the manufacturer should release an improved version called 3D40 Flex, with a flexible printing tray. Other new features include higher speed and accuracy. More information on the manufacturer’s website HERE.


