3Dnatives Lab: 3D Sense by 3D Systems Test
Although 3D scanners are somewhat less popular than their 3D printer counterparts, 3D scanners have begun to evolve at their own pace and are enabling even more innovative products and ways that we can incorporate their use into our work, such as seen in the film Ghost in the Shell. While there is much innovation occurring, there are still some questions in regard to buying 3D scanners today. These questions include the current scanners being sold, the quality you can expect, the precision of the scan, the scanners scope, and how easy it is to use. To remedy this, 3Dnatives has begun its tests on 3D scanners, starting with the Sense 3D scanner from 3D Systems, one of the most affordable models on the market.
The Sense 3D scanner
Unpacking and Getting Started
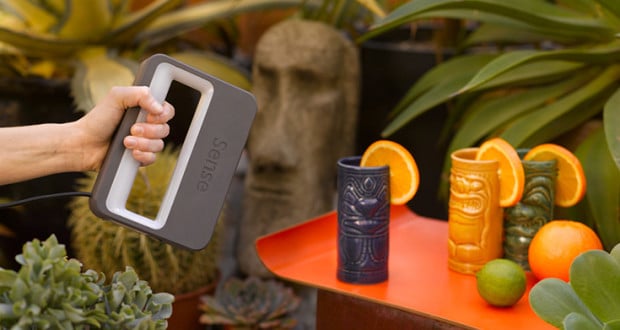
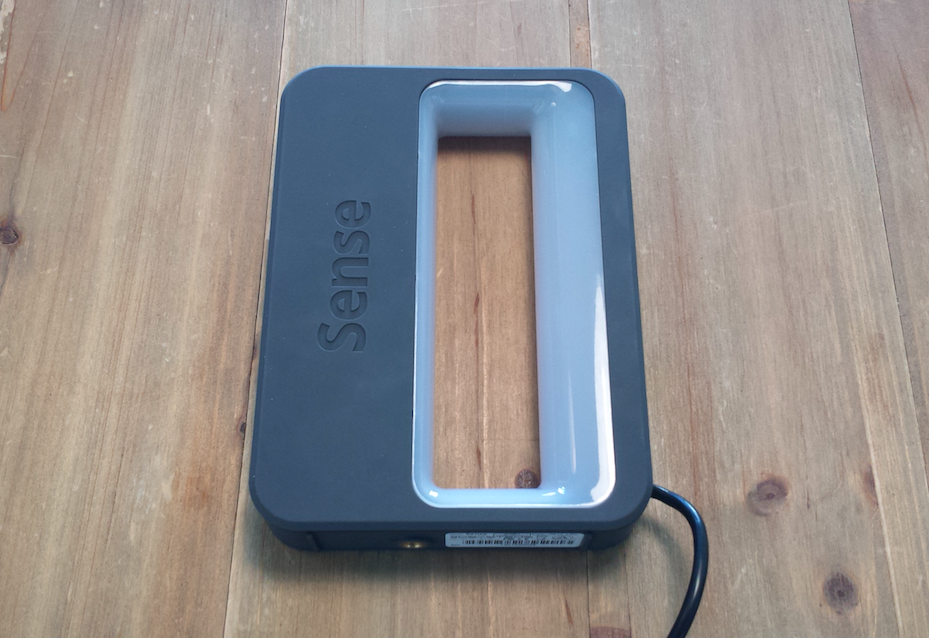
One of the advantages of the Sense scanner is its small size, which makes it easy to hold (thanks to its integrated handle). Once you have it out of its packaging, you simply plug it into your computer (via the supplied USB cable) and download the software from the 3D Systems website. The software is currently compatible with 64 bit Windows 8 or later. Installation overall is a breeze and it takes no more than a few minutes.
We should note that when launching the software, you will have to encode a personal key in order to active it. Otherwise, you won’t be able to scan. It’s important also to keep this personal key in case you have to reinstall the program on your computer or if you want to lend it to someone to use.
-
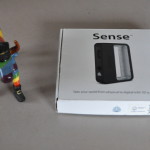
- Ultra compact packaging
-
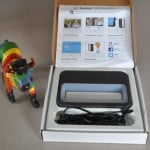
- Quick start guide included
-
- A scanner with a very small size
Choosing a Model to Scan
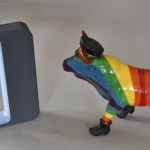
The Sense lets you scan all types of objects up to a maximum size of 3 meters (almost 10 ft). However, one thing that you should keep in mind is that the Sense is not a scanner that falls into the “professional” category as it’s a scanner that’s made more for personal use. So, if you’re hoping to scan a small object with the maximum amount of detail possible, you may want to look at other scanners. On the other hand, if you want to capture a larger object, like a statue or person, then this scanner is for you. For our test, we had fun scanning a cow shaped statue that had several different color tones, in order to have a better idea at its rendering capabilities.
- 3D Systems recommends placing the scanner within about 5 feet (1.5 meters) of the object that you want to scan.
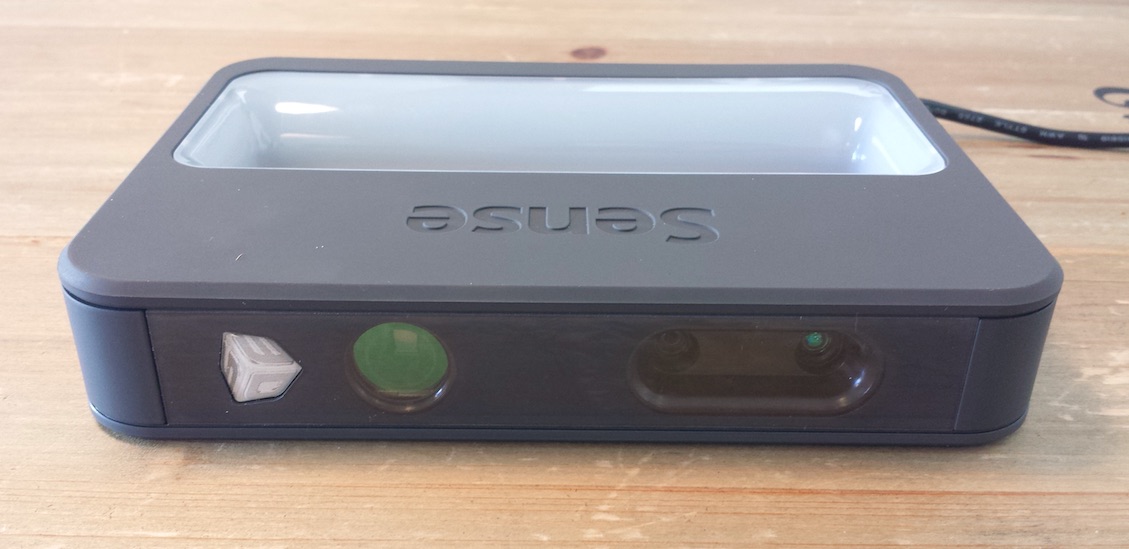
To the left you can see the laser, to the right the two sensors. One is for shape and the other is for color
The Scanning Process
When comparing the Sense to some higher-end scanners that allow you to digitalize your object several times in order to rebuild it through the assembly of different scans, the Sense only requires one passage. Once completed, you are automatically guided to the post-processing phase that has relatively intuitive functions.
Among some of the options, you will be offered the possibility to cut your scan, fill the holes where the scanner did not capture the area and the ability to smooth your object. Once you are satisfied with your results, you will be able to save your file locally on your computer (in stl, ply or obj format).
A video showing the different scanning steps, from start to finish:
To give you a better idea of our results, we scanned the same object with the professional scanner “Eva” from Artec. The quality of the results below are quite visible to the naked eye. These results lets us know the limits found on Sense’s sensors. Obviously, the price is not the same between the 2 products, with the sense at €349 (about $370 USD) and the Eva at €13,700 (about $14,530 USD).