3Dnatives Lab: Our Test of the Zortrax M200
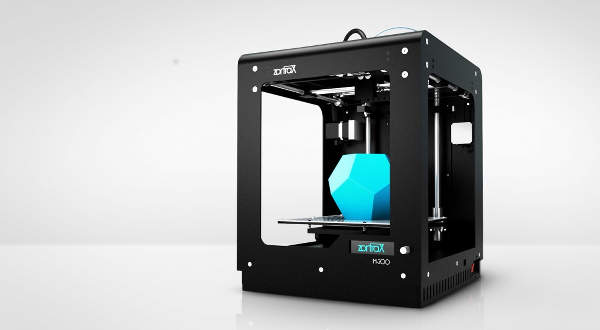
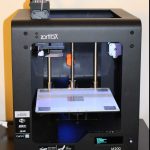
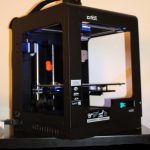
In January of 2013, Dell made headlines when the announced their order of no less than 5,000 3D printers from the young Polish manufacturer Zortrax. The Zortrax M200 has a rather seductive appearance the seduced us here at 3Dnatives to do a review in our 3Dnatives lab. We want to give a big thank you to Machine-3D, the distributor of Zortrax, who loaned us the machine.
With its original release in 2014, this printer is a Plug & Play that offers layer resolution of between 90 and 400 microns. This printer is compatible with both Mac OS X and Windows 7 (including newer versions). With its heating plate, it allows you to print objects with a maximum size of 200 x 200 x 180 mm.
Now that we’ve got that out of the way, lets see this bad boy in action!
Unpacking
When first opening the package, the first thing that we noticed was quality of the packaging. The contents were carefully packaged and protected by lots of foam that were packed in plastic. Before you even get the machine out of the box, there is a presentation booklet and a quick start guide that are clear, neat and make you feel at ease. If the objects we print are at the same level as this packaging, then we will be very happy!
The amount of accessories that are provided is reminiscent of the Up +2, as they were all stored in a toolbox that included: Anti-scald gloves, cutters, precision cutters, spatula, tweezers, Allen wrench, a tube of grease, protective goggles, Reel holder, filament guide, 1kg (2.2 lbs.) Z-ABS reel, SD card and USB SD card reader, a needle nozzle (which would have been nice to have on models that we’ve used in the past…).
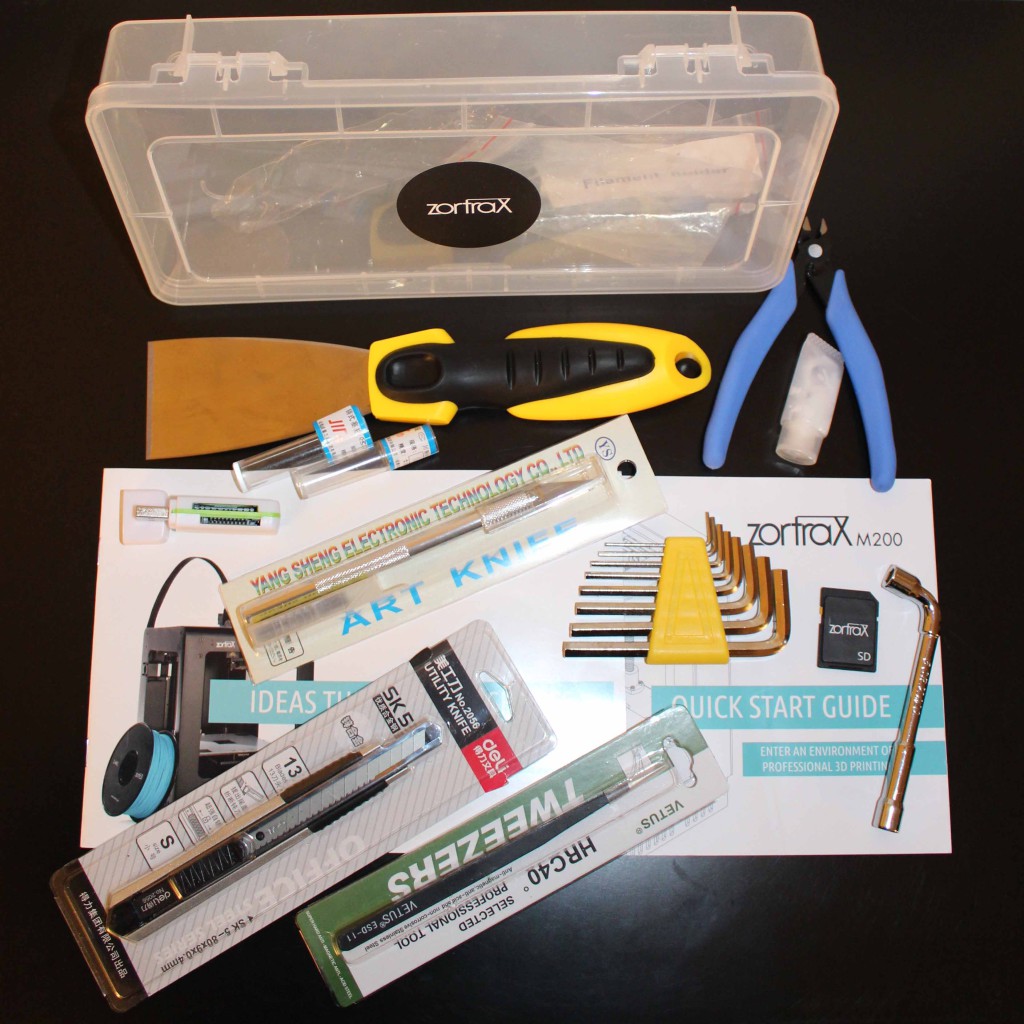
The accessories and tools that accompany the Zortrax.
When looking at all this equipment, you will feel reassured as Zortrax obviously left nothing to chance and has left you completely ready to start your first print.
The machine is delivered with a Z-ABS coil (proprietary ABS plastic that is optimized for the printer). The bobbin holder is printed and also is used as a test piece, with a first example of a printed object that left us speechless. This will give you your first clue at the print quality of this machine. Other items on the printer that came straight from Zortrax include things like the fan guide, as an example.
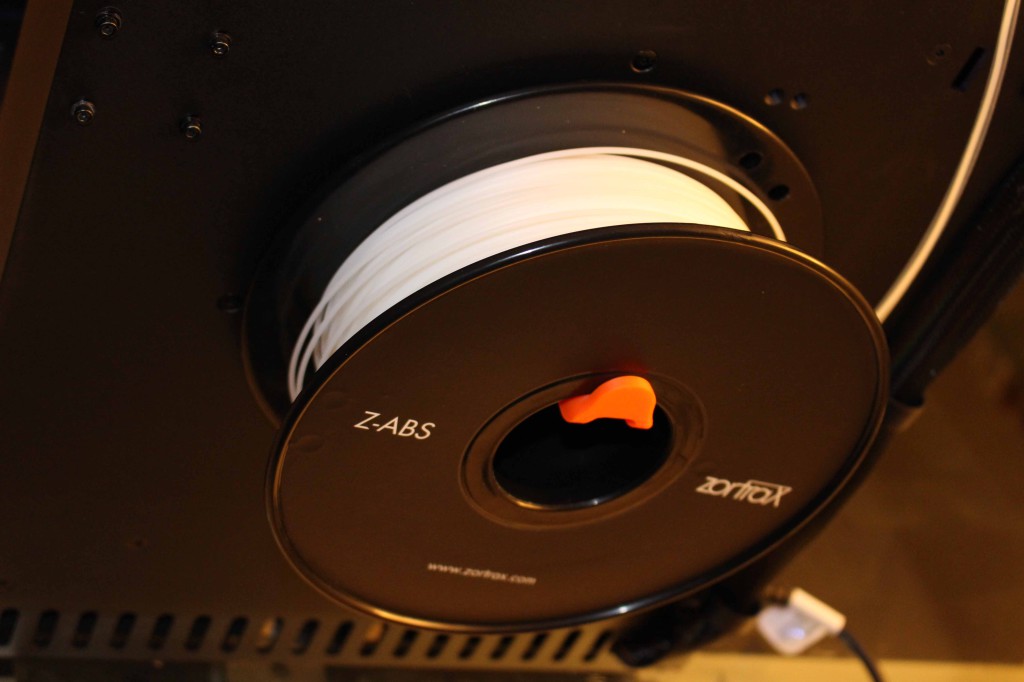
The Z-ABS coil, the proprietary filament of Zortrax
Installation
There are a few essential steps that need to be taken to print your parts in ABS. The first thing that needs to be done is the installation of the heating plate that helps to avoid shrinkage, followed by the installation of the perforated plates, which ensures the perfect maintenance of your models during printing. The installation itself is very simple thanks to the magnetic points and ergo inserting that was put (very intuitively) in the plate. There are only two connectors that are clipped for calibration and heating. These pretty much remain out and so they must be handled with caution. Time will tell if this is a weak point or not after printing multiple objects. Don’t forget to use your protective gloves and glasses that were provided by Zortrax!
Now all you need to do is insert the coil holder and the cable (that feeds the print head), as well as inserting the filament that will bring the Z-ABS plastic from your spool to your extruder. Once finished, the hardest steps are done and now all you have to do is connect the printer and press the ON/OFF button to begin.

Zoom in of the extruder of the Zortrax M200
Software
Z-suite is both simple and intuitive. The only ones who may be disappointed will be those enthusiastic defenders of Open-Source.
When using the software you will find the classic options such as to: add, delete, view, rotate, move, size, place, etc. Something that is quite innovative is their cutting feature, and when I say that, I am not talking about slicing. What I’m talking about is cutting the model into pieces to free you from the supports or to print it larger, piece-by-piece. This feature offers many possibilities and will make the task easier without having to go through other 3D software. For the printing portion, you’ll have the typical aspects: the type of coil, layer of thickness (5 choices), speed (2 choices), filling (4 choices) and fan percentage. A small yet interesting change is the supports. Here, you have the choice of the angle from which they will generate their volume (full or more spaced).
The Z-Suite software for the Zortrax M200
There are other advanced settings available. The one that particularly stood out to us was the choice of the location for the sewing (same point or random), which allows you to remove the ugly line on the back of your prints when your printer starts the same layer in the same place.
Zortrax really thought about everything to help make using their machine more pleasurable for their customers. The supports are also a surprise, as they are withdrawn much more easily than the supports of the many other machines that we have tested.
This machine also gives you the option to print in multiple colors, make a height or layer of your choice, and even allows you to pause during printing to change filaments.
There are however some parameters that are not accessible such as you not being able to choose your temperature, the filling of the object is not in percentage, and there are only 2 speeds available to you. Some will feel constrained by this and may get frustrated at not being able to test different parameters in order to optimize their prints and obtain the best quality or reduce the manufacturing time.
A video to show you how easy the software is:
https://youtu.be/jr94STXOQZc
Calibration
The tray is calibrated semi-automatically with 5 squares of color within the calibration areas. When you start leveling, the machine takes the wheel to put the print head at the necessary distance from the heating plate. If the printer is too close or too far, the printer will ask you to screw or unscrew one of the screws underneath the tray. After that is done, it will restart its auto-calibration, changing from square to square.
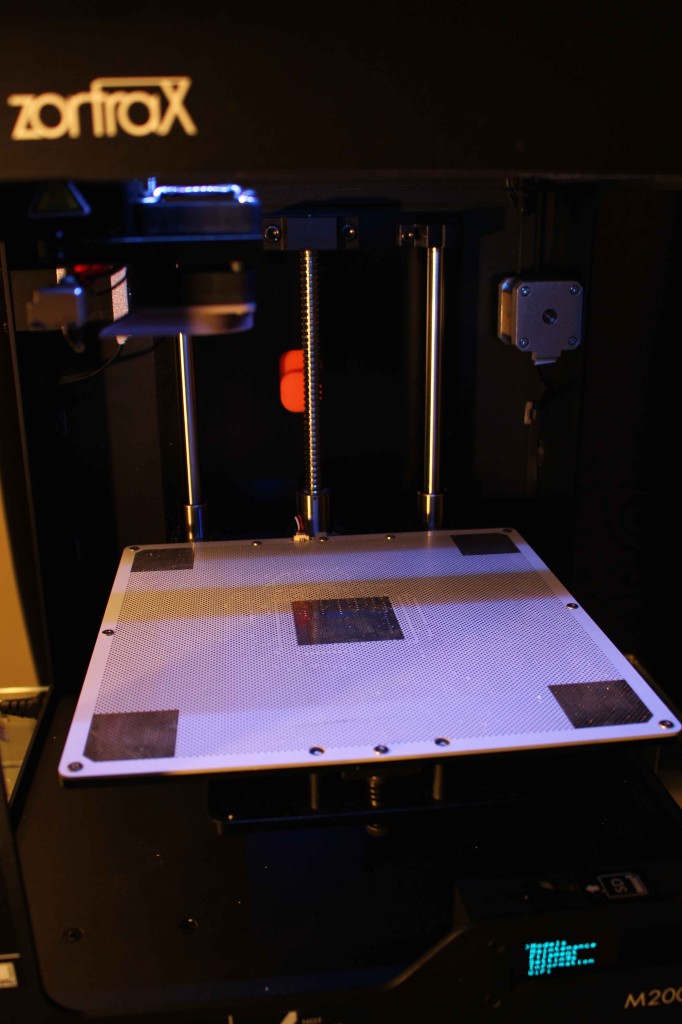
Zortrax removable heating plate and 5 calibration zones.
When this step is performed, you can also link the impressions. For us, we are on the 20th and haven’t needed to repeat.
Printing
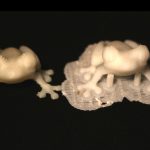
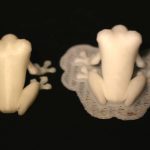
Here are some examples of prints that we made. On the left You will see our famous Tree Frog that was designed by MorenaP with a 100 micron 3D impression on the MakerBot Replicator 2 (left). On the Right, you will see the one we printed on the Zortrax on 90 microns. You can feel the difference in resolution just by putting your finger on the back of this frog.
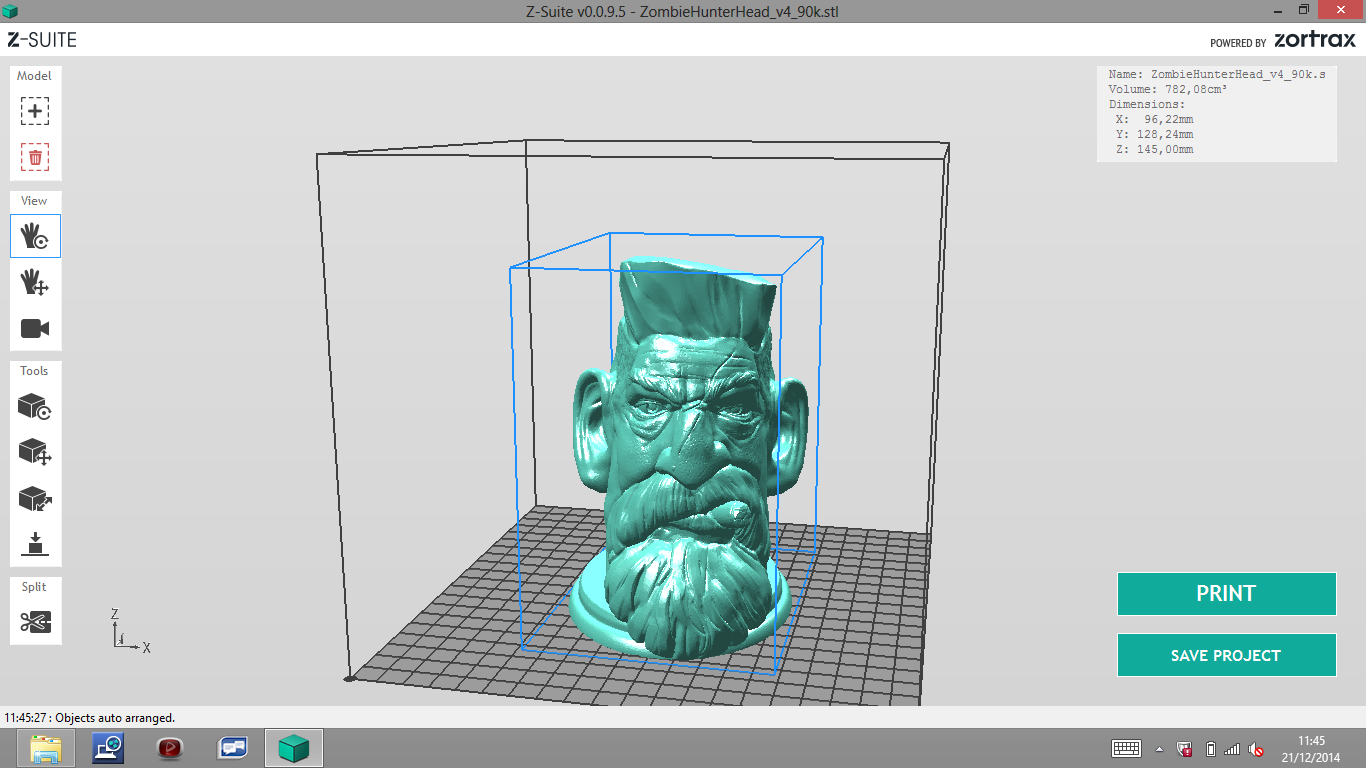
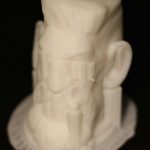
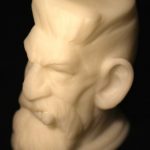
Another well known model, the Sculptor’s Zombie Hunter bust, at 90 microns. With this print, it was a breeze to remove the supports:
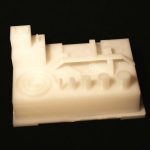
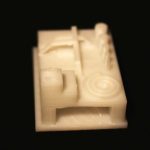
Another one of our object tests that highlights the precision of the Zortrax:
So without further ado, here is our first printing overview using the Z-ABS filament. Just so you know, there are many other filaments to choose from, such as: the Z-Ultrat, Z-Hips, Z-Glass, Z-PetG, Z-PCAPS, and the Z-Abs. It is important to remember what kind of product you use when it comes to material in order to get the most out of your printer. Given the affordable price of the reels (between $21.90 and $50 USD), you really have no excuses but to use their brand when you think about their quality and that they are already configured for your printer.