3Dnatives Lab: Our Test of the MakerBot Replicator Mini
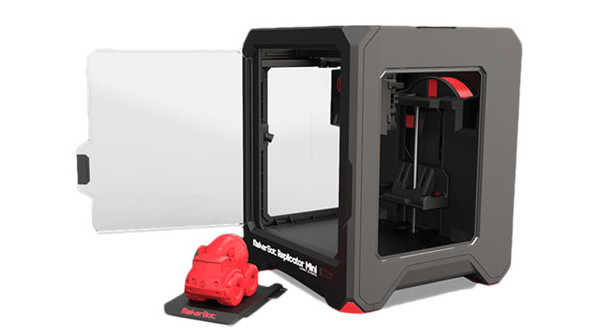
After an announcement made at CES in 2013 by the CEO of MakerBot for their new generation of personal 3D printers, we at 3Dnatives labs have decided to tackle the Replicator Mini. This 3D printer is an entry-level model from this American manufacturer. Before we begin our test and all the details, we wanted to give a big thank you the team at Makershop.fr for loaning us this machine for our test today!
Unpacking
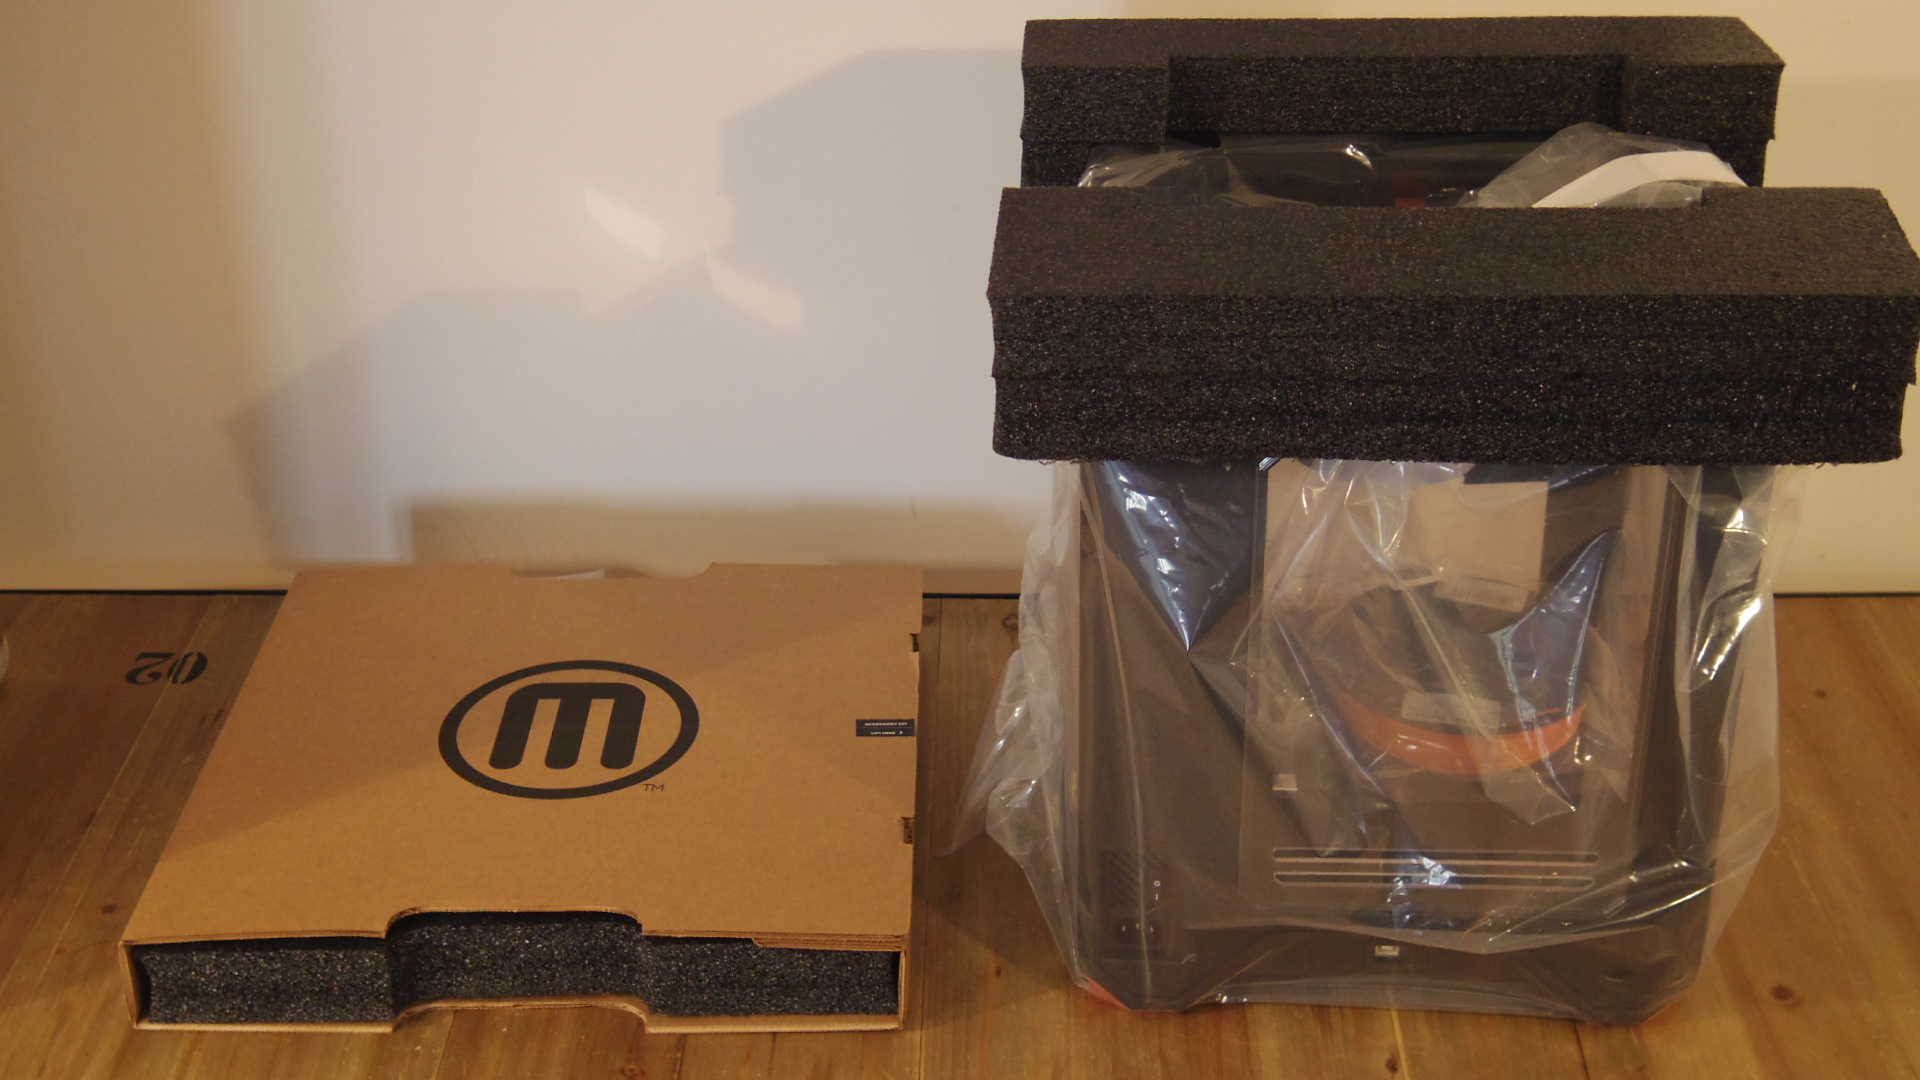
When unpacking the printer, we felt as if we were opening a new Apple computer, as everything was very clean, thought out, with hardly even a blemish on the packaging. It made us even more excited to unpack it!
Once the box of the Replicator Mini was opened, we found 2 packages. The first box is the printer and the second box is the one which contains the main plug, the USB cable, the filament protection tube, transparent PLA filament, a smart extruder, printing tray, a few sheets of blue adhesive to help facilitate adhesion of the filament, two orange clips to hold the motor straps (for transport purposes), and finally the instructions and the warranty for the machine.
The contents inside of the box
Installation
When installing the machine, you shouldn’t have any setbacks, especially if you follow the instructions provided (which are very well done). The first step you have to do is to install the smart extruder onto your Mini Replicator, which is done through the magnetic fasteners. The extruder automatically calibrates itself with the printing tray and detects if there is filament missing. An additional advantage that we found with this machine is that the smart extruder is removable, a very good idea when it comes to the maintenance of your machine.
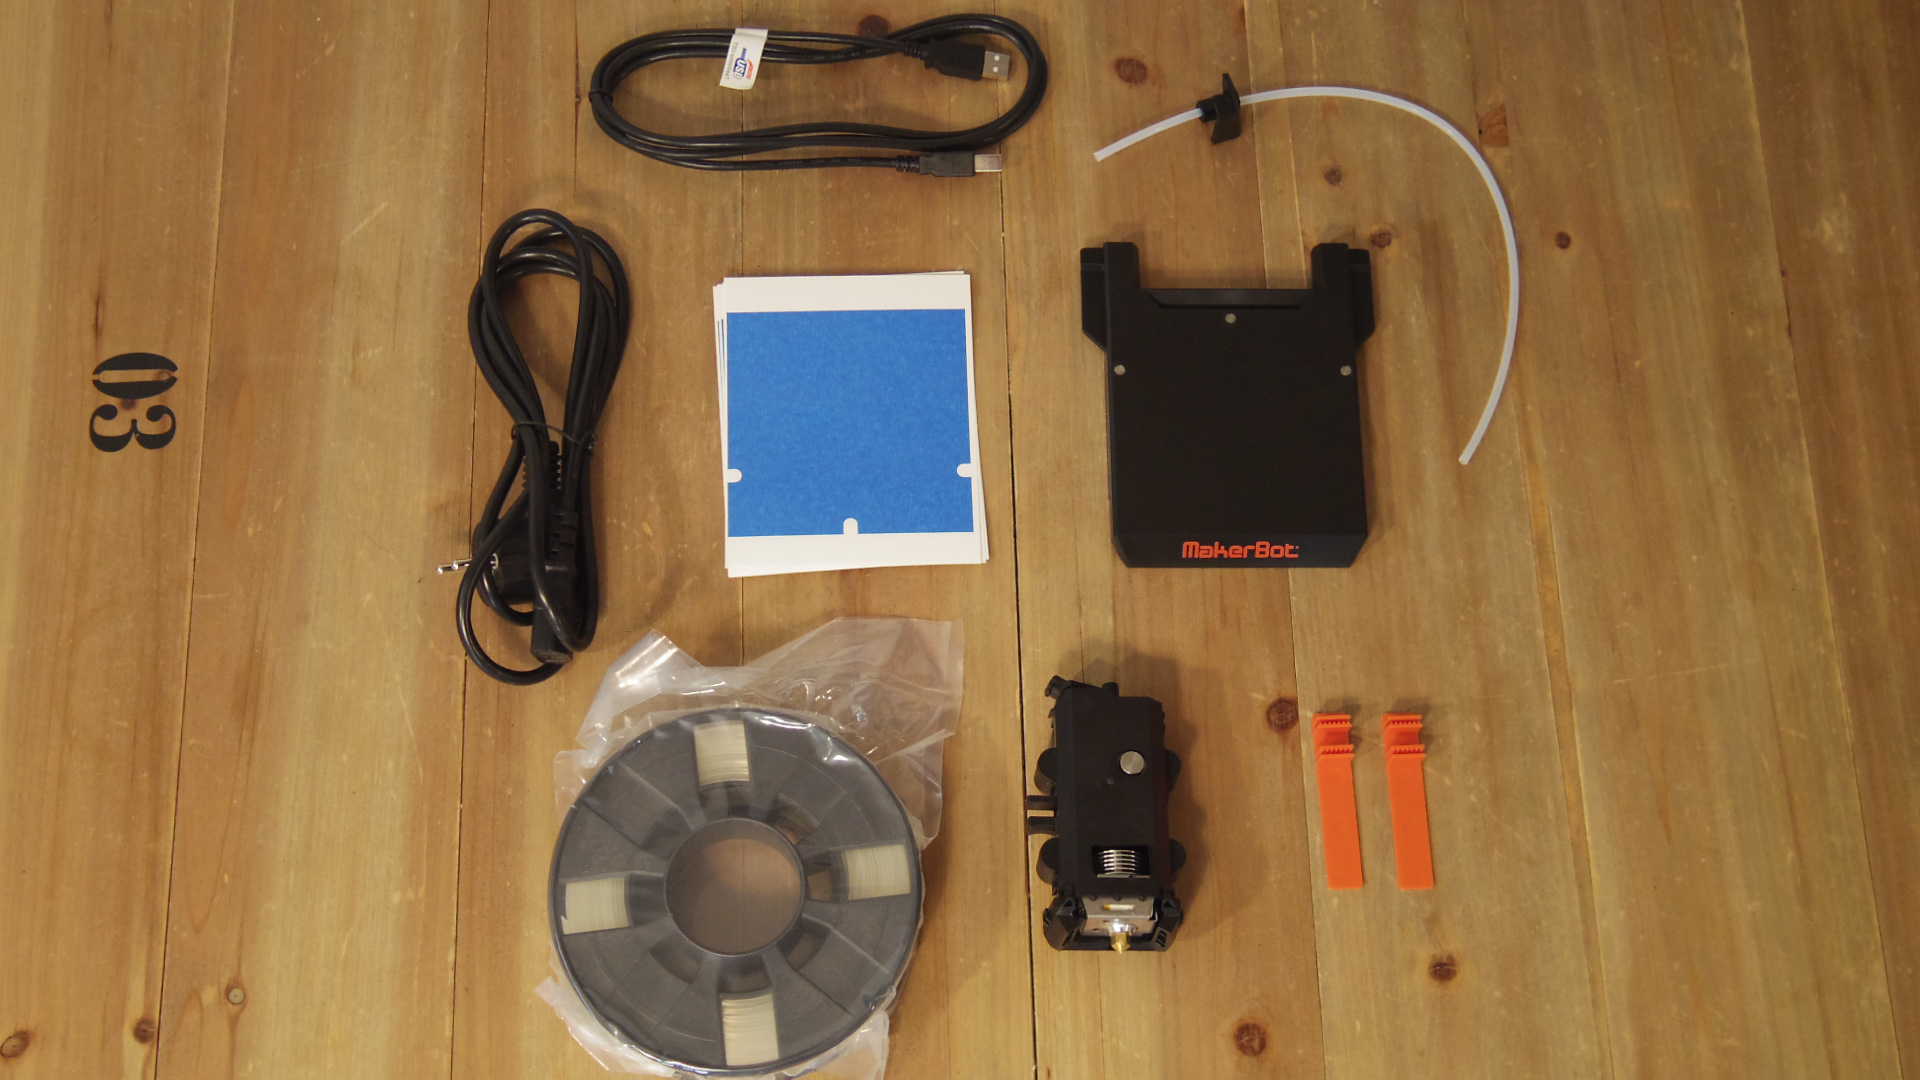
The different accessories included in the box
In the second step you will need to install the filament reel into the space that is provided behind the printing plate and clip on the conductor tube. In the absence of a heated tray, the Replicator Mini only accepts PLA plastic filaments and despite a new coil format at MakerBot, you can still use non-proprietary filaments. You can do this by placing your own spool outside the Machine and winding your old filament on a blank MakerBot coil. Once done, all you have to do is connect the USB cable to the side panel, plug in the main plug and switch your Replicator Mini on.
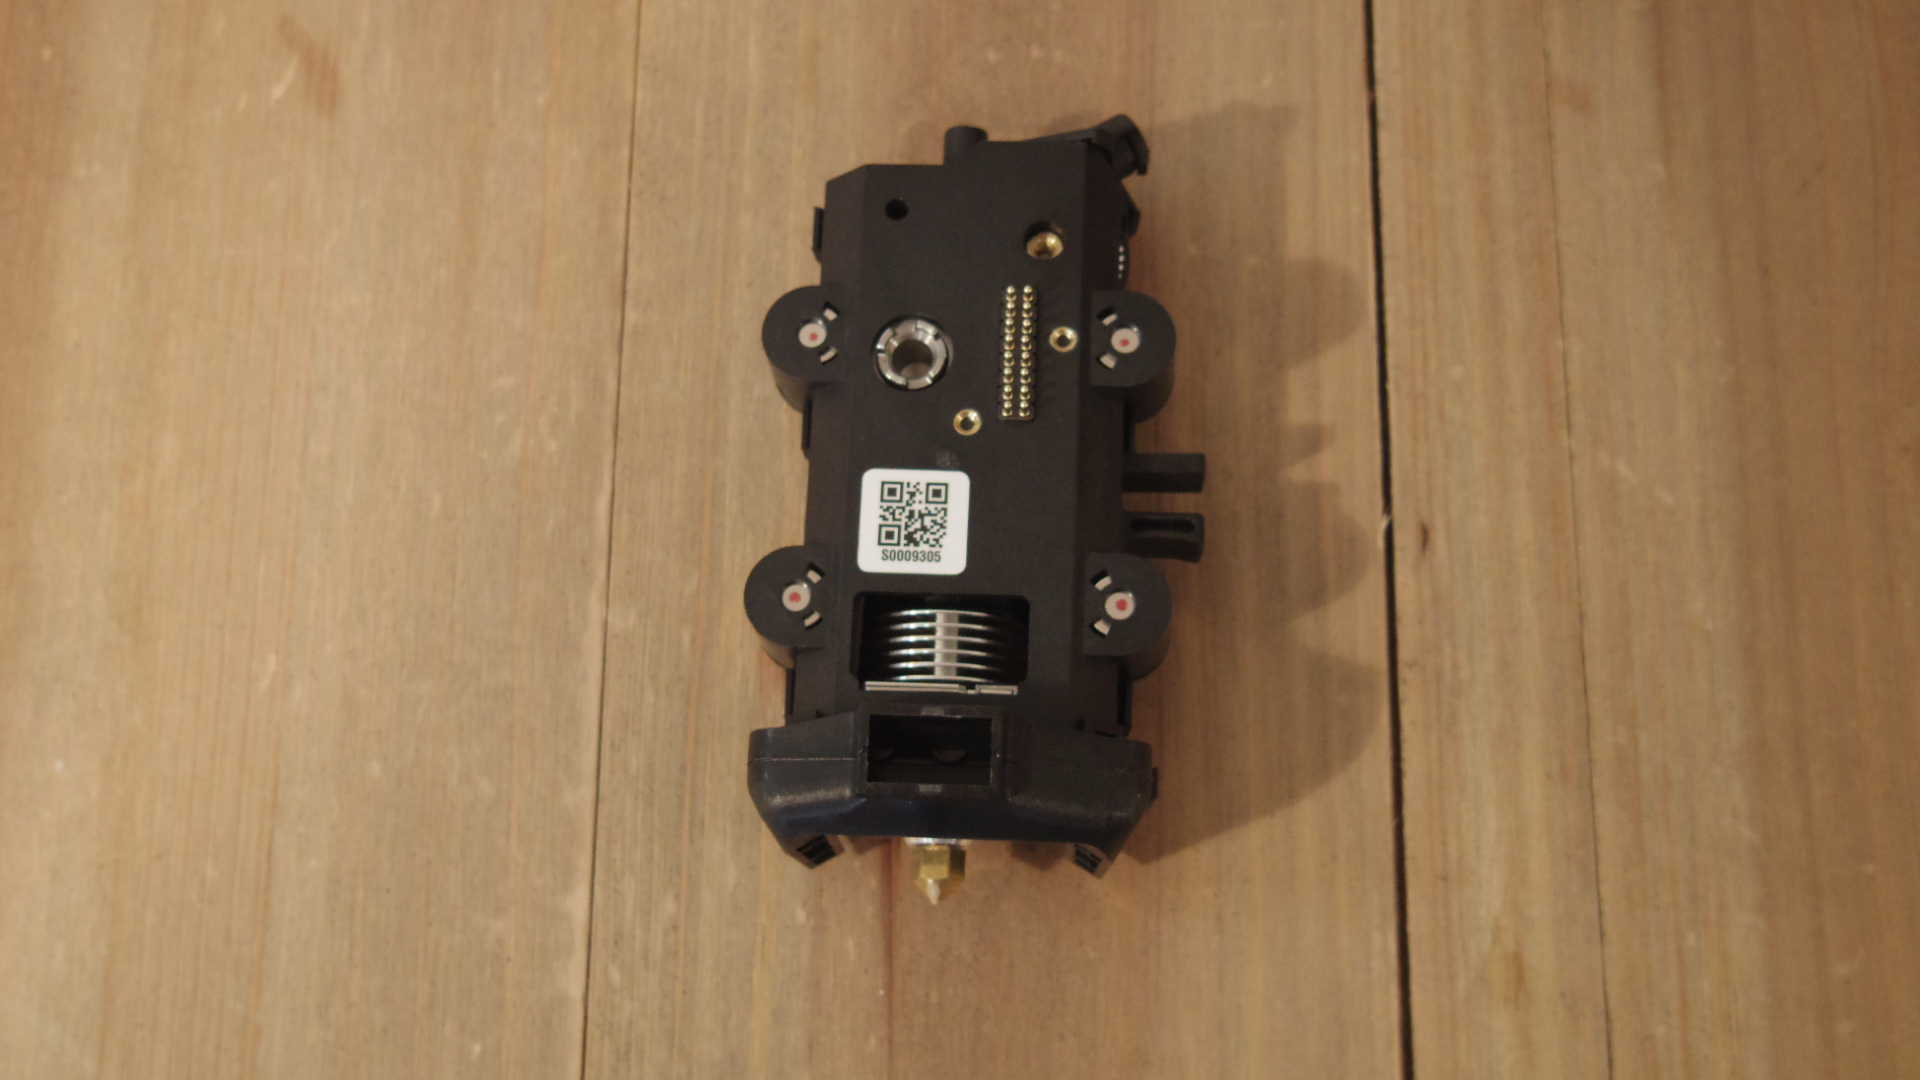
A smart and removable extruder
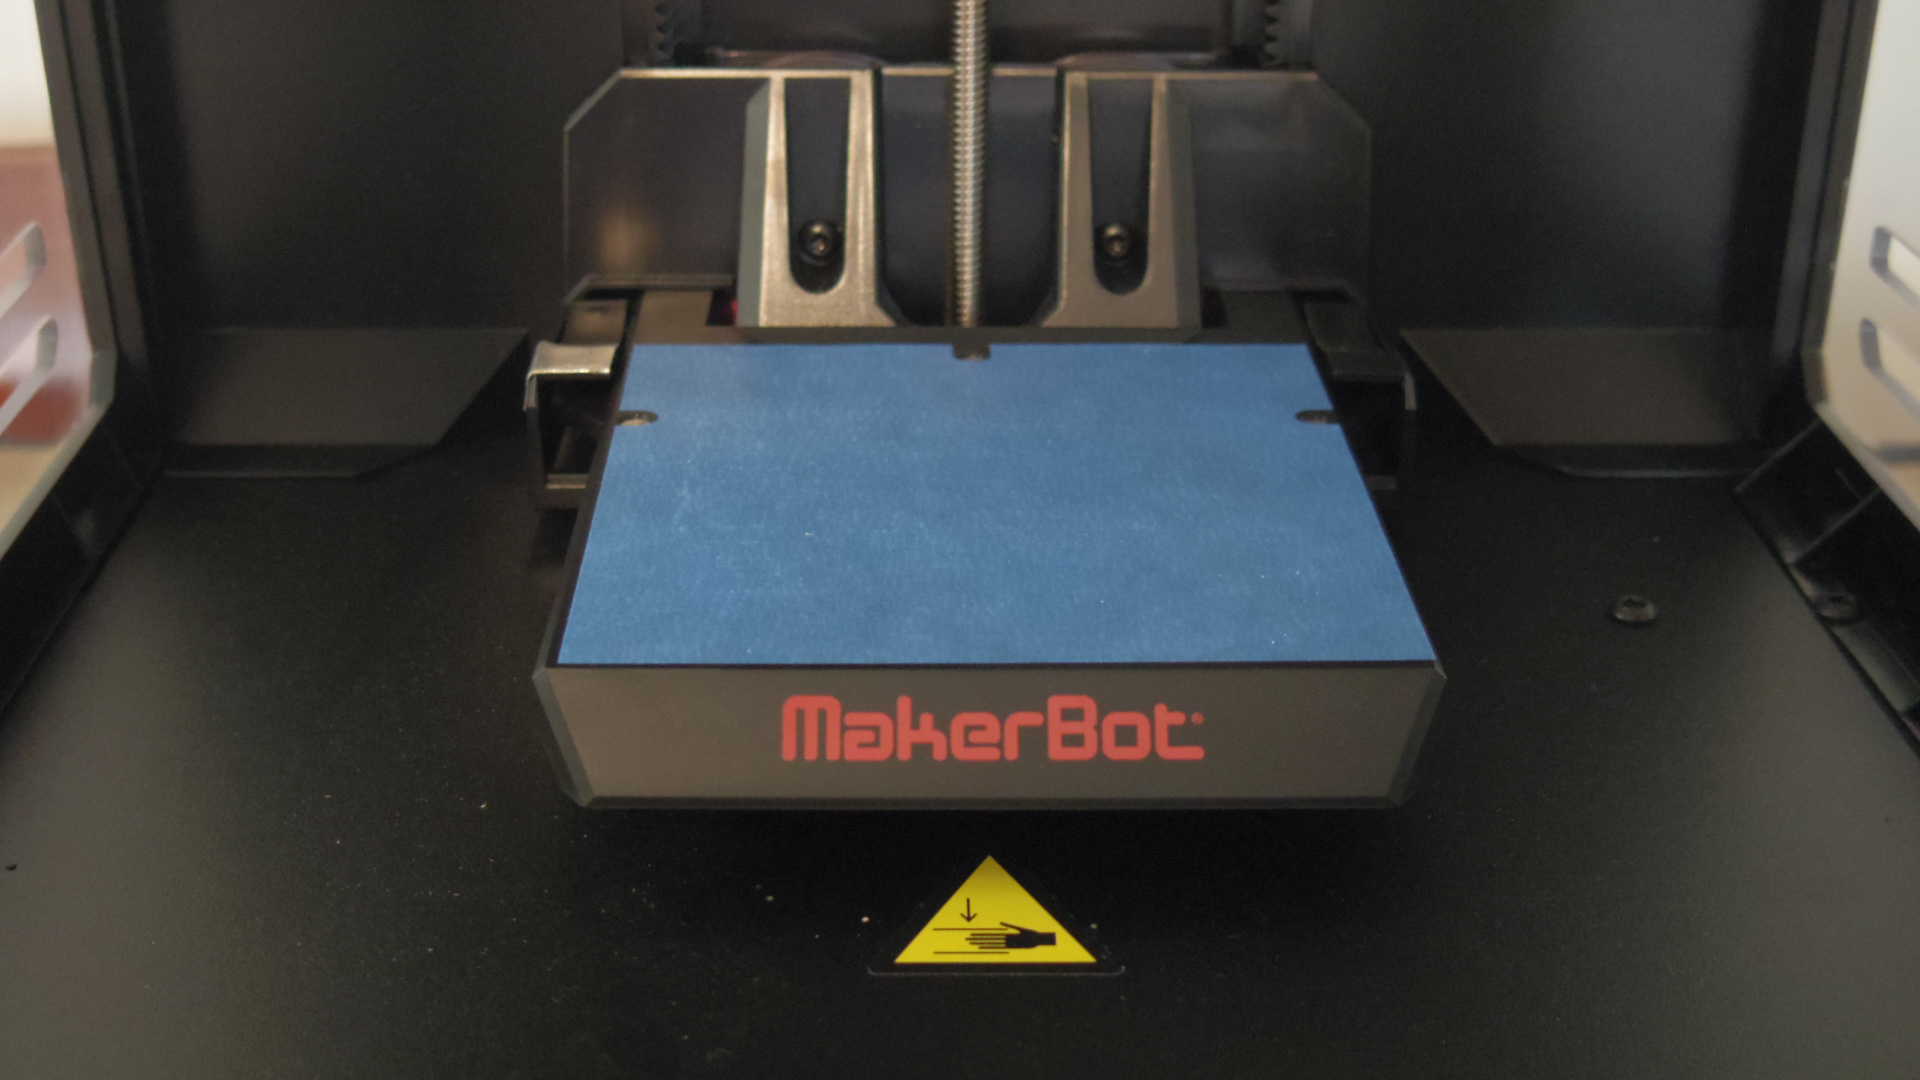
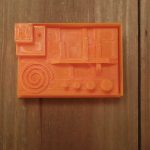
The print tray with a size of 10 x 10 x 12.5 cm
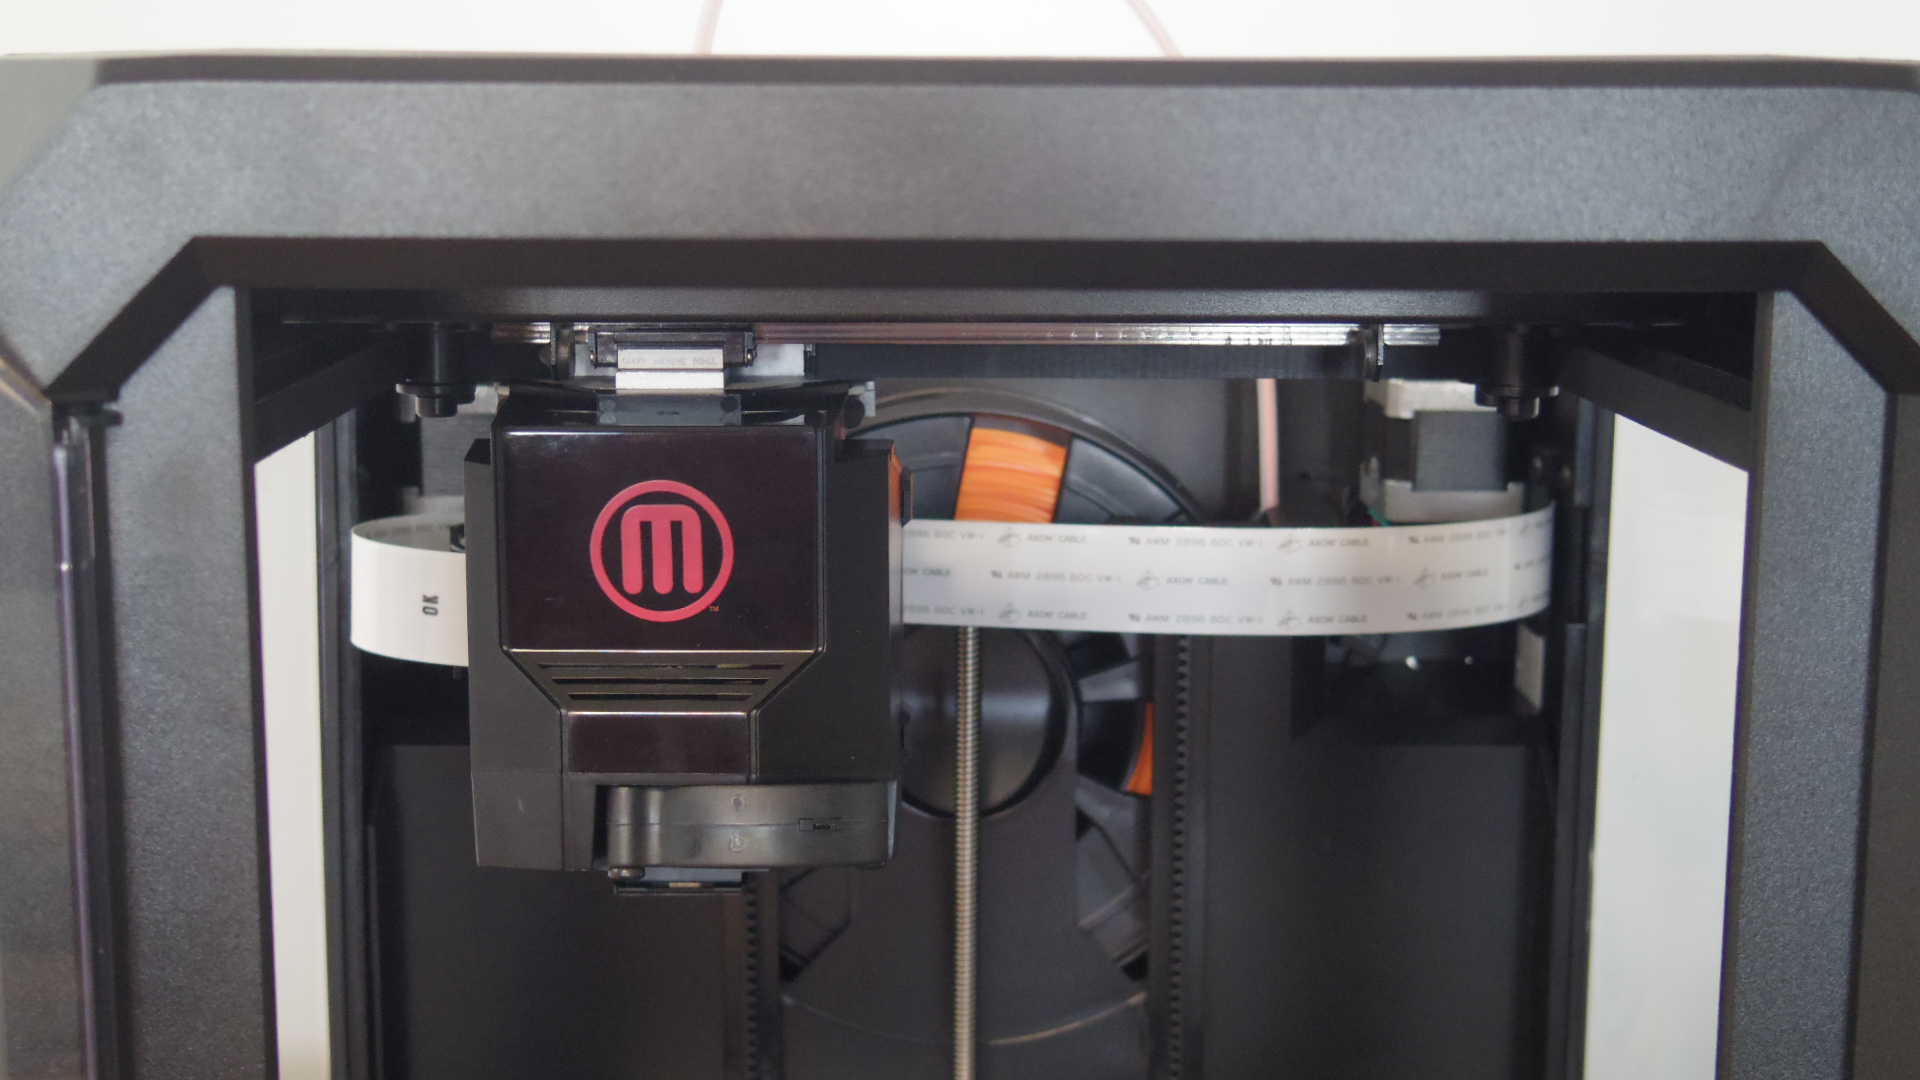
A zoom in on the extruder, with the location of the filament coil
MakerBot Software
Before you can begin printing, you will need to install the MakerBot Desktop software (the replacement for the old MakerWave software), which can be downloaded on their website.
In addition to displaying a simplified interface, the MakerBot Desktop offers 5 sections:
- Explore: allows you to directly access all the 3D files on the Thingiverse platform
- Library: Contains your downloaded or purchased files within the MakerBot store
- Prepare: This corresponds to the section where you can launch and manage your prints
- Store: As the name indicates, gives you access to the paid content from MakerBot
- Learn: Contains video tips to help get you started with your machine
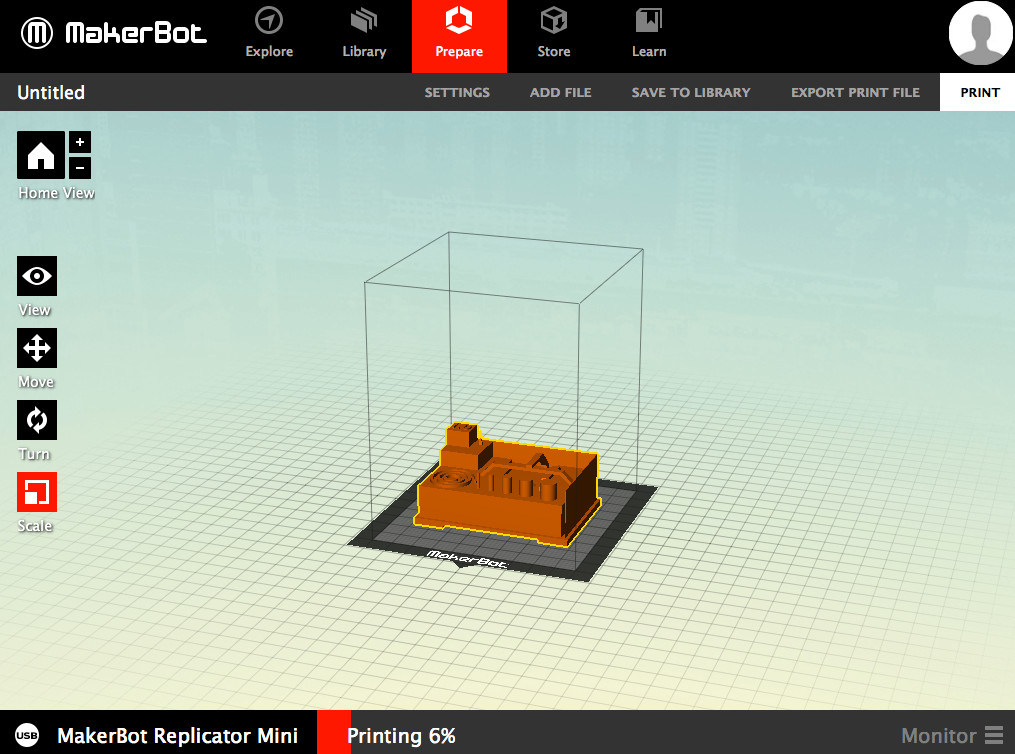
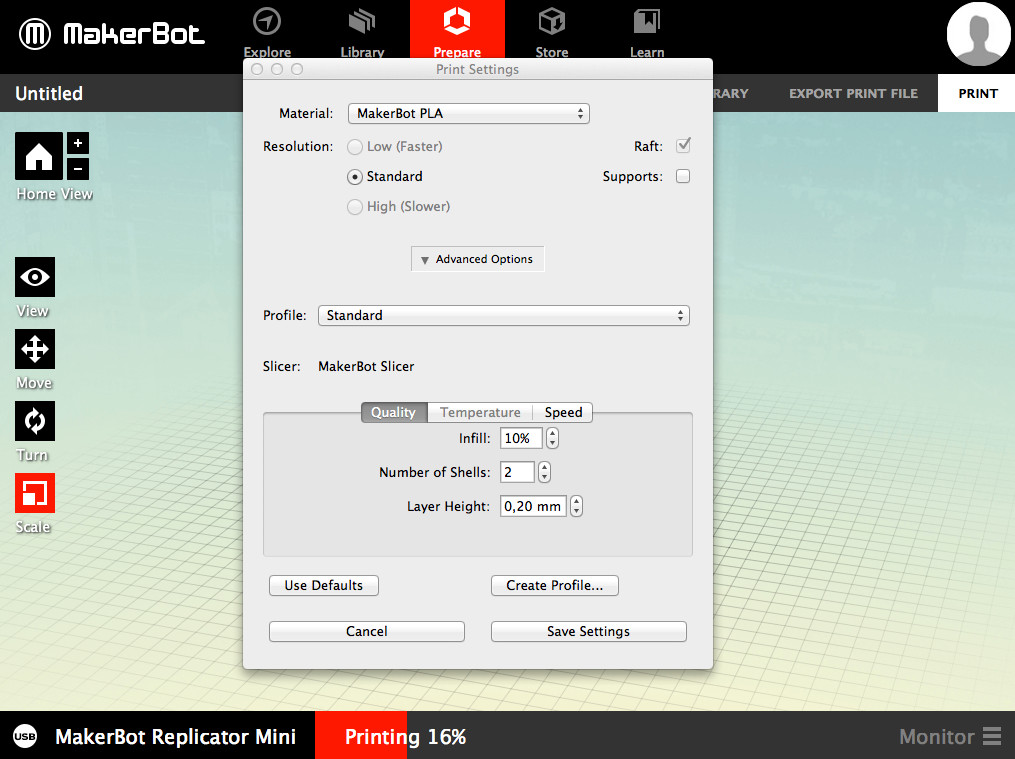
In the section titled ‘prepare’, it uses the same style of the old MakerWare software, allowing you to add and position your 3D file. This window also contains shortcuts to the various settings such as: print mode (low, standard, high), add media or raft, fill the level of the object, layer thickness (minimum of 200 microns), the number of walls, the movement speed for the extruder, and last (but not least) the printing speed.
Thanks to software updates (at the time of our test), the MakerBot Desktop finally allows you to connect to your machine using Wi-Fi. To do this, you will need to connect your Replicator Mini via the USB followed by going to the Devices/Connect to a new device menu, where you can select your machine. In addition to being able to remotely manage your MakerBot, this Wi-Fi connection will allow you to retrieve the shots of the embedded camera and check to see if you printing is going along smoothly.
First Prints
Once your 3D file has been selected, you just need to click on the “Print” button and choose your settings to start your print (we decided to do it in the default settings). After a short loading time, preparation of the file, calibration, and the heating of the extruder, the first layer of plastic was then deposited into the tray. Victory!
But, after comparing many machines, you soon realize that the buzzing noise of the printer is quite noisy if you are planning on staying in the room when printing. So, our advice for those who don’t like a lot of noise when printing would be to find a silent printer or to put your printer in another room.
25 Minutes later and our first model had been printed successfully. There were no worries about plastic adhesion, as the detachment of the object was done easily as well!

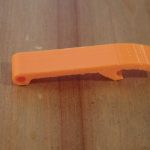
As usual, the 3Dnatives lab did a quick test using a 3D model that would push the machine as far as possible in terms of offset, angles, and thin walls. But, still no worries to report.